Operations 21
1.
Power down the server (on page 16).
2. Remove all power:
a. Disconnect each power cord from the power source.
b. Disconnect each power cord from the server.
3. Do one of the following:
o Extend the server from the rack (on page 16).
o Remove the server from the rack (on page 17).
4. Remove the access panel (on page 18).
5. Disconnect all cables connected to existing expansion boards.
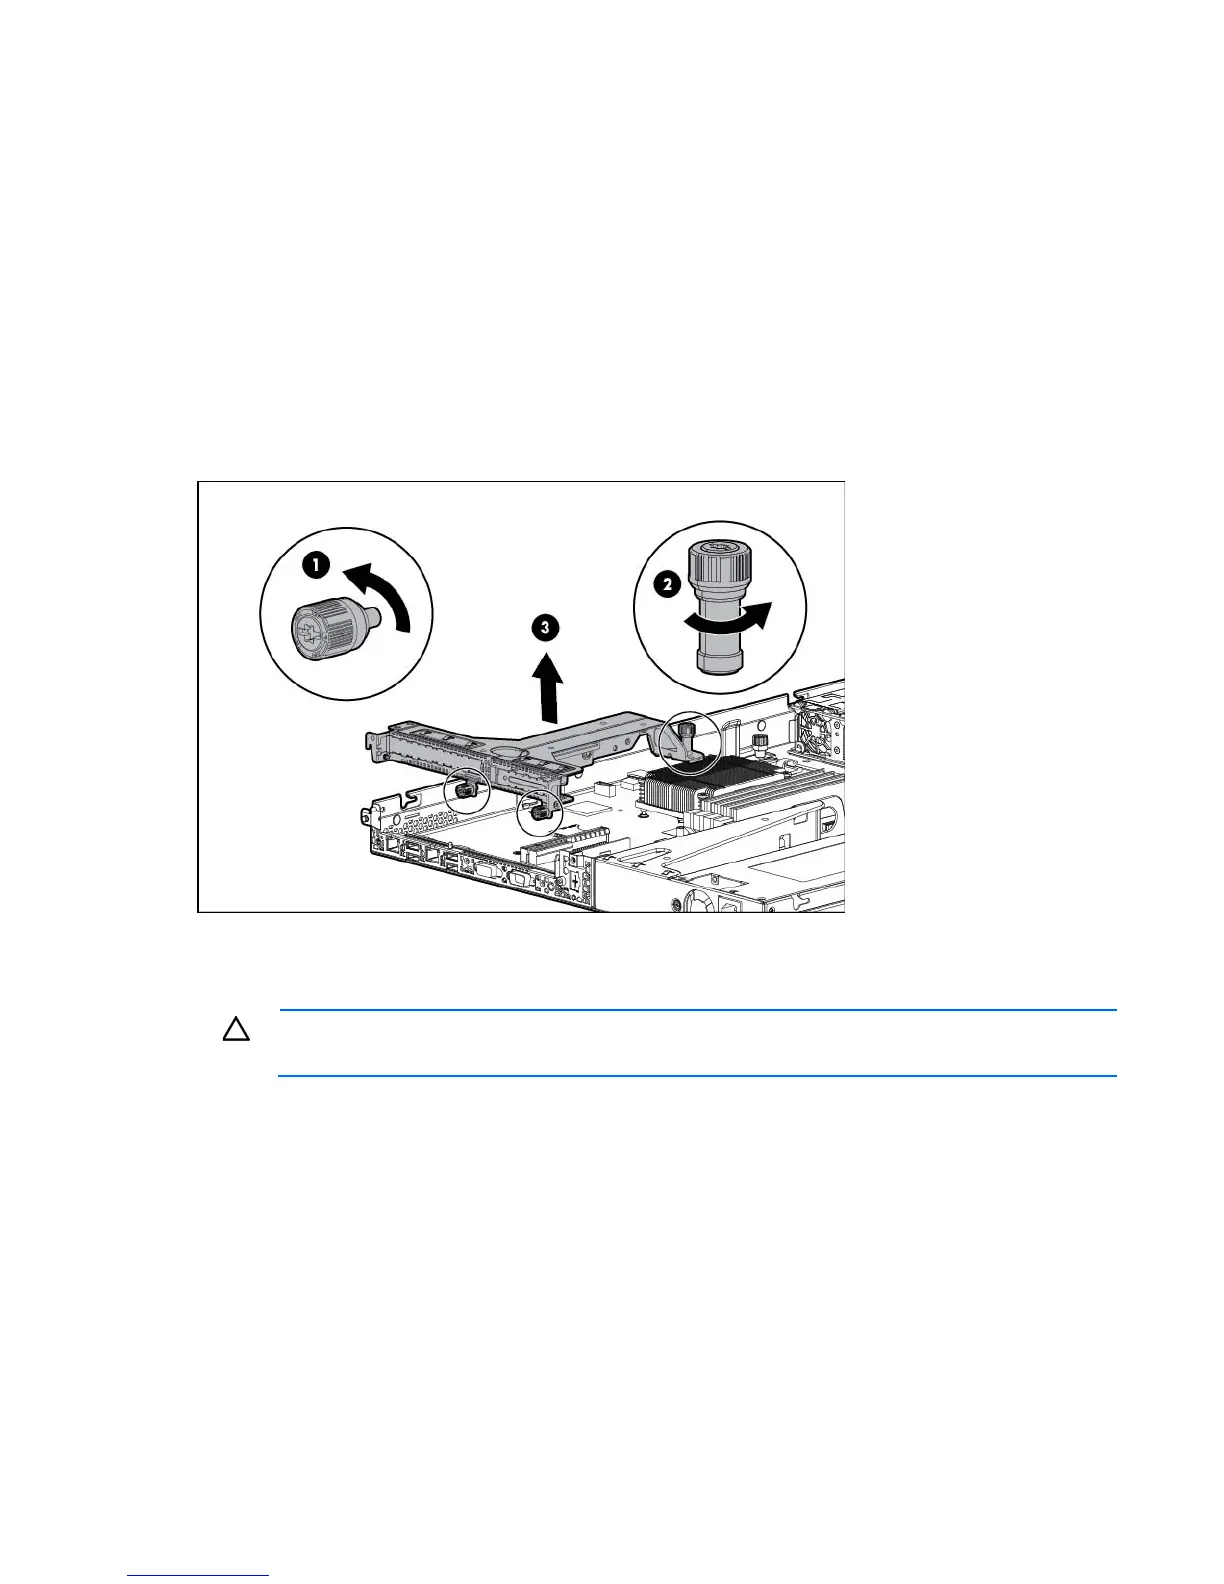
6. Loosen the PCI riser cage thumbscrews.
7. Lift the PCI riser cage to unseat the PCI riser boards.
Install the PCI riser cage
CAUTION: To prevent damage to the server or expansion boards, power down the server, and
disconnect all power cords before removing or installing the PCI riser cage.
1. Align the PCI riser cage with the guide pin located on the chassis, and then press down the PCI riser
cage.
 Loading...