EasyManuals Logo

HP ProOne 400 G1 All-in-One User Manual

HP ProOne 400 G1 All-in-One
58 pages
To Next Page IconTo Next Page
To Previous Page IconTo Previous Page
Page #42 background imageLoading...
Page #42 background image
7. Rotate the bottom edge of the access panel up (2), and then lift the access panel off of the
computer (3).
Figure 3-30 Removing the access panel
The hard drive cage can now be seen in the lower left side of the chassis.
Figure 3-31 Locating the hard drive cage
8. Loosen the captive screw securing the hard drive cage in the chassis (1).
36 Chapter 3 Hardware repair and upgrade
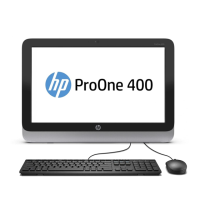
Table of Contents

Questions and Answers:

Question and Answer IconNeed help?

Do you have a question about the HP ProOne 400 G1 All-in-One and is the answer not in the manual?

HP ProOne 400 G1 All-in-One Specifications

General IconGeneral
BrandHP
ModelProOne 400 G1 All-in-One
CategoryDesktop
LanguageEnglish

Related product manuals