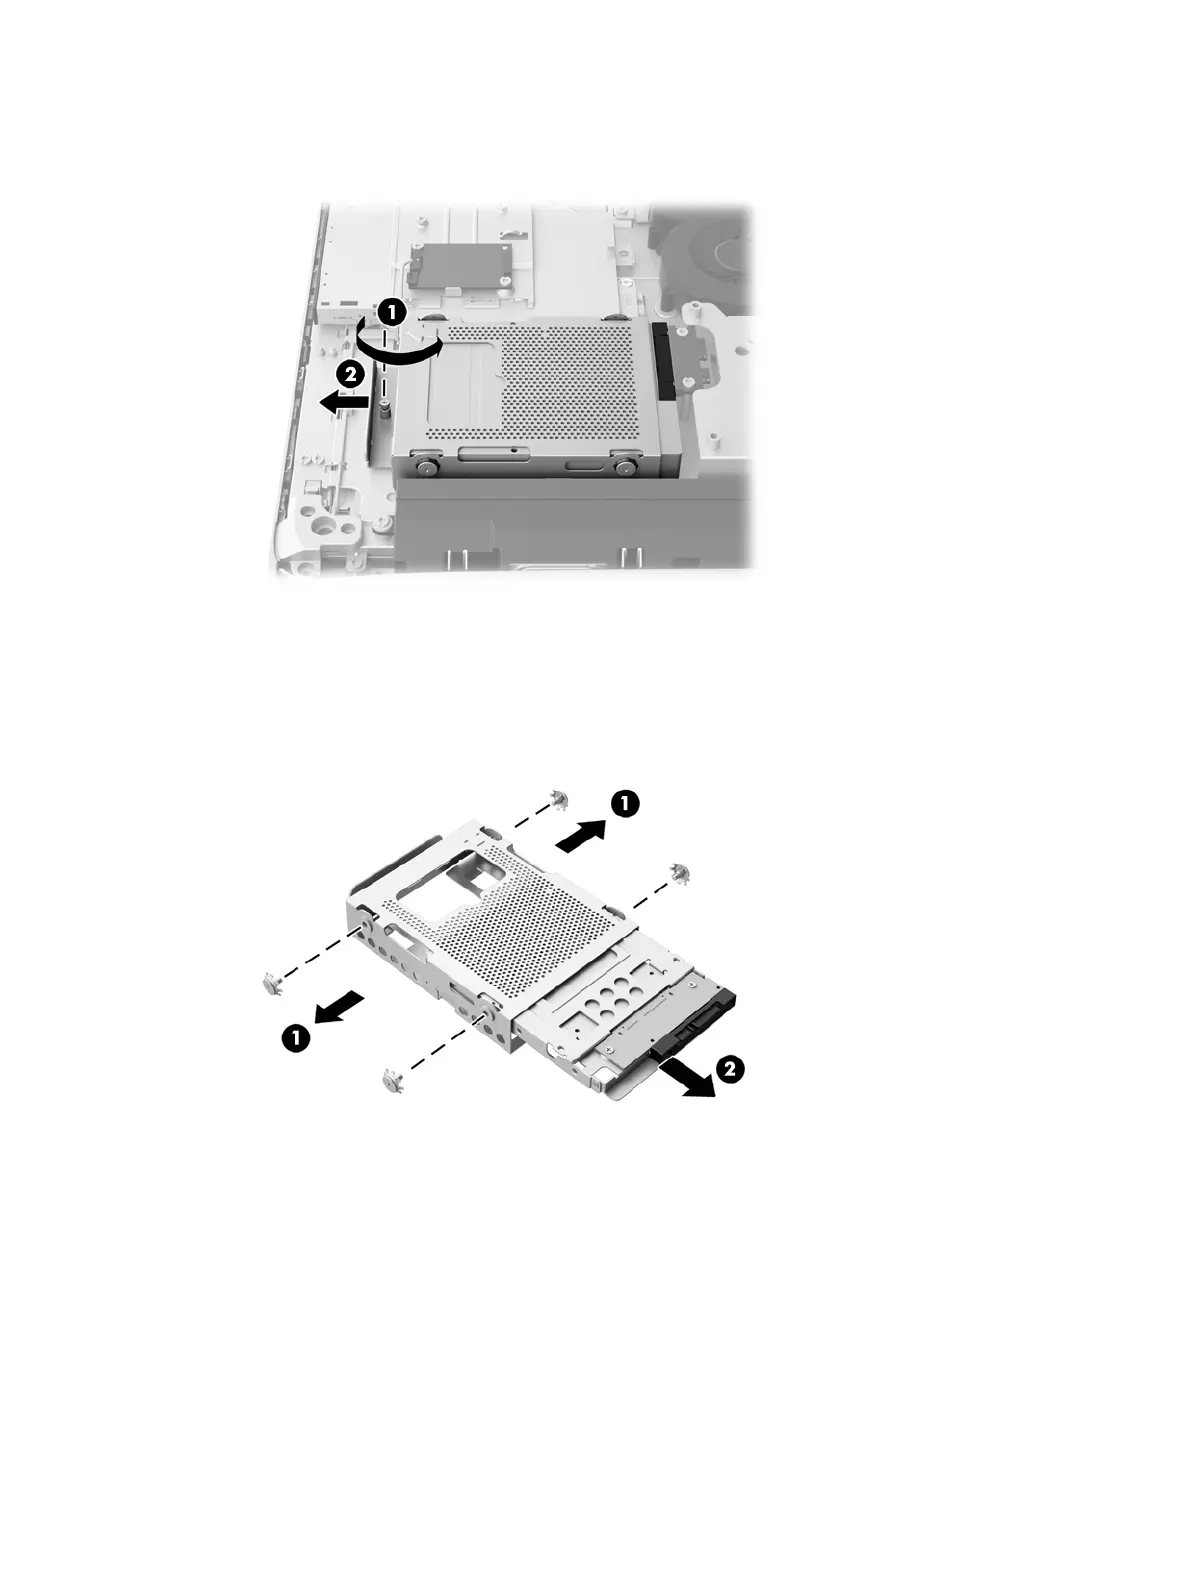
9. Slide the hard drive cage left, and then lift it out of the chassis (2).
Figure 3-32 Removing the hard drive cage
10. Remove the four mounting screws (1) securing the 2.5-inch drive adapter in the hard drive cage.
Be sure to keep the screws together with the blue rubber grommets to use to install a
replacement drive.
11. Slide the 2.5-inch drive adapter out of the hard drive cage (2).
Figure 3-33 Removing the drive cage
12. Remove the four screws (1) securing the 2.5-inch drive in the drive adapter. Be sure to keep the
screws to use to install a replacement drive.
Replacing drives 37

 Loading...