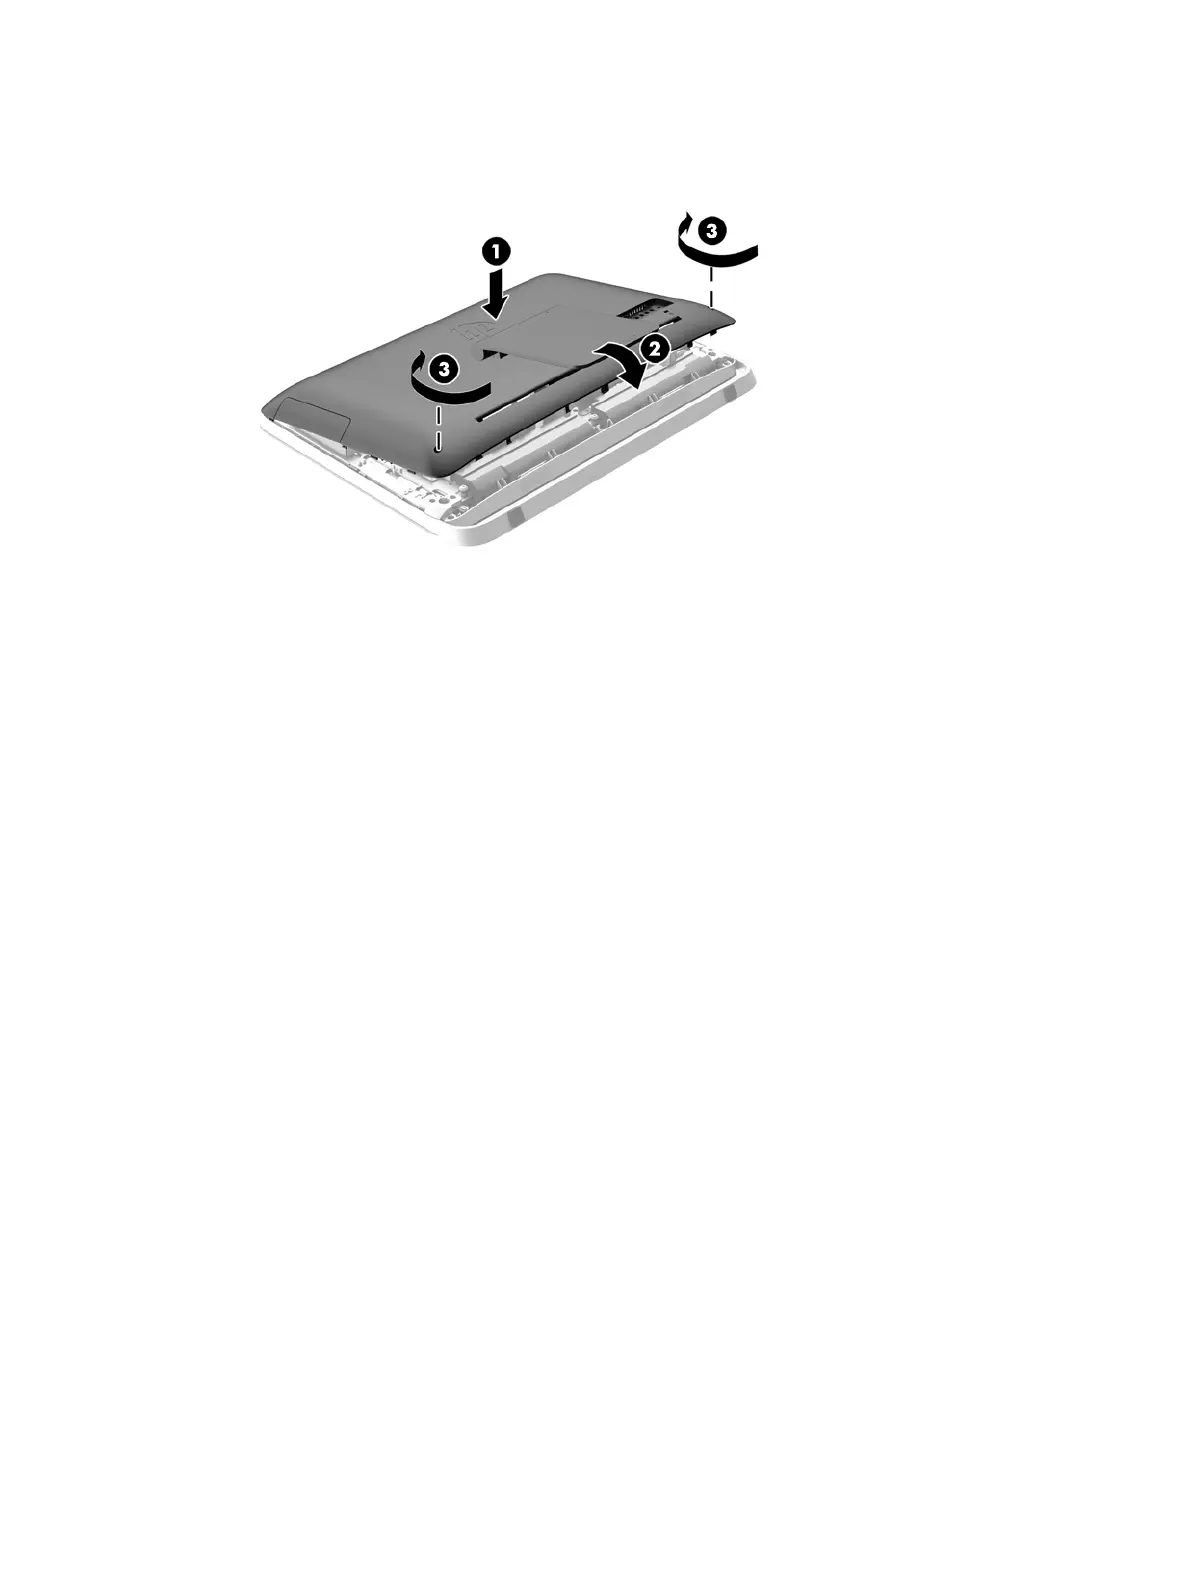
16. Tighten the captive screws (3) to secure the access panel in place.
Figure 3-48 Replacing the access panel
17. Place the computer in the upright position.
18. Reconnect the power cord and external devices.
19. Lock any security devices that were disengaged when the access panel was removed.
20. Turn on the computer.
Replacing drives 47
 Loading...