Installing and removing the rear port cover
Installing the rear port cover
1. Be sure that all cables are connected.
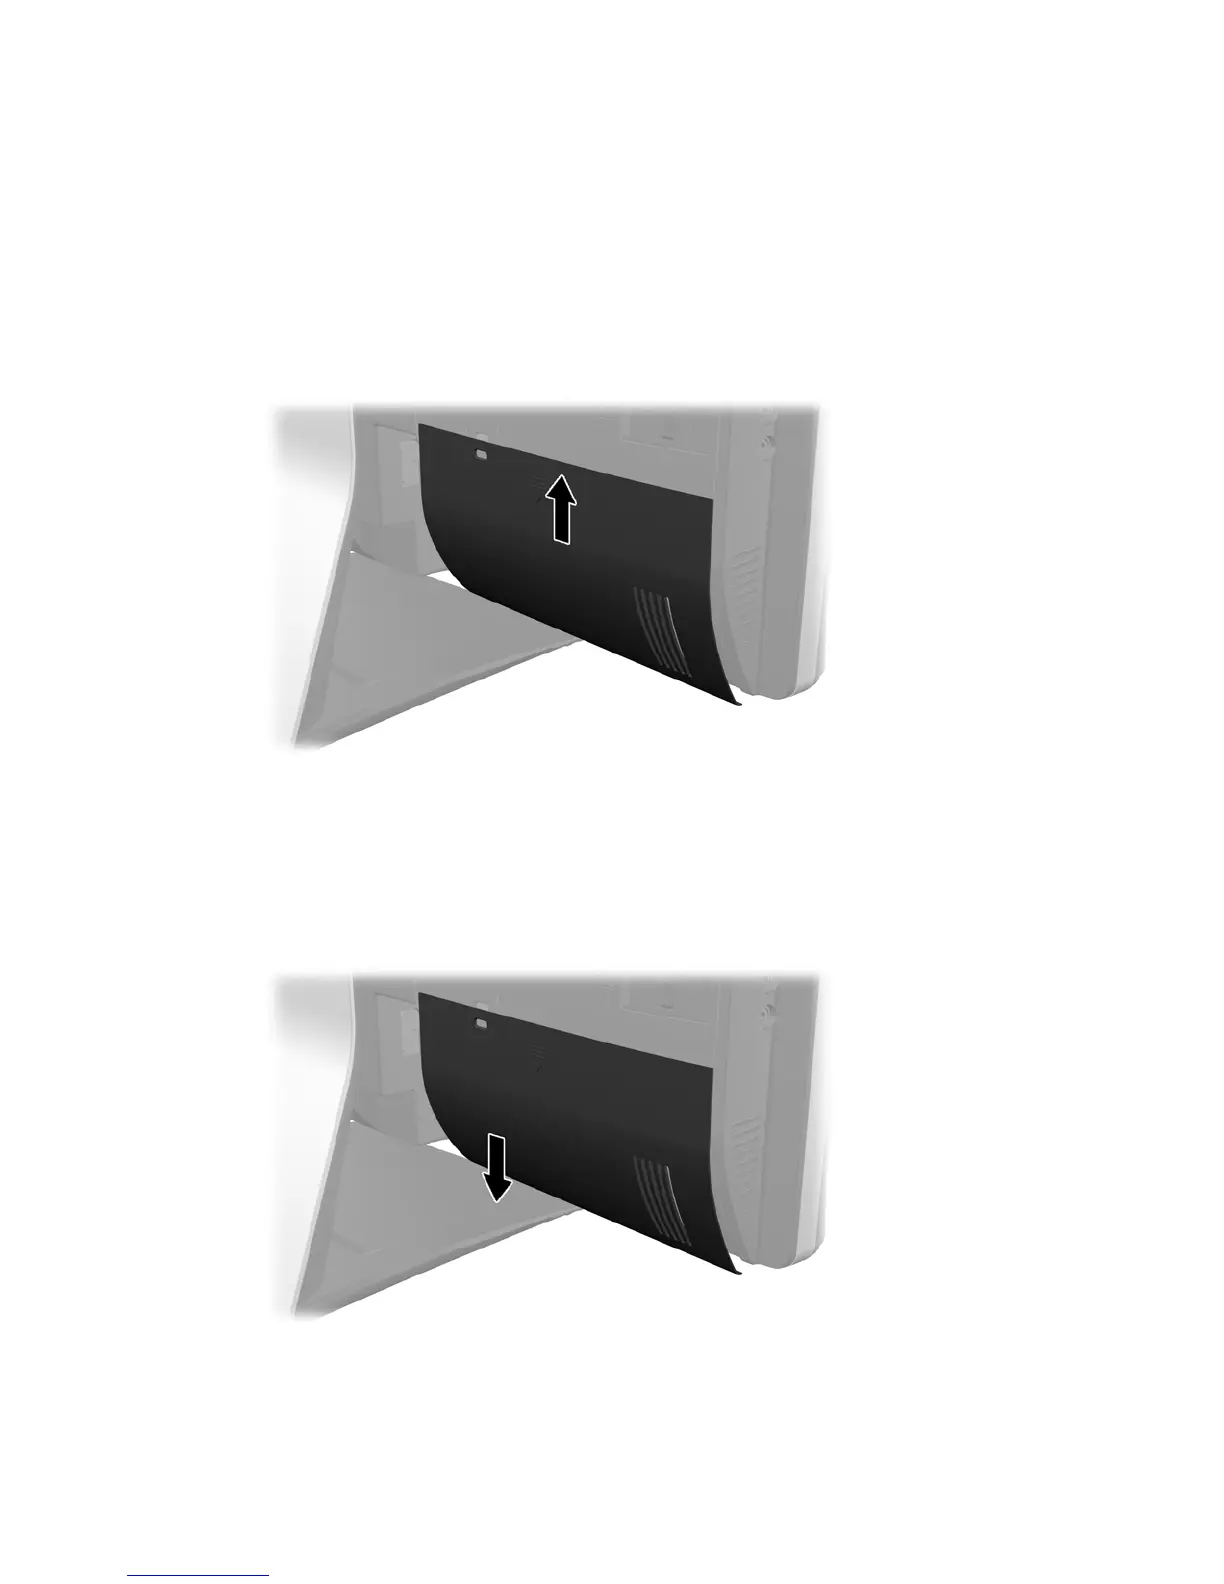
2. Place the cover against the computer, lining up the cable lock slot in the cover about 12 mm (0.5
inch) below the cable lock slot in the computer. Slide the cover up and into position.
Figure 2-3 Installing the rear port cover
Removing the rear port cover
1. If a cable lock is installed on the rear of the unit, remove the lock.
2. Grasp the rear port cover, then pull it down and off the computer.
Figure 2-4 Removing the rear port cover
Installing and removing the rear port cover
13