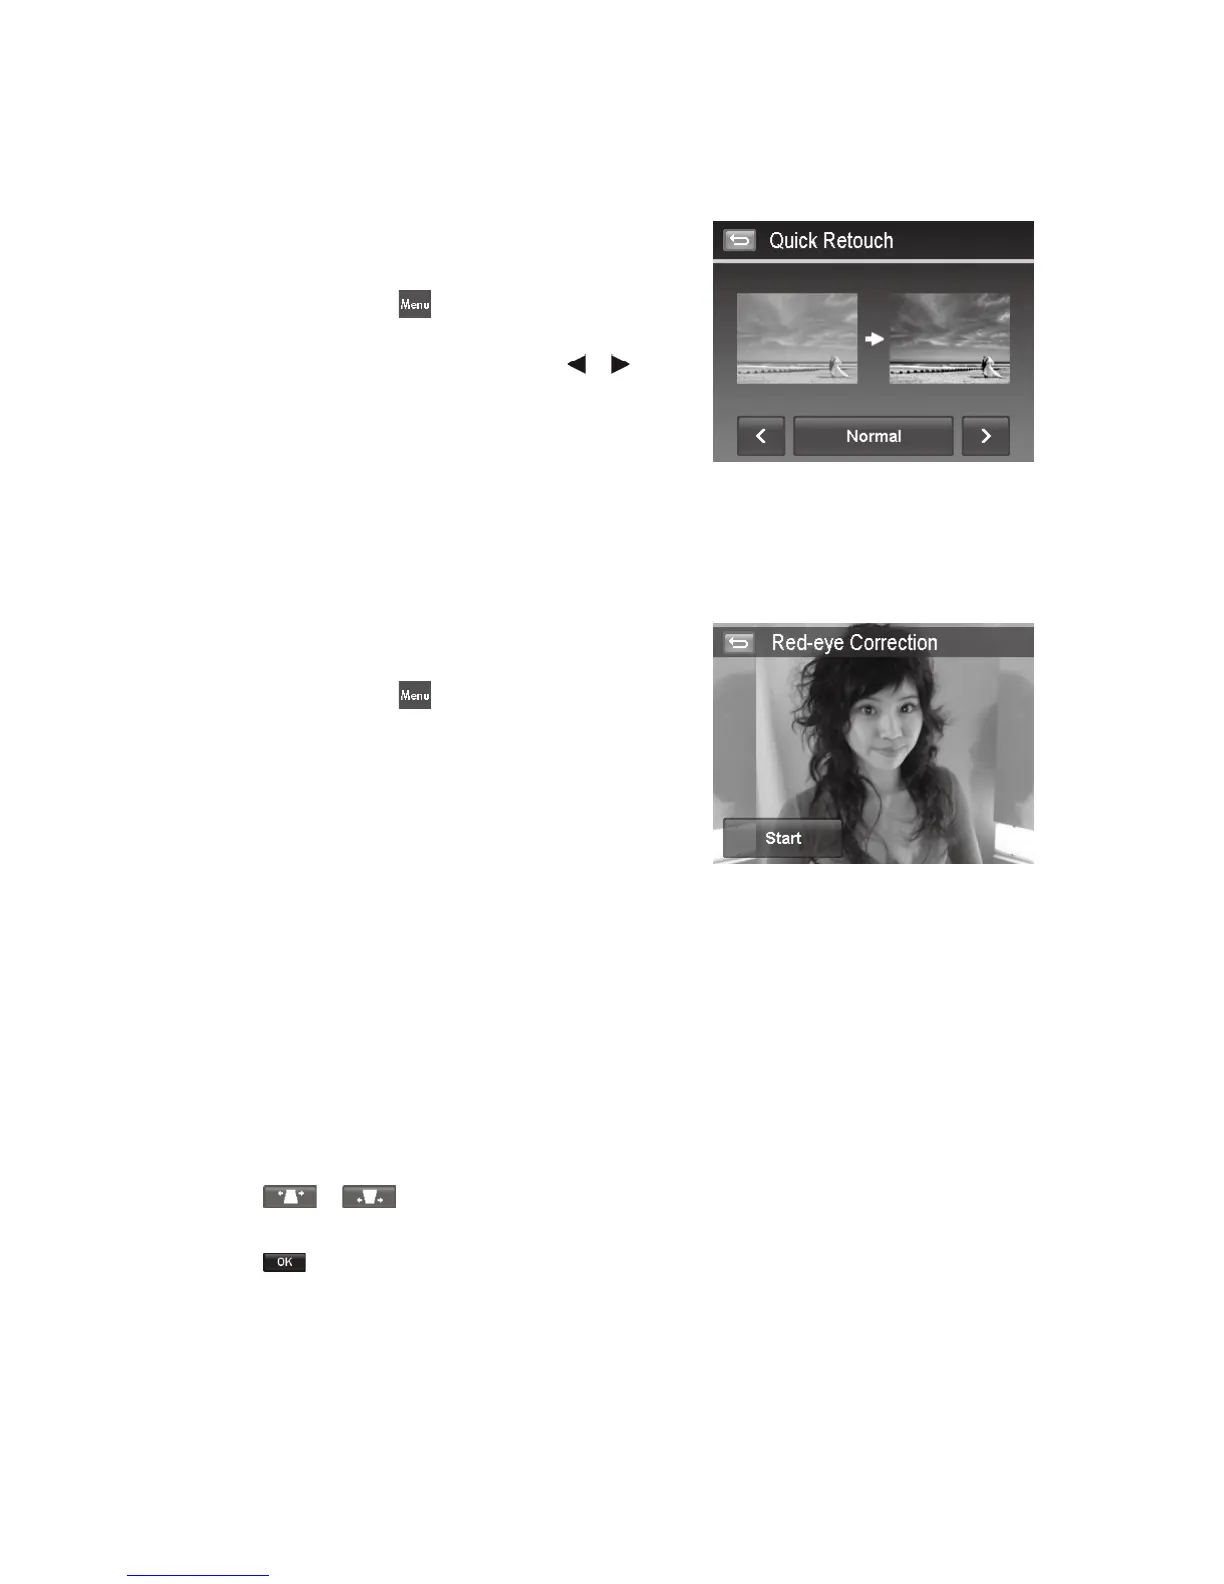
Quick Retouch
The unique feature is designed to create a retouched copy for a still image with the best balance of contrast and
saturation.
To use Quick Retouch:
Set the camera to Playback mode and locate the desired 1.
photo by single navigation.
Tap the onscreen 2. MENU
button to launch playback menu
and tap Quick retouch.
Tap to select a retouched level by the onscreen 3.
or
button. Available levels: Low/Normal/High.
Tap the onscreen level button to popup confirm menu.4.
Tap 5. YES to create a copy, Cancel to abort.
Red Eye Correction
The function is used to reduce red eye in captured images. This function is only available for still images. Red eye
correction can be applied to an image several times, but the quality may gradually deteriorate.
To activate Red Eye Correction:
Set the camera to Playback mode and locate the desired 1.
photo by single navigation.
Tap the onscreen 2. MENU
button to launch playback menu
and tap Red Eye Correction.
Tap the onscreen Start button to popup confirm menu.3.
Tap4. YES to save the corrected image as a new one, Cancel
to abort.
Repeat step 2 to 4 to enhance the correction, if necessary.5.
Perspective Control
You may have noticed that buildings look as though they are thinner at the top when you shoot from a low
viewpoint, also a road disappearing into the distance. All these are result of perspective distortion and all affected
by the angle of view and focusing point. Perspective Control allows you to make areas thicker or narrower to correct
these distortions.
To use Perspective Control:
Set the camera to Playback mode and locate the desired photo by single navigation.1.
2.Tap the onscreen Menu button to launch playback menu and tap Perspective Control.
3.Tap the
or button once or more to correct distorted image until the subject in the image is straight
and in correct size.
4.Tap the
button to popup confirm menu.
5.Tap YES to save corrected image as a new photo, Cancel to abort.
 Loading...