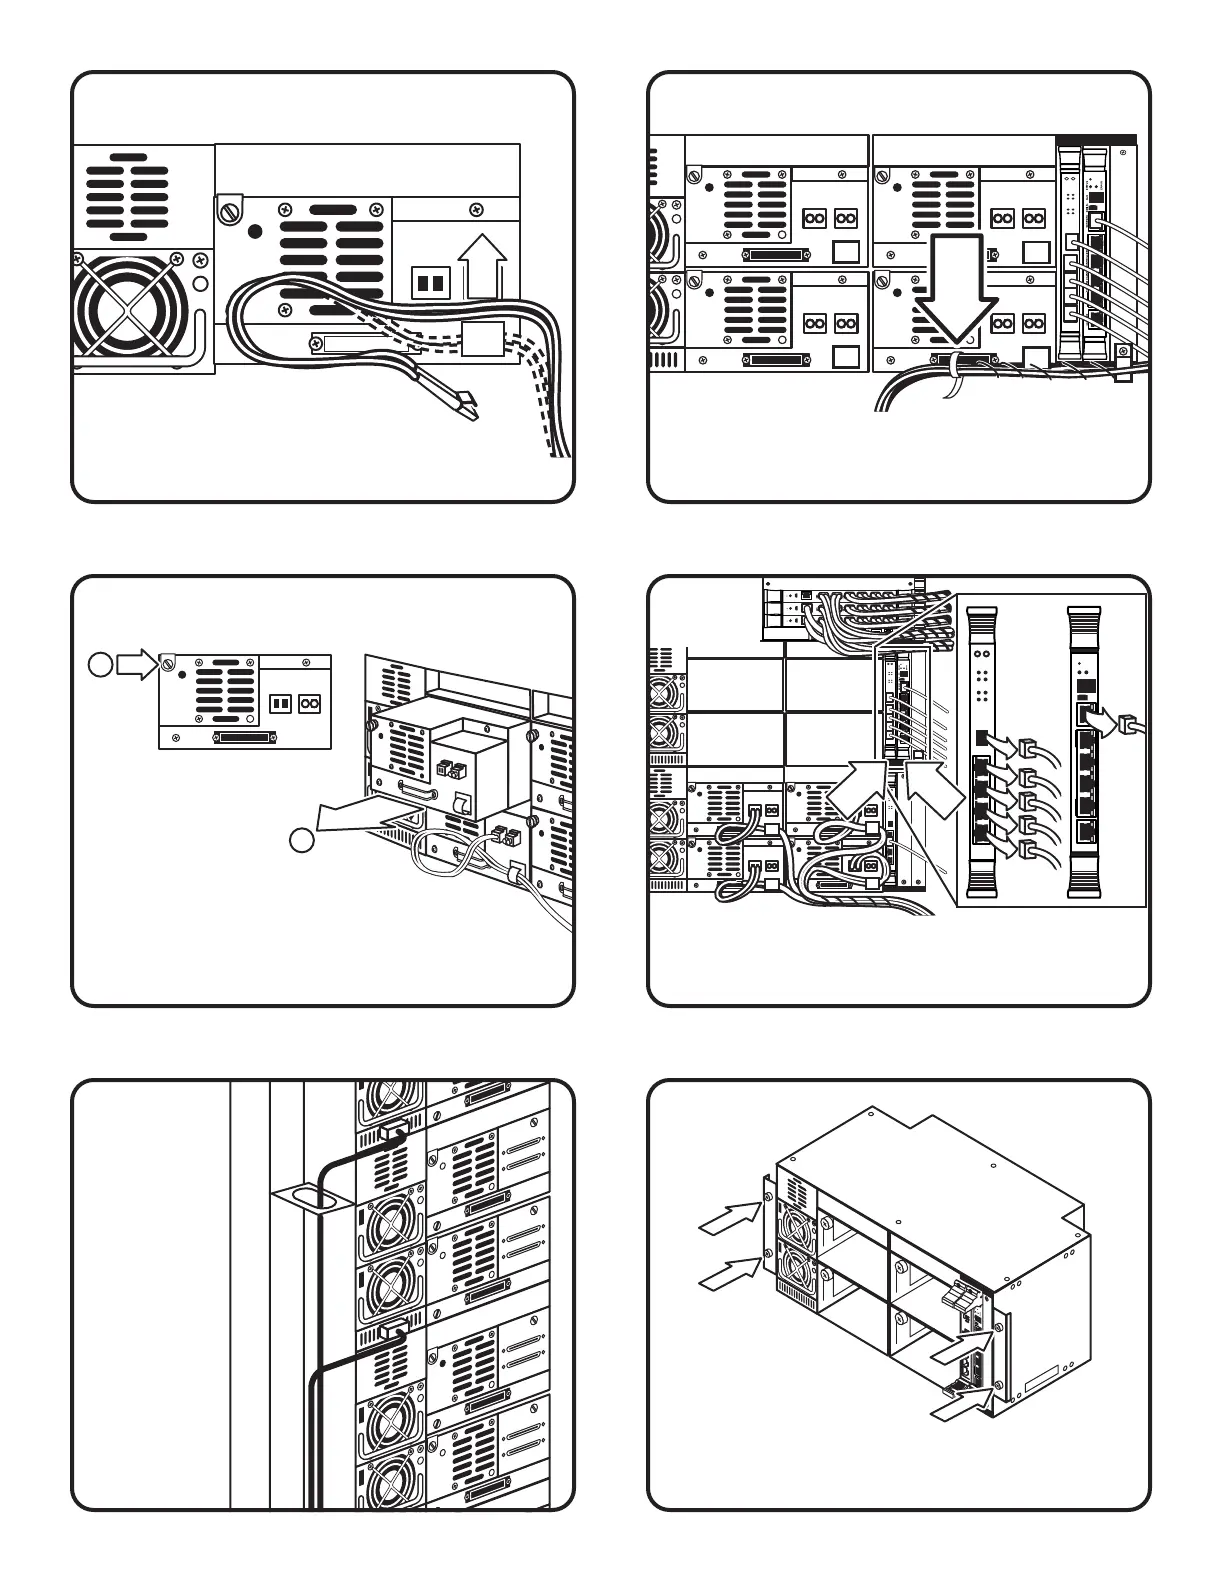
11
Remove the FC cables from the clips on the drives.
109
Remove the tie wrap that secures the cables to
the drive handle on the lower right drive (drive C)
in the cluster.
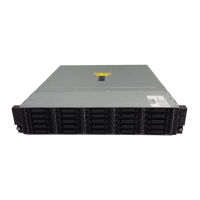
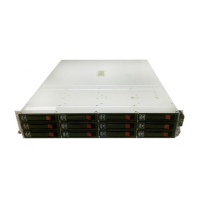
Remove all drives
from cluster 0.
For each drive, use a
slotted screwdriver to loosen the
captive screw at the upper left corner of
the drive module. Grasp the drive handle and
pull the drive from its bay. Set the drives aside.
Label and disconnect the cables connected to
the cluster controller card and the Interface
Manager card.
12
13 14
Remove the
power cord
that supplies
power to
cluster 0.
Remove the drive cluster
by using a #2 Phillips
screwdriver to remove the
four screws that secure the drive cluster to the
library frame. Remove the cluster and set it aside.