EasyManua.ls Logo

HP 353803-B22 - StorageWorks Modular Smart Array 1000 SAN Starter

HP 353803-B22 - StorageWorks Modular Smart Array 1000 SAN Starter
123 pages
To Next Page IconTo Next Page
Loading...
HP StorageWorks
1000 Modular Smart Array
installation guide
Product Version:
Controller firmware 5.xx or earlier, with active/passive support
Controller firmware 7.0 or later, with active/active support
This document details procedures for installing an HP StorageWorks 1000 Modular Smart Array
(MSA1000) and its attached storage enclosures. This guide is a companion to the MSA1000 Installation
Configuration Overview poster.
Note: Two versions of firmware are available for the MSA1000: active/passive and active/active. For more
information, see “Determine which version MSA controller firmware to use” (in this guide) and the
compatibility guides on the MSA1000 website: http://www.hp.com/go/msa1000.
Part number: 254092–008
Eighth edition: June 2007

Table of Contents

Question and Answer IconNeed help?

Do you have a question about the HP 353803-B22 - StorageWorks Modular Smart Array 1000 SAN Starter and is the answer not in the manual?

HP 353803-B22 - StorageWorks Modular Smart Array 1000 SAN Starter Specifications

General IconGeneral
BrandHP
Model353803-B22 - StorageWorks Modular Smart Array 1000 SAN Starter
CategoryDisk array system
LanguageEnglish

Summary

1 Installation procedures-All deployments

Step 1: Review and confirm your plans

Planning phase including firmware selection, worksheets, and best practices review.

Step 2: Prepare your site

Ensuring proper physical space, ventilation, and power requirements for the MSA installation.

Step 4: Rack the MSA and the storage enclosures

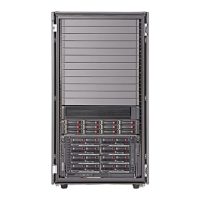
Guidance on safely mounting the MSA and storage enclosures into server racks.

Step 5: Install the hard drives

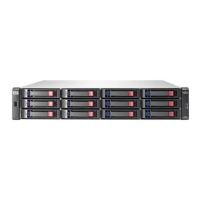
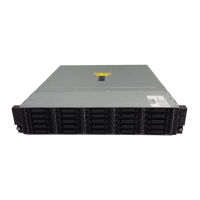
Instructions for inserting hard drives into the MSA drive bays.

Step 6: Prepare your servers

Verifying server compatibility and configuring operating systems for MSA integration.

Step 7: Install the HBA in your servers

Installing the Host Bus Adapter (HBA) required for MSA connectivity in servers.

Step 9: Connect the cables

Connecting SCSI, Fibre Channel, and power cables according to best practices.

Step 11: Configure your MSA

Finalizing MSA setup by customizing server and storage configurations.

Storage Configuration Utilities

2 Configuration procedures-Windows environments

3 Configuration procedures-Linux environments

Installing MSA-specific components on the servers

Installing necessary drivers and utilities (HBA, ACU) on Linux servers.

4 Configuration procedures-HP-UX environments

5 Configuration procedures-OpenVMS environments

6 Configuration procedures-VMware environments

VMware-specific tasks

Configuring host mode and selective presentation for MSA in VMware.

7 Configuration procedures-Other environments

Configuring the storage

Steps for creating arrays (LUNs) and setting storage parameters in other OS environments.

8 Powering off and powering on the MSA

Powering off the MSA

Step-by-step instructions for safely powering down the MSA array.

Powering on the MSA

Step-by-step instructions for safely powering up the MSA array and verifying status.

B Electrostatic discharge

Related product manuals