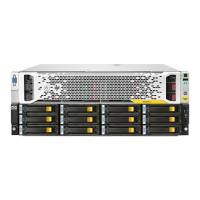
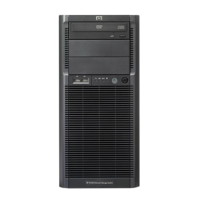
Figure 24: Removing the front bezel
4. Remove the disk.
a. Press the hard disk carrier button (1) to release the ejector lever.
b. Pull out the disk carrier handle and slide the hard drive assembly (2) out of the drive bay. Be sure
to support the drive when pulling it out of the cage.
Figure 25: Removing the hard drive
NOTE: The illustration above shows disk removal in a StoreOnce appliance’s server unit. The disk
carrier is different when working with disks in an expansion shelf, as shown below.
5. Replace the failed disk with the new disk.
6. Push the hard drive assembly (1) into the drive bay until it stops and press the HDD carrier latch (2)
inward until it clicks.
Disk replacement 57

 Loading...
