Upgrading and Replacing PC Hardware
Replacing the Floppy Drive
WARNING For your safety, disconnect the power cord and all external cables.
1 Switch off the PC, disconnect the power cord and remove the PC’s side panel and air flow guide (refer
to
“Removing and Replacing the Side Panel & Air Flow Guide” on page 12).
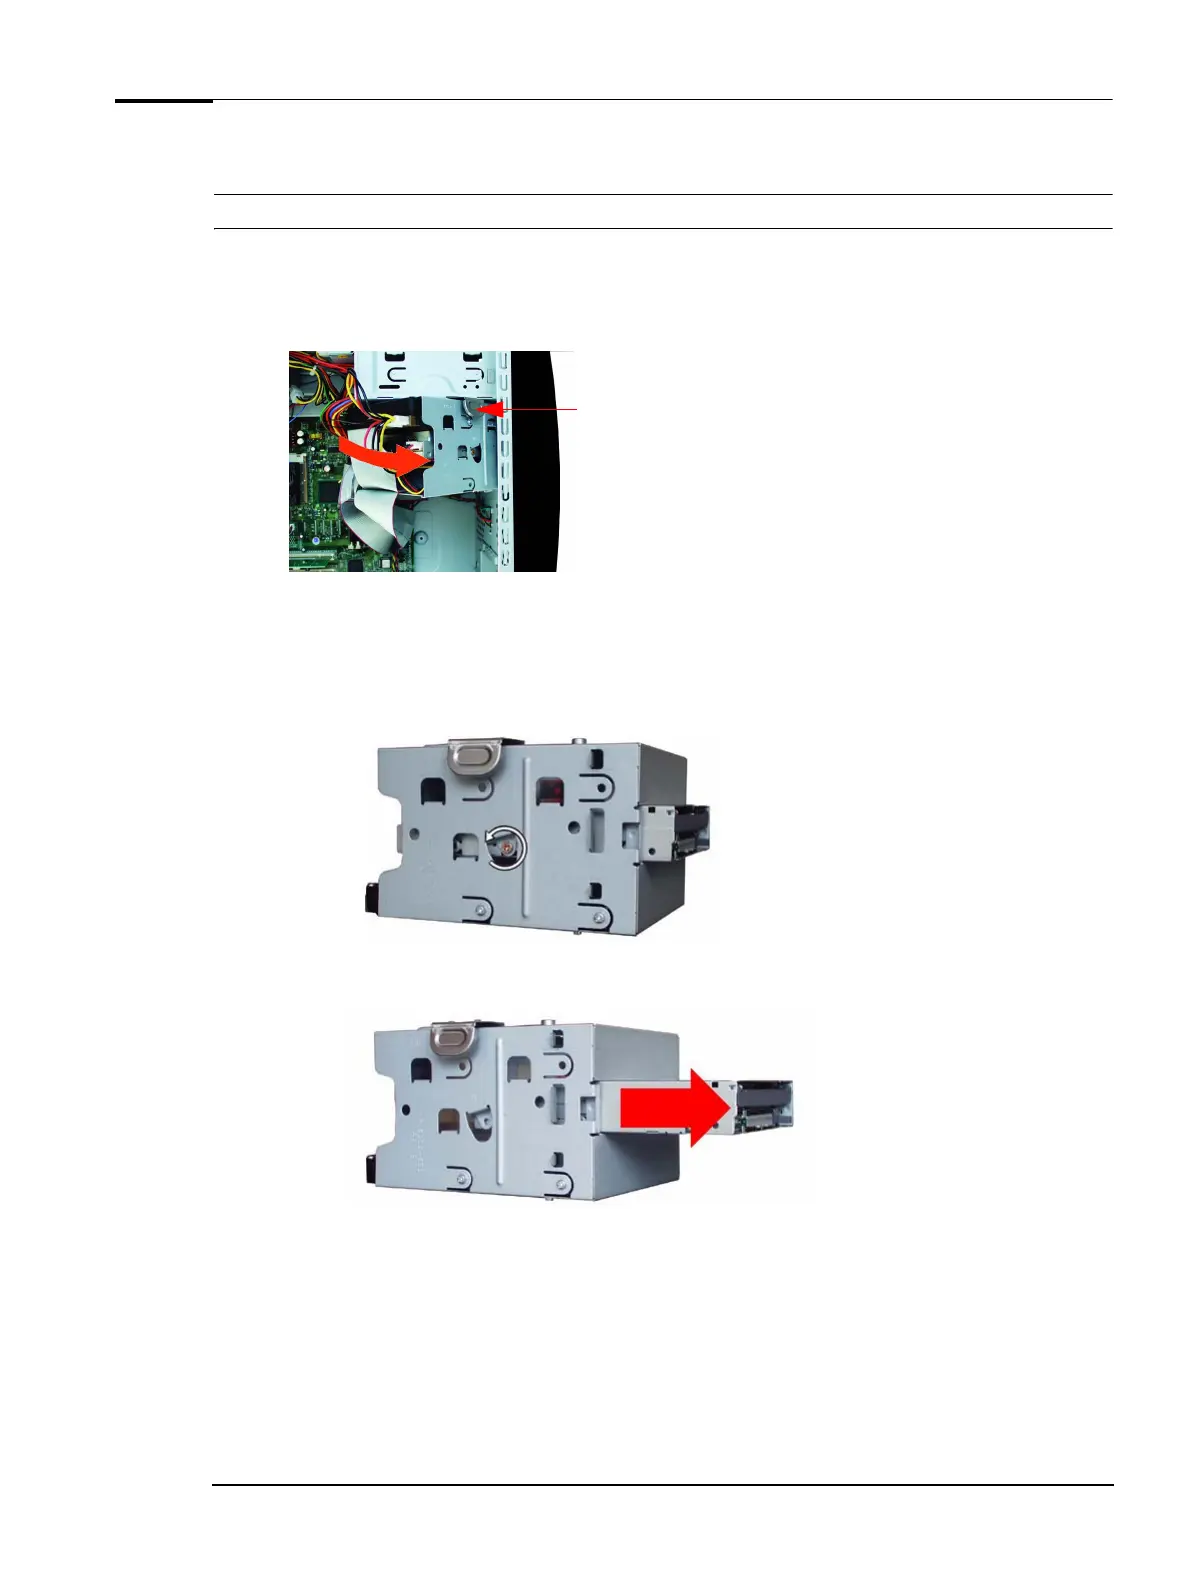
2 Press the tab on the hard disk drive/floppy disk drive tray and pull the tray out part of the way.
Press here
3 Disconnect all cables at the back of the floppy disk drive and hard disk drive.
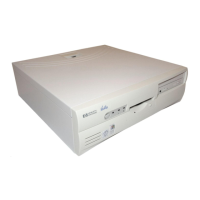
4 Remove the drive tray from the PC.
5 Remove the two floppy drive fixing screws (one on either side of the drive tray), noting carefully the
position of these screws.
6 Slide the floppy drive out through the front of the tray.
17