Upgrading and Replacing PC Hardware
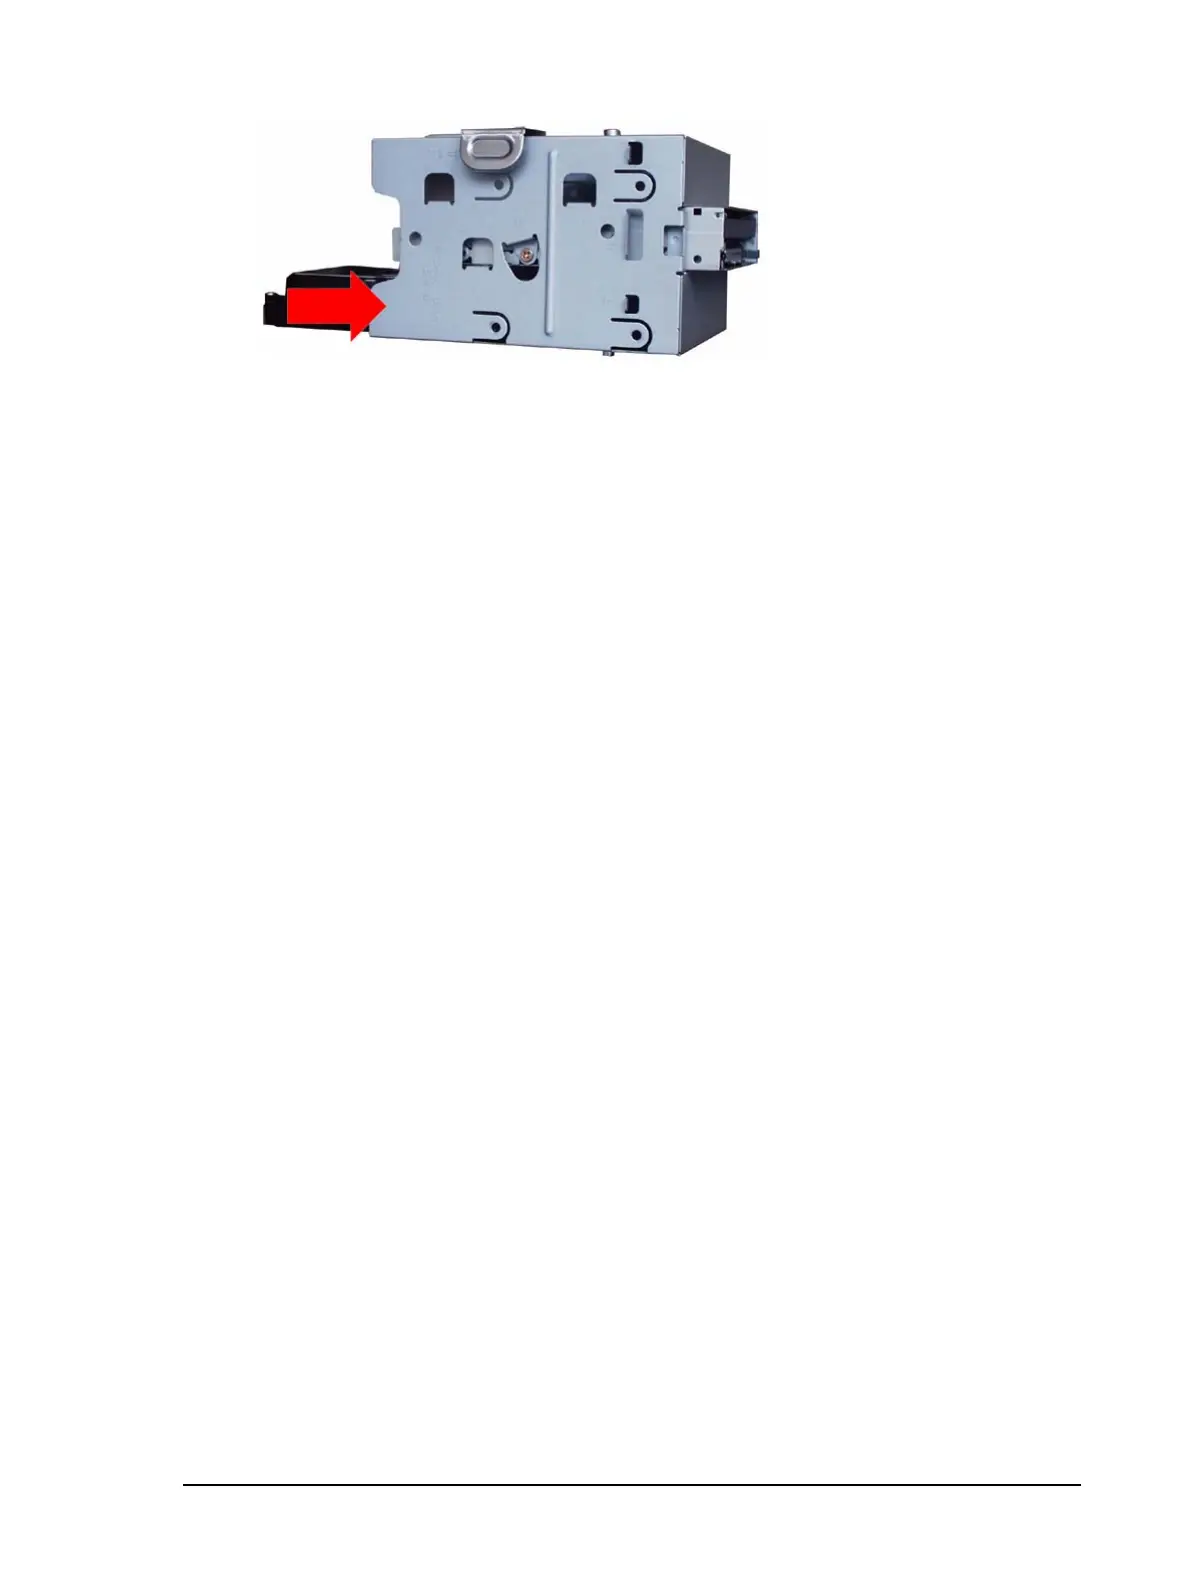
7 Slide the new drive into the hard drive tray.
8 Replace the three screws.
9 Reconnect the cables at the back of the floppy disk drive and hard disk drive and replace the drive tray
in the PC, ensuring that it is firmly positioned.
10 Replace the PC’s side panel and air flow guide (refer to “Removing and Replacing the Side Panel & Air
Flow Guide” on page 12).
11 Reconnect the power cord.
20