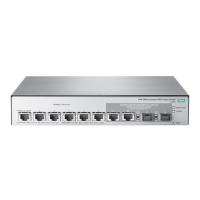
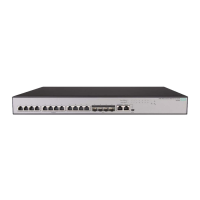
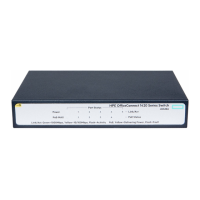
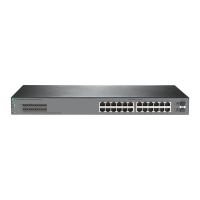
HPE OfficeConnect 1820 Switch Series
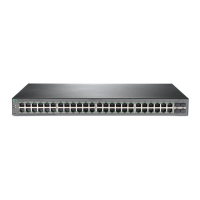
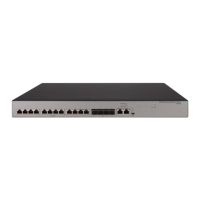
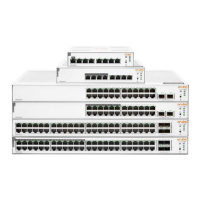
The switch drawings in this document are for illustration only and may not match your particular
switch model.
For more detailed instructions and information to set up your switch, view or download the Installation and
Getting Started Guide for your switch at
http://www.hpe.com/support/hpesc.
NOTE:
The HPE OfficeConnect 1820 Switch Series 8-port, 24-port, and 48-port non-PoE+ models have a fan-
free design, making them quiet for office deployments. A warmer than normal enclosure is a standard
state of operation for a fan-free switch.
Although the top of the switch enclosure may feel warm to the touch, it has no effect on functionality or
performance of the product.
1. Unpack and check included parts. • Documentation kit
• Switch
• Accessory kit (installation hardware)
• AC power cord for HPE 1820 24G, 1820 24G PoE
+, 1820 24G PoE+, 1820 48G, and 1820 48G
PoE switch models or DC external power adapter
for 1820 8G and 1820 8G PoE+ switch models
2. Prepare for installation. To avoid personal injury or product damage, review the Safety
Precautions.
3. Power-on and verify that Self-Test completes normally.
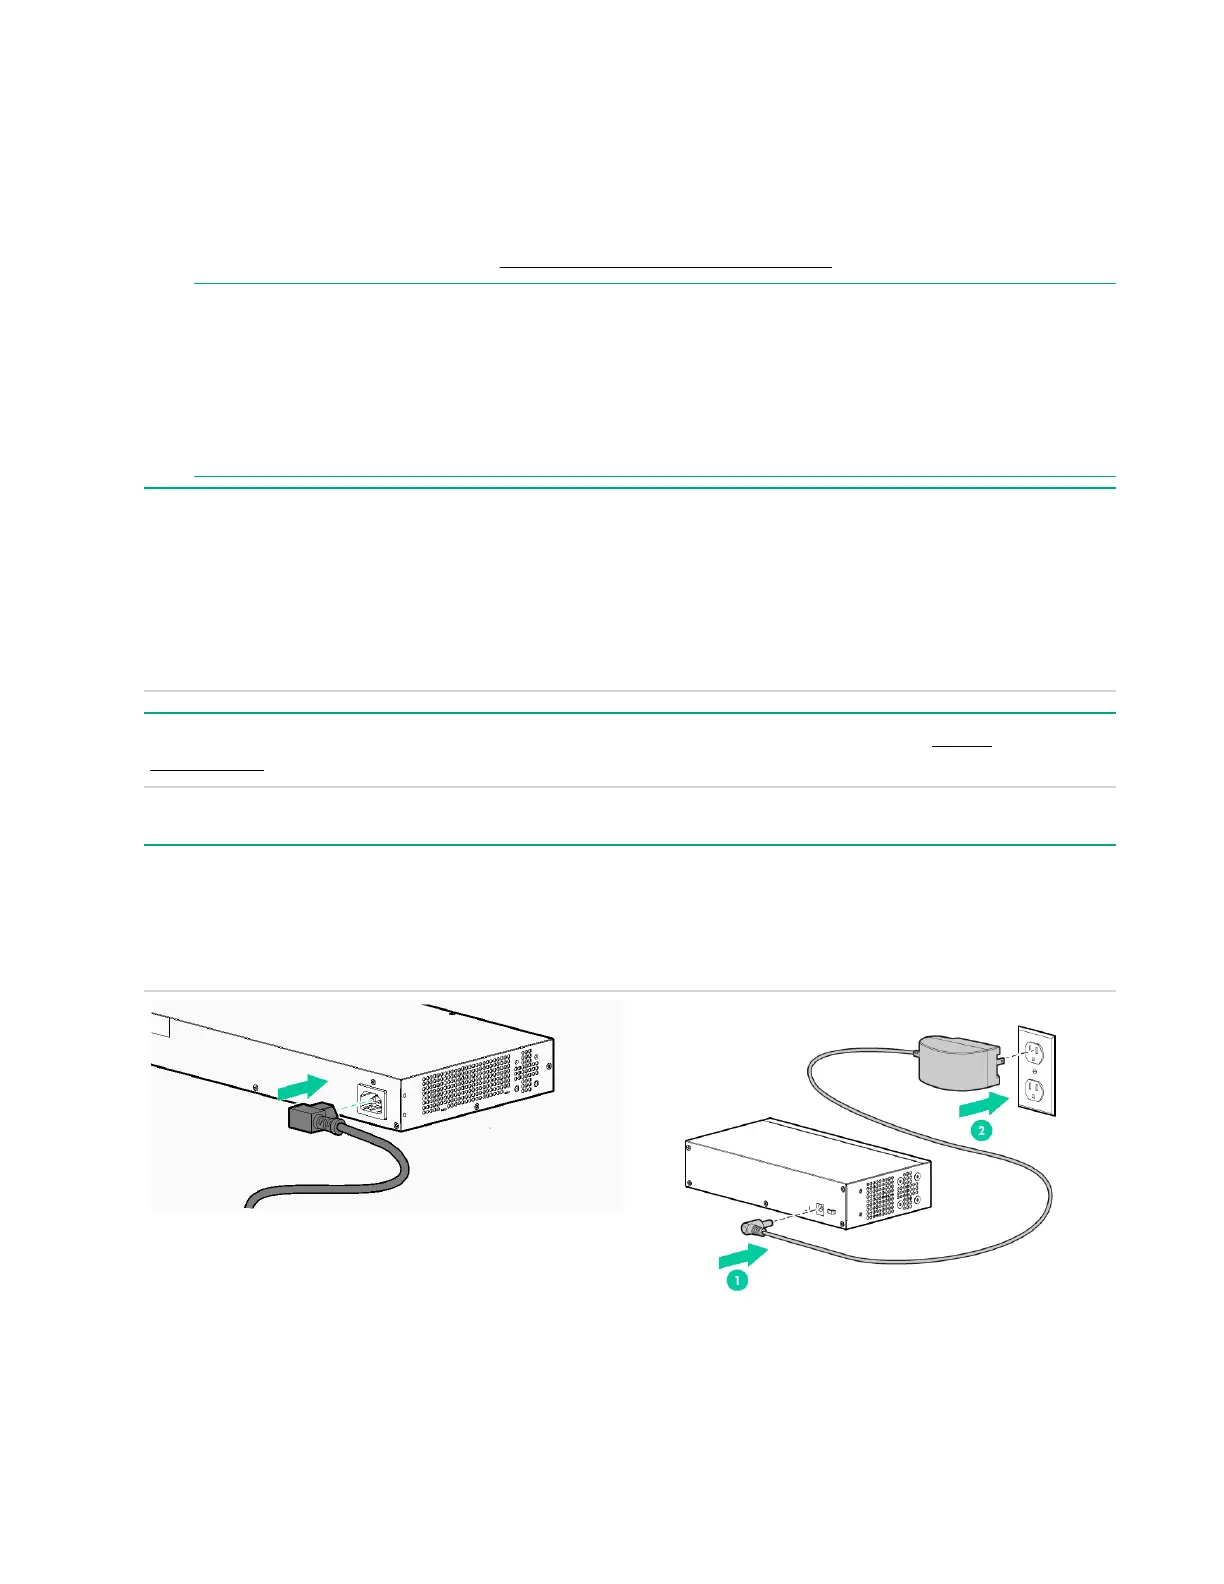
For the 1820 24G, 1820 24G PoE+, 1820 24G PoE+, 1820 48G, and 1820 48G PoE+ switches, first connect
the power cord to the power connector at the back of the switch. Then, connect the other end of the power
cord into an electrical outlet. For the 1820 8G and 1820 8G PoE+ switches, connect the AC/DC adapter
power cord to the power connector at the back of the switch. Then plug the AC/DC power adapter into an
electrical outlet.
4. Mount the switch.
4 HPE OfficeConnect 1820 Switch Series

 Loading...