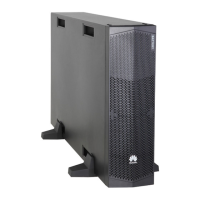
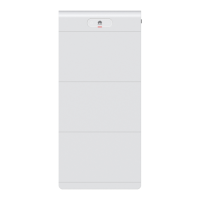
Figure 4-9 Installing the mounting ears
Step 3 There are two methods for installing battery packs on a rack.
Method 1: oating nuts + common guide rails Align the lower edge of the guide
rail with the lower edge of a U scale. Install
oating nuts (six in total) in positions
numbered 2, 5, and 8, as shown in the gure.
Figure 4-10 Installing common guide rails
Method 2: adjustable guide rails + oating nuts
1. Determine installation positions for the guide rails (height: 2 U). Align the
lower edge of the guide rail with the lower edge of a U scale.
2. Insert the mounting ears at the front and rear ends of the guide rail into the
corresponding mounting holes, secure the rear end using M6x16 screws, and
level the guide rail. Do not install the screws at the front end. Install the other
guide rail in the same method.
3. Install
oating nuts in the upper part of the guide rails (on the front end), as
shown in the following
gure.
ESS-240V12-(9AhBPVBA04, 7AhBPVBA04) Battery
Pack
Quick Guide 4 Installation
Issue 02 (2022-06-30) Copyright © Huawei Digital Power Technologies Co., Ltd. 33

 Loading...


