4
The preceding steps need to be performed only once. To verify the connection you just
created, choose Network and Sharing Center > Change adapter settings.
To connect to the Internet, double-click the connection, and click Connect in the dialog box.
5 Setting Up a Wireless Connection
The following example uses a computer running the Windows 7 operating system to describe
how to set up a wireless connection:
Step 1
Start the wireless configuration service of the Windows 7 operating system as
follows:
1. Click Start, enter services.msc in the search box, and press Enter.
2. In the Services window, right-click WLAN AutoConfig to display a shortcut
menu, and choose Properties.
3. Check that Service status is Started. If Service status is not Started, click
Start.
4. Click OK to close the dialog box, and then close the Services window.
Step 2
Find the wireless network name (
SSID
) and its password (
WLAN Key
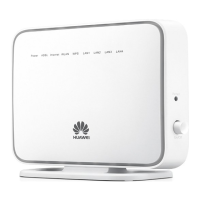
) printed on
the label on the HG532s's rear panel.
If they have been changed, please use the new wireless network name and
password.
Step 3
View and connect to available wireless networks:
1. Open Connect to a Network by clicking the network icon (
or ) in the
notification area.
2. In the list of available wireless networks, click on the wireless connection name
that you got in Step 2, and then click Connect.
3. Enter the WLAN Key when prompted and then click Connect.
After the system verifies the password, Connected appears on the wireless network
icon in the wireless network list, indicating that your computer has established
a wireless connection to the HG532s.
 Loading...