Figure 12-6 Tightening screws
2. Connect the blue core wire labeled NEG(-) to the - port and the black/brown core wire
labeled RTN(+) to the + port on the tool-less female connector (pressfit type), and then
tighten the screws using a Phillips screwdriver, and then use a torque screwdriver to tighten
the M4 screws to 1.4 N·m (12.39 lbf·in.), as shown in Figure 12-7.
Figure 12-7 Adding a tool-less female connector (pressfit type) to two core wires
Step 5 Strip the specified length of the sheath off the power cable to expose the intact shield layer, as
shown in Figure 12-8.
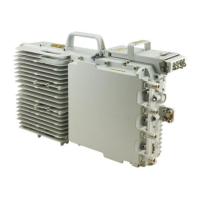
RRU3832&RRU3632
Installation Guide 12 Appendix
Issue 05 (2014-06-30) Huawei Proprietary and Confidential
Copyright © Huawei Technologies Co., Ltd.
119
 Loading...