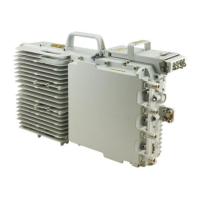
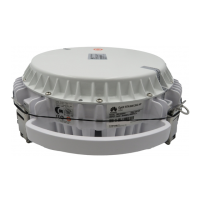
Step 5 Install the RRU onto the main bracket, as shown in Figure 8-25.
Figure 8-25 Installing the RRU onto the main bracket
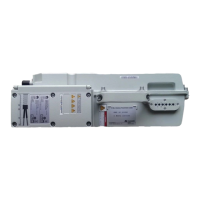
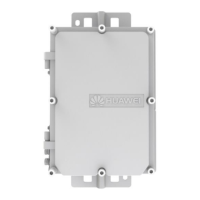
Step 6 Use an inner hexagon screwdriver to tighten the captive screw into the holes on the top of the
attachment plate and main bracket to 5 N·m (44.25 lbf·in.) so that the attachment plate and main
bracket are firmly secured, as shown in Figure 8-26.
Figure 8-26 Securing the captive screw into the connection hole
----End
RRU3832&RRU3632
Installation Guide
8 Installing the RRU
Issue 05 (2014-06-30) Huawei Proprietary and Confidential
Copyright © Huawei Technologies Co., Ltd.
67
 Loading...