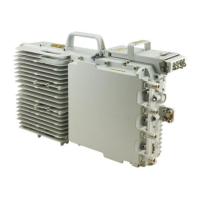
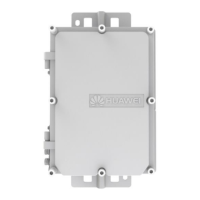
Figure 4-1 Loosening the captive screws on the main bracket
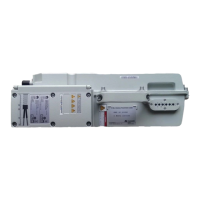
Step 7 Use an M6 screwdriver to tighten the screw on the adapting piece of the RRU, as shown in
Figure 4-2. Using the screw only for removing the RRU, loosen the connection between the
adapting piece and the main bracket, and then lift the bottom of the RRU to remove the RRU,
as shown in Figure 4-3.
Figure 4-2 Tightening the screws on the adapting piece
4 Replacing the RRU
RRU3908 V2
Hardware Maintenance Guide
4-2 Huawei Proprietary and Confidential
Copyright © Huawei Technologies Co., Ltd.
Issue 01 (2010-04-10)
 Loading...