EasyManuals Logo

Huawei SUN2000-M1 User Manual

Huawei SUN2000-M1
29 pages
To Next Page IconTo Next Page
To Previous Page IconTo Previous Page
Page #4 background imageLoading...
Page #4 background image
3
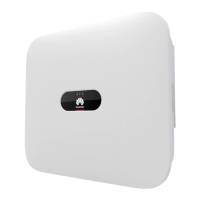
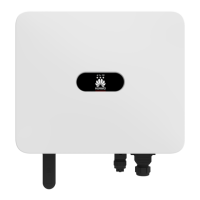
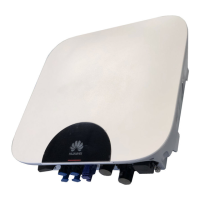
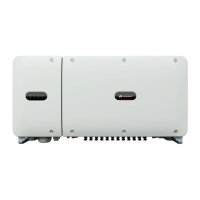
Installing the Inverter
2.2
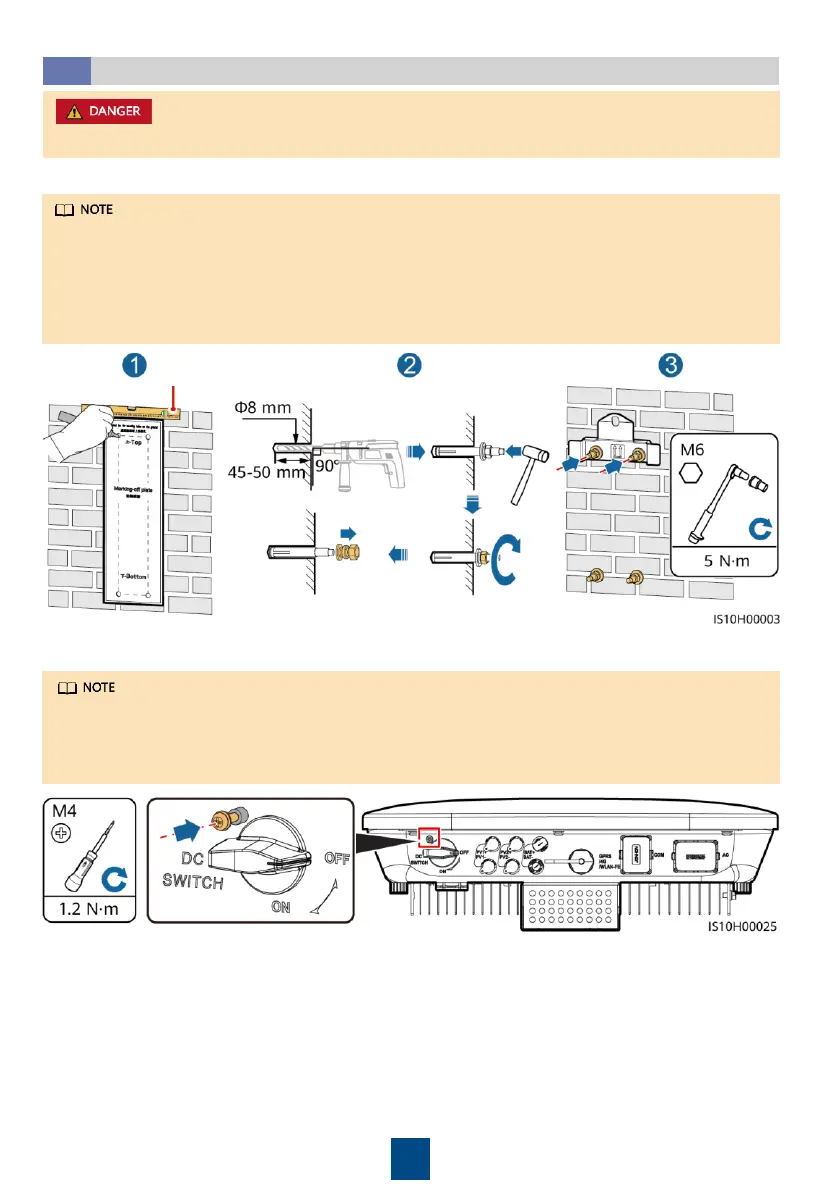
When drilling holes, avoid the water pipes and power cables buried in the wall.
1. Install the mounting bracket.
M6x60 expansion bolts are delivered with the inverter. If the length and number of the bolts
do not meet installation requirements, prepare M6 stainless steel expansion bolts by yourself.
The expansion bolts delivered with the inverter are used for solid concrete walls. For other
types of walls, prepare bolts by yourself and ensure that the wall meets the load bearing
requirements of the inverter.
Loosen the nuts, flat washers, and spring washers of the two expansion bolts.
Level
2. (Optional) Install the screw for locking the DC switch.
The screws for DC switches are delivered with solar inverters. According to Australian
standards, the screws are used to secure DC switches (DC SWITCH) to prevent them from
being turned on by mistake.
For the model used in Australia, perform this step to meet the local standards.

Questions and Answers:

Question and Answer IconNeed help?

Do you have a question about the Huawei SUN2000-M1 and is the answer not in the manual?

Huawei SUN2000-M1 Specifications

General IconGeneral
ModelSUN2000-M1
ManufacturerHuawei
Max Efficiency98.6%
Max DC Voltage1100 V
Number of MPPTs2
Rated AC Grid Frequency50 Hz / 60 Hz
Adjustable Power Factor Range0.8 leading to 0.8 lagging
Total Harmonic Distortion (THD)<3%
DC ConnectionMC4
CoolingNatural Convection
Protection DegreeIP65
Weight17 kg
MPPT Efficiency99.9%
Cooling MethodNatural Convection
Protection LevelIP65
Max Input Current11A
Max AC Power5.5 kW
Rated AC Voltage230V
AC Voltage Range180 V - 276 V
Operating Temperature Range-25°C to 60°C
Dimensions525 x 470 x 146 mm
Maximum Output Power5.5 kW

Related product manuals