7 6
Installation – Canopy Mount and Terminal Wiring (continued)
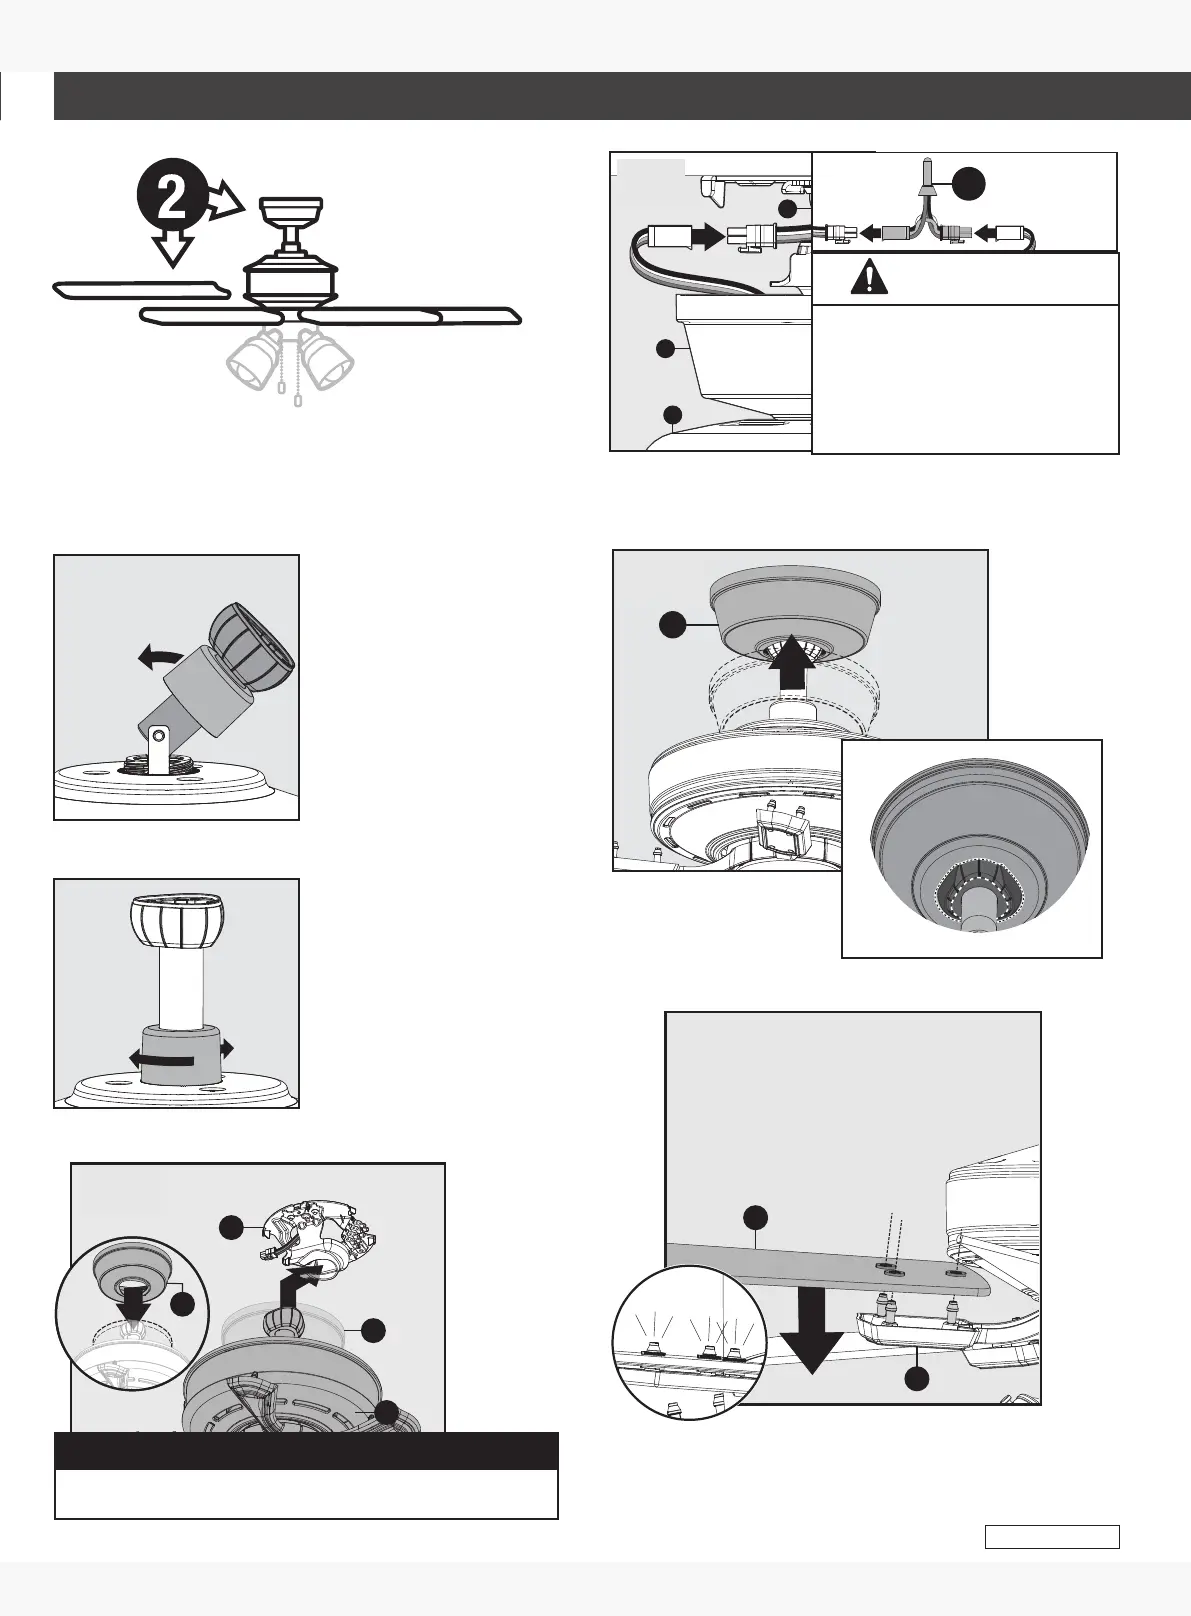
Installation – Fan Body, Wiring Harness, Canopy Cover, and Blades
Install snap-on canopy (B) over downrod on fan body (C). Place the down
rod ball into the slot in canopy mount (A) with built-in ceiling bracket.
2a
1
2
A
B
C
B
NOTICE
To prevent damage to fan, ALWAYS lift holding either the fan housing or
the downrod. Do not lift by wires.
Slide the snap-on canopy (B)
over the canopy mount (A)
until it clicks in place.
F
i
t
t
h
e
c
a
n
o
p
y
i
n
p
l
a
c
e
a
s
s
h
o
w
n
.
Install a snap-on blade to pop locks on pre-installed
blade iron.Repeat for remaining blades (E).
2d
C
E
2
x5
1
Connect wiring harness from canopy mount (A) to wiring harness
from fan body (C).
2b
A
C
B
IMPORTANT
Note: For single switch wiring an additional
jumper harness component will be needed.
Take the jumper harness (H) from the
accessories bag. Connect the female end
to the hanging bracket connector. Connect
the male end of the jumper harness to the
ceiling fan connector.
2c
2e
2d
2f
Rotate the downrod into an
upright position.
Keep downrod upright and
lower downrod adapter cover
and twist clockwise until tight.
I
B
2a
2b
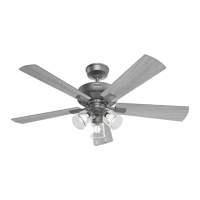
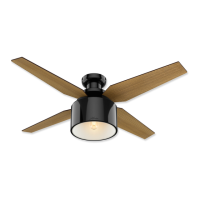
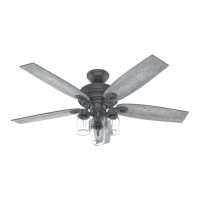
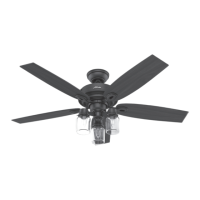
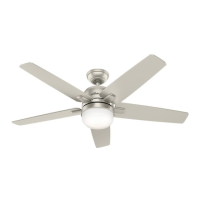
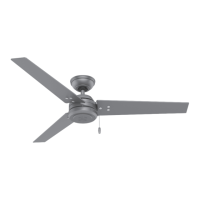
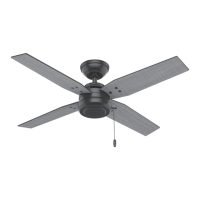
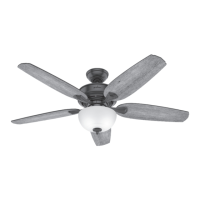
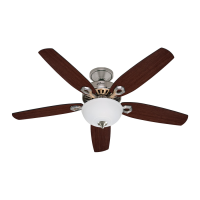
Fan style may vary.
Note: