Step Title
9
42746-01 • 04/26/07 • Hunter® Fan Company
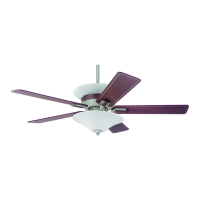
5 • Assembling the Fan
Note: You may rest the fan body in the
carton for protection and stability during
this time.
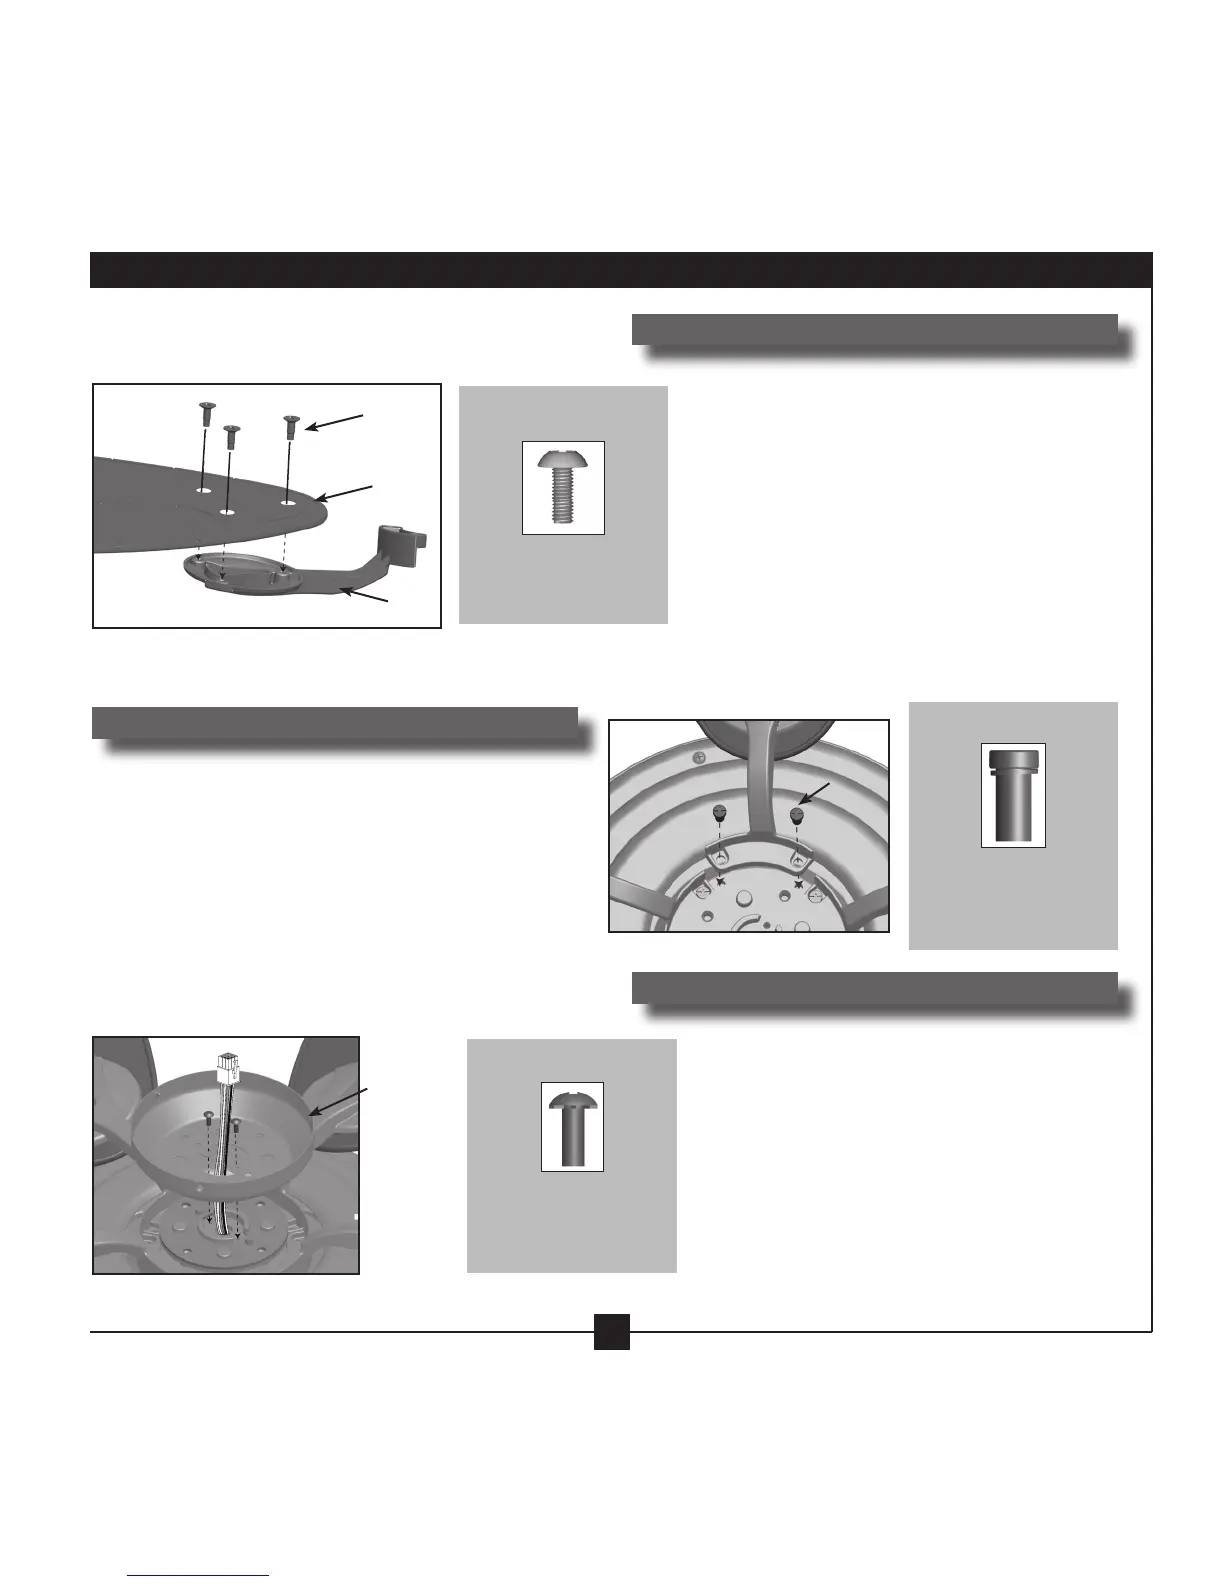
5-1. Remove the blade iron screws and shipping
blocks from the fan motor. Save the screws
and discard the shipping blocks.
5-2. Align the holes in the blade with the holes in
the blade iron and attach with three blade
screws. Securely tighten the screws.
Blade
Iron
Screw
Upper
Switch
Housing
Blade Screw
74510-27-247
(x 15)
Hardware Needed:
Blade Iron
Screw
63755-06-247
(x 10)
Hardware Needed:
Upper Switch
Housing Screw
74506-54-247
(x 2)
Hardware Needed:
Steps 5-1 - 5-2:
Step 5-3:
5-3. Partially attach each blade assembly to the fan with
two blade iron screws. When all blades are attached
and properly spaced, securely tighten all screws.
5-4. Unbundle the wires from the fan. read
the wires from the fan through the hole
in the upper switch housing. Attach the
upper switch housing to the fan using two
screws.
Step 5-4:
Blade
Screw
Blade
Blade
Iron
 Loading...