8
41557-01 3/12/2002
®
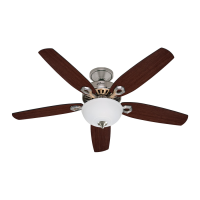
STEP 2 - INSTALLING THE CEILING PLATE
1. Drill two pilot holes into the wood
support structure through the
outermost holes on the outlet
box. The pilot holes should be
9/64" in diameter.
2. Install two of the three #10-32 X
3/8" canopy screws halfway into
the mounting screw holes located
on the side of the ceiling plate.
See Figure 2a.
3. Place the ceiling gasket over the
ceiling plate so that the slots and
raised surfaces on the ceiling gas-
ket align with the slots and holes
on the ceiling plate.
4. Thread the lead wires from the
outlet box through the hole in the
middle of the ceiling plate/gasket
assembly.
Figure 2a - Installing ceiling plate and
gasket assembly
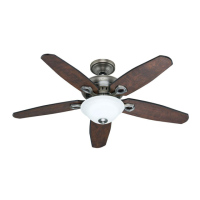
5. Align the slotted holes in the ceil-
ing plate with pilot holes in the
wood support structure. Note:
The ceiling gasket should be flush
against the ceiling.
Ceiling
Plate
Ceiling
Gasket
6. Pierce holes in the ceiling gasket
through the slots in the ceiling
plate at a spacing to match the
holes you drilled in sub-step 1.
7. Place a flat washer on each of the
two 3" screws and pass the
screws through the slotted holes
in the ceiling plate as shown in
Figure 2b.
8. Tighten the screws into the 9/64"
pilot holes; do not use lubricants
on the screws. Do not over-
tighten.