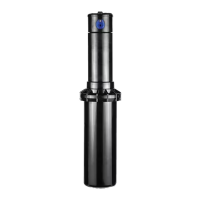
Nozzle Removal & Insertion
Nozzle Installation
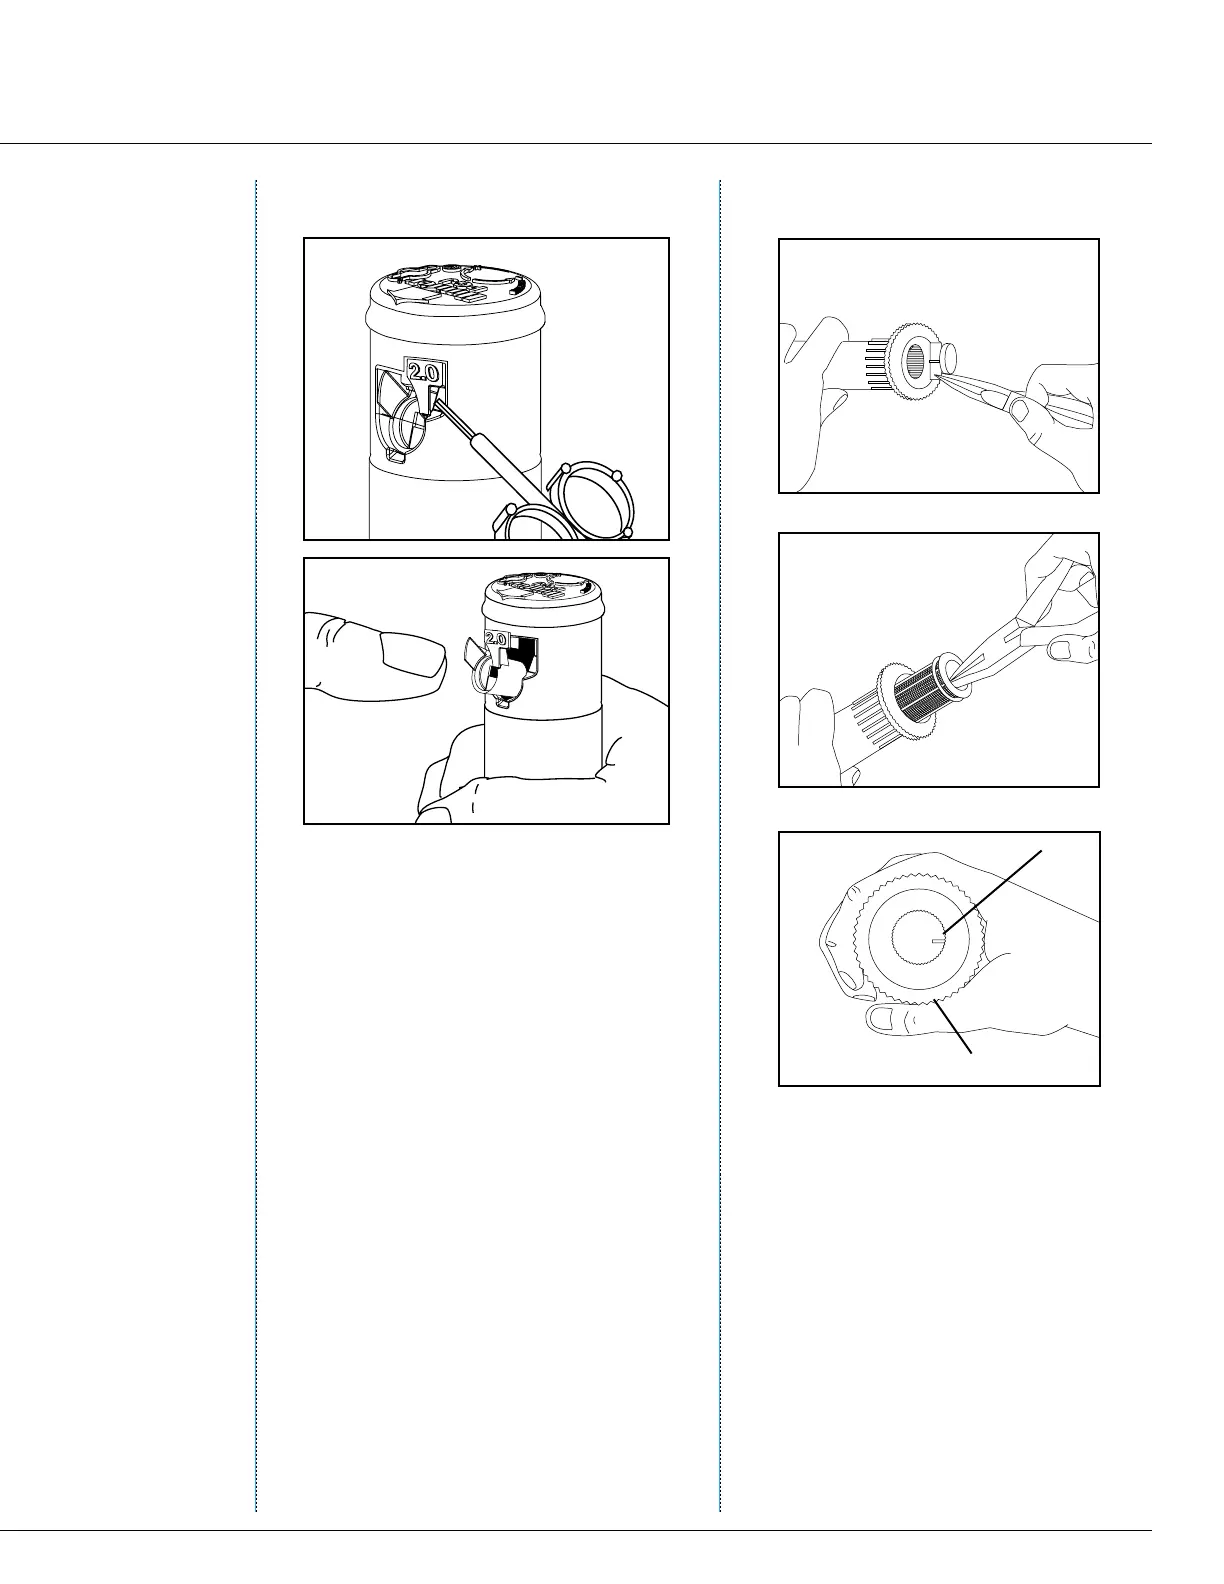
1. Insert the plastic key end of the Hunter
wrench into the lifting socket of the
sprinkler and turn 90°. Pull the riser up
to gain access to the nozzle socket.
2. Using the hex key of the Hunter
wrench, turn the radius adjustment
screw counterclockwise to be sure it is
not blocking the nozzle socket opening.
If a nozzle is already installed, it can be
removed by backing out the adjustment
screw and turning on the water, or by
prying outward under the nozzle.
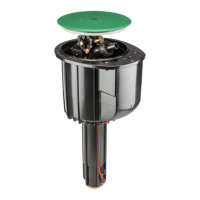
3. Slip the desired nozzle into the nozzle
socket. Note that the socket is angled
up 25° so that the nozzle range screw
threads directly down. Then tighten the
nozzle range screw. The arrow on the
rubber cover will always indicate the
location of the nozzle and direction of
the water ow when the sprinkler is
retracted.
Note: Undamaged nozzles are reusable.
Nozzle sets are also recyclable.
Cleaning the Filter Screen
Unscrew body cap and remove internal
riser.
1. If sprinkler has drain check valve,
remove with needle nose pliers.
2. With needle nose pliers, grasp large rib
(Fig. 3) on the inside of the screen and
pull rmly to remove screen.
3. Note the position of the large rib in
comparison to the date code, which is
located on the bottom of the riser.
0401
6
7
PGJ Rotors