9
10
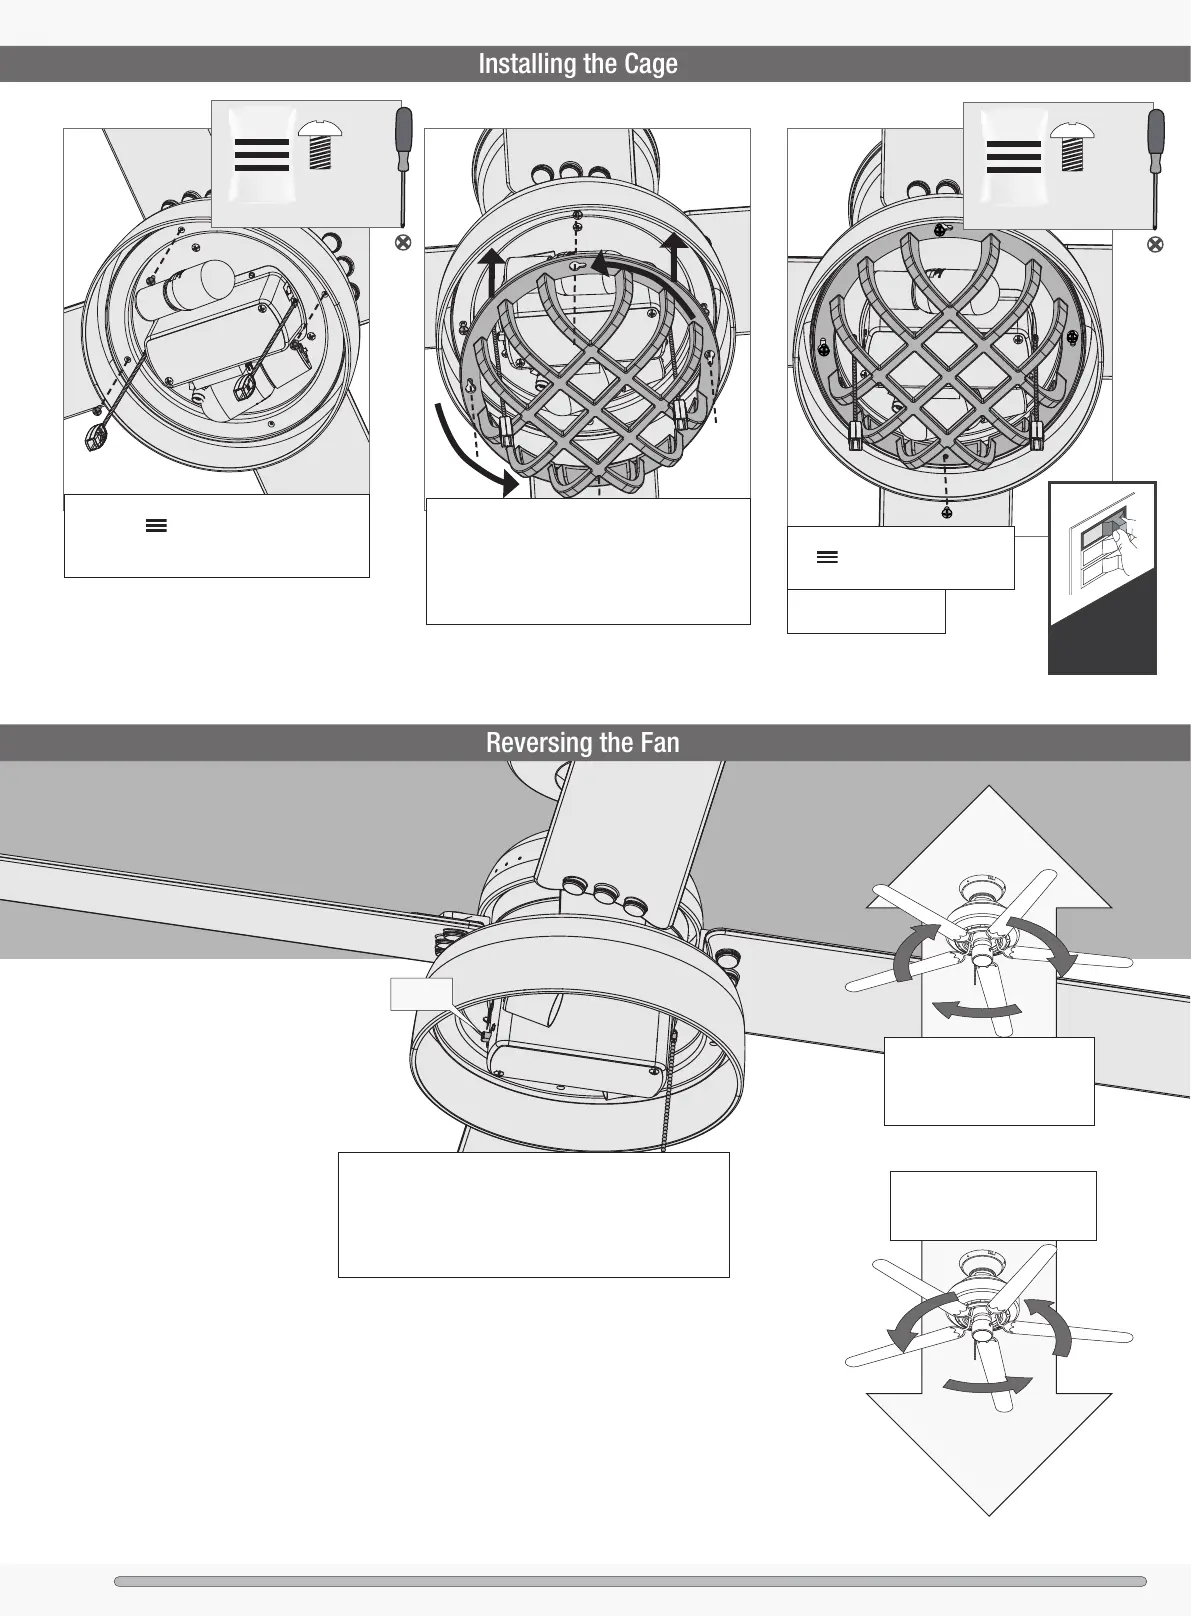
Reverse
Switch
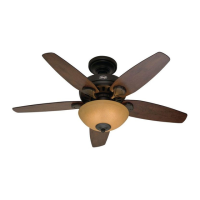
Ceiling fans work in two directions: downdraft and updraft.
To change the direction of air ow, turn the fan off and let
it come to a complete stop. The reversing switch is located
inside the light xture. It can only be accessed when the cage
is removed. Slide the reversing switch to the opposite position.
Restart the fan.
Updraft (clockwise rotation)
creates a more indirect airow.
Updraft airow is great for
moving warm air downward.
Downdraft (counterclockwise
rotation) creates a direct breeze
and maximum cooling effect.
3 of 4
bag
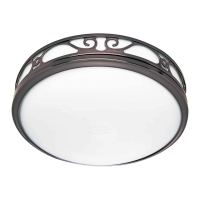
Cage Assembly
Screw
1 of 4
bag
Cage Assembly
Screw
Partially install three cage assembly screws,
found in the hardware bag, halfway into
the light kit as shown. It does not matter which
screw holes you choose.
Lift cage assembly into place while passing pull
chains through cage assembly as shown. Align
the keyhole slots in the top of the cage assembly
with the partially installed cage assembly screws.
Wrap the keyhole slots around the screws and twist
counterclockwise.
Insert the fourth screw, found in
the hardware bag, in place and
rmly tighten all the four screws.
ON
Turn Power
NOTE: Check to ensure
proper engagement.
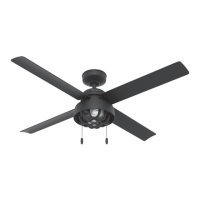
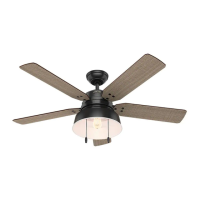
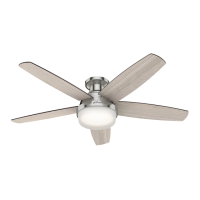
Ceiling Bracket Downrod Hanging Fan Wiring Canopy Blades Bulbs Cage