EasyManua.ls Logo

Husqvarna 105 - User Manual

Husqvarna 105
84 pages
Print Icon
To Next Page IconTo Next Page
Loading...
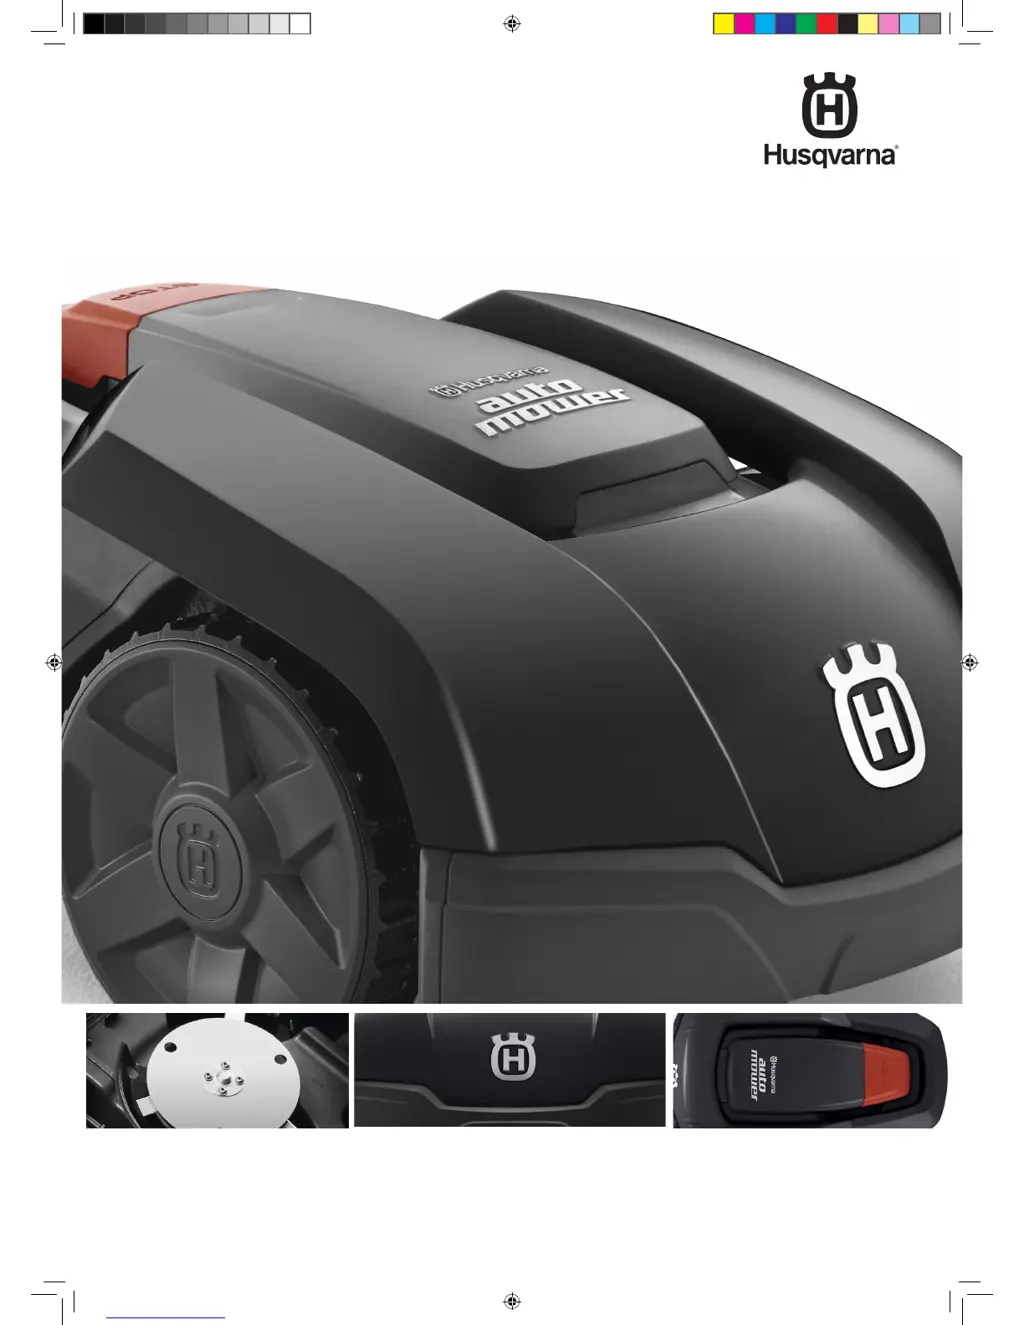
HUSQVARNA AUTOMOWER
®
105
OPERATOR’S MANUAL
Omslag 105 US.indd 1 2016-03-16 15.02

Other manuals for Husqvarna 105

Questions and Answers

  • S
    Seth MckeeNov 22, 2025
    Why does my Husqvarna Lawn and Garden Equipment say 'No loop signal'?
    • J
      Jonathan WebsterNov 22, 2025
      If your Husqvarna Lawn and Garden Equipment displays a 'No loop signal' error, several factors could be the cause. First, ensure the power supply is correctly connected to the wall socket and that no earth-fault breaker has tripped. Also, verify the low voltage cable is securely connected to the charging station. Another potential issue is a broken or incorrectly connected boundary wire. Check the boundary wire connection to the charging station. If the boundary wire is broken, it will need to be replaced using an original coupler. Ensure the boundary wire is laid correctly around any islands, following the installation instructions. Metal objects or buried cables nearby may also cause interference, so try moving the boundary wire. If the connection between the robotic lawnmower and the ch...
  • M
    Melissa BryantAug 27, 2025
    What to do if Husqvarna Lawn and Garden Equipment cutting system is blocked?
    • B
      briangarrisonAug 27, 2025
      If the cutting system of your Husqvarna Lawn and Garden Equipment is blocked, it could be due to grass or another object wrapped around the blade disc. Inspect the blade disc and remove any obstructions. Alternatively, the blade disc may be sitting in a pool of water. If this is the case, move the mower and try to prevent water from collecting in the working area.
  • S
    Savannah SalazarAug 28, 2025
    Why does Husqvarna Lawn and Garden Equipment have difficulty docking with charging station?
    • N
      Nathan HarrisAug 28, 2025
      If your Husqvarna robotic lawnmower is having difficulty docking with the charging station, there are a few things you can check. Make sure the boundary wire is laid in a long, straight line that extends far enough out from the charging station. Ensure the guide wire is inserted correctly in the slot at the bottom of the charging station, keeping it perfectly straight and in the correct position. Finally, verify that the charging station is placed on a completely level surface.
  • N
    Nicholas AndersonAug 29, 2025
    What to do if my Husqvarna Lawn and Garden Equipment is trapped?
    • A
      Austin GeorgeAug 29, 2025
      If your Husqvarna Lawn and Garden Equipment gets trapped, it means the mower has become caught on something. Free the robotic lawnmower and remove the cause of it getting trapped. Also, check for obstacles that may be hindering its movement.
  • L
    Lauren WoodardNov 23, 2025
    What to do if my Husqvarna Lawn and Garden Equipment goes outside working area?
    • J
      Jessica HahnNov 23, 2025
      If your Husqvarna Lawn and Garden Equipment is operating outside the designated working area, several issues could be the cause. First, verify that the boundary wire connections to the charging station are not crossed and are connected correctly. Ensure the boundary wire is not too close to the edge of the working area and is laid according to the installation instructions. Also, check for excessive slopes in the working area and ensure the boundary wire is properly installed according to the instructions. If there are islands, make sure the boundary wire is laid in the correct direction around them. Metal objects or buried cables nearby may cause disturbances, so try moving the boundary wire. If you have multiple robotic lawnmowers, the mower might be having trouble distinguishing its sig...
  • I
    Isaac MercadoNov 24, 2025
    Why does my Husqvarna Lawn and Garden Equipment have uneven mowing results?
    • O
      Omar MaxwellNov 24, 2025
      There are several reasons why your Husqvarna Lawn and Garden Equipment might be producing uneven mowing results. First, make sure the mower is running for enough hours each day; increase the mowing time if necessary. Check that the proportion setting is correct for your working area's layout. If your working area has remote sections, use both Remote start 1 and Remote start 2 to guide the mower. If the working area is too large, try limiting it or extending the working time. Dull blades can also cause uneven cutting, so replace all blades and screws to ensure the rotating parts are balanced. If the grass is too long for the set cutting height, increase the cutting height and then gradually lower it. Finally, check for any grass accumulation around the blade disc or motor shaft, and ensure ...
  • T
    Tammy ClineSep 13, 2025
    What to do if my Husqvarna Lawn and Garden Equipment is upside down?
    • J
      Joseph BrownSep 13, 2025
      If your Husqvarna Lawn and Garden Equipment is upside down, it means that the mower is leaning too much or has turned over. Turn the mower the right way up.
  • W
    wcruzSep 14, 2025
    What does 'Lifted' mean on Husqvarna Lawn and Garden Equipment?
    • J
      johnsonmonicaSep 14, 2025
      If your Husqvarna Lawn and Garden Equipment displays 'Lifted', the lift sensor has been activated because the mower has become trapped. Free the mower.
  • J
    James PhamSep 7, 2025
    What does 'Collision sensor problem, front/rear' mean on Husqvarna Lawn and Garden Equipment?
    • D
      David BennettSep 7, 2025
      If you are experiencing a collision sensor problem (front/rear) with your Husqvarna Lawn and Garden Equipment, it means the mower body cannot move freely around its chassis. Check that the mower body can move freely around its chassis.
  • P
    Patrick HughesSep 5, 2025
    What causes 'Wheel motor overloaded, left' on Husqvarna Lawn and Garden Equipment?
    • B
      Betty MillerSep 5, 2025
      If the left wheel motor of your Husqvarna Lawn and Garden Equipment is overloaded, it indicates that the mower has become caught on something. Free the mower and identify the reason for the lack of drive. If wet grass is the issue, wait until the lawn is dry before using the mower.

Summary

Introduction and Safety

Product Symbols and Markings

Explains symbols found on the robotic lawnmower for safe identification and understanding.

Operators Manual Symbols Explained

Details symbols used within the operator's manual to convey important information and warnings.

Key Safety Instructions

Provides essential safety guidelines for operating and handling the robotic lawnmower.

Product Presentation

Automower Component Identification

Identifies and labels all parts of the Husqvarna Automower and its accessories.

Package Contents List

Lists all items included in the Automower package for initial setup.

Automower Functionality and Working Method

Describes the capacity, mowing technique, and general operation of the robotic lawnmower.

Installation Guide

Installation Preparations and Checks

Steps to take before beginning the installation process, including checking parts.

Charging Station Installation and Placement

Guidance on selecting the ideal position and connecting the charging station.

Boundary and Guide Wire Installation Steps

Instructions for laying and securing the boundary and guide wires for the working area.

First Start-up and Calibration Procedure

Procedure for initial setup, including PIN code, language, and guide signal calibration.

Installation Testing and Verification

Tests to ensure the guide wire and docking station are correctly installed and functioning.

Operating Your Automower

Initial Battery Charging Procedure

Instructions for charging the battery when the mower is new or has been stored.

Scheduling Mowing with the Timer

How to use the timer to schedule mowing times and optimize lawn care.

Starting, Stopping, and Restarting the Mower

Steps for starting, stopping, and restarting the robotic lawnmower.

Adjusting the Cutting Height

How to adjust the cutting height for optimal grass cutting.

Control Panel and Menu Functions

Control Panel Interface Overview

Description of the display and keypad functions for mower operation.

Selecting Automower Operation Modes

Explanation of different operation modes like AUTO, MAN, and HOME.

Navigating Automower Menu Functions

Guide to accessing and navigating the various menu options for settings.

Configuring Timer Settings

Detailed steps for setting work hours, days, and intervals for mowing.

Automower Installation Menu Settings

Adjusting settings like guide width, remote start, and test settings.

Automower Security Settings Configuration

Configuring PIN code, security levels, and alarm functions for theft protection.

Automower General Settings Configuration

Adjusting ECO mode, time, date, language, and country settings.

Garden Examples

Automower Garden Installation Examples

Examples of garden layouts with recommended installation proposals and settings.

Maintenance and Care

Automower Winter Storage Guide

Instructions for cleaning and storing the Automower for winter.

Automower Cleaning Procedures

Procedures for cleaning the chassis, blade disc, wheels, and charging station.

Automower Blade Replacement Guide

Step-by-step guide for safely replacing the cutting blades.

Automower Battery Care and Replacement

Information on battery lifespan, charging, and replacement procedures.

Troubleshooting Guide

Automower Error Messages and Solutions

List of display messages, their causes, and recommended actions.

Charging Station Indicator Light Troubleshooting

Troubleshooting based on the status and color of the charging station's indicator lamp.

Troubleshooting Automower Performance Symptoms

Guidance on diagnosing and resolving issues based on observed mower symptoms.

Locating and Repairing Loop Wire Breaks

Steps to find and repair breaks in the boundary or guide wire.

Automower Technical Specifications

Guarantee and Compliance

Automower Guarantee Terms and Conditions

Details on the product warranty coverage, terms, and exclusions.

EU Declaration of Conformity

Statement confirming the product's compliance with relevant European directives.

Husqvarna 105 Specifications

General IconGeneral
Model105
Cutting Height Min20 mm
Cutting Height Max50 mm
Battery TypeLi-ion
Typical Charging Time50 min
Typical Mowing Time per Charge70 min
Maximum Incline Inside Working Area25 %
TypeRobotic Lawn Mower
Working area capacity600 m²
Maximum incline within the working area25%
Cutting system3 pivoting razor blades
Sound level Measured58 dB(A)
Battery capacity2.1 Ah
Cutting Width17 cm
Weight6.7 kg

Related product manuals