EasyManua.ls Logo

Husqvarna 420 - User Manual

Husqvarna 420
100 pages
Print Icon
To Next Page IconTo Next Page
Loading...
HUSQVARNA AUTOMOWER
®
420/430X/450X
OPERATOR’S MANUAL
omslag_420,430X,450X_2016.indd 3 2016-03-15 07:35:24

Other manuals for Husqvarna 420

Questions and Answers

  • T
    Tyler AdkinsSep 23, 2025
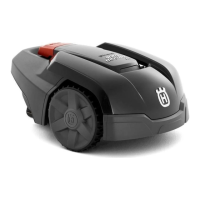
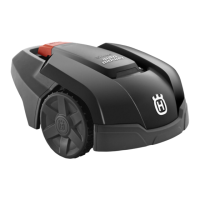
    Why does Husqvarna Lawn and Garden Equipment stay on a small area for several minutes?
    • H
      Hannah BellSep 23, 2025
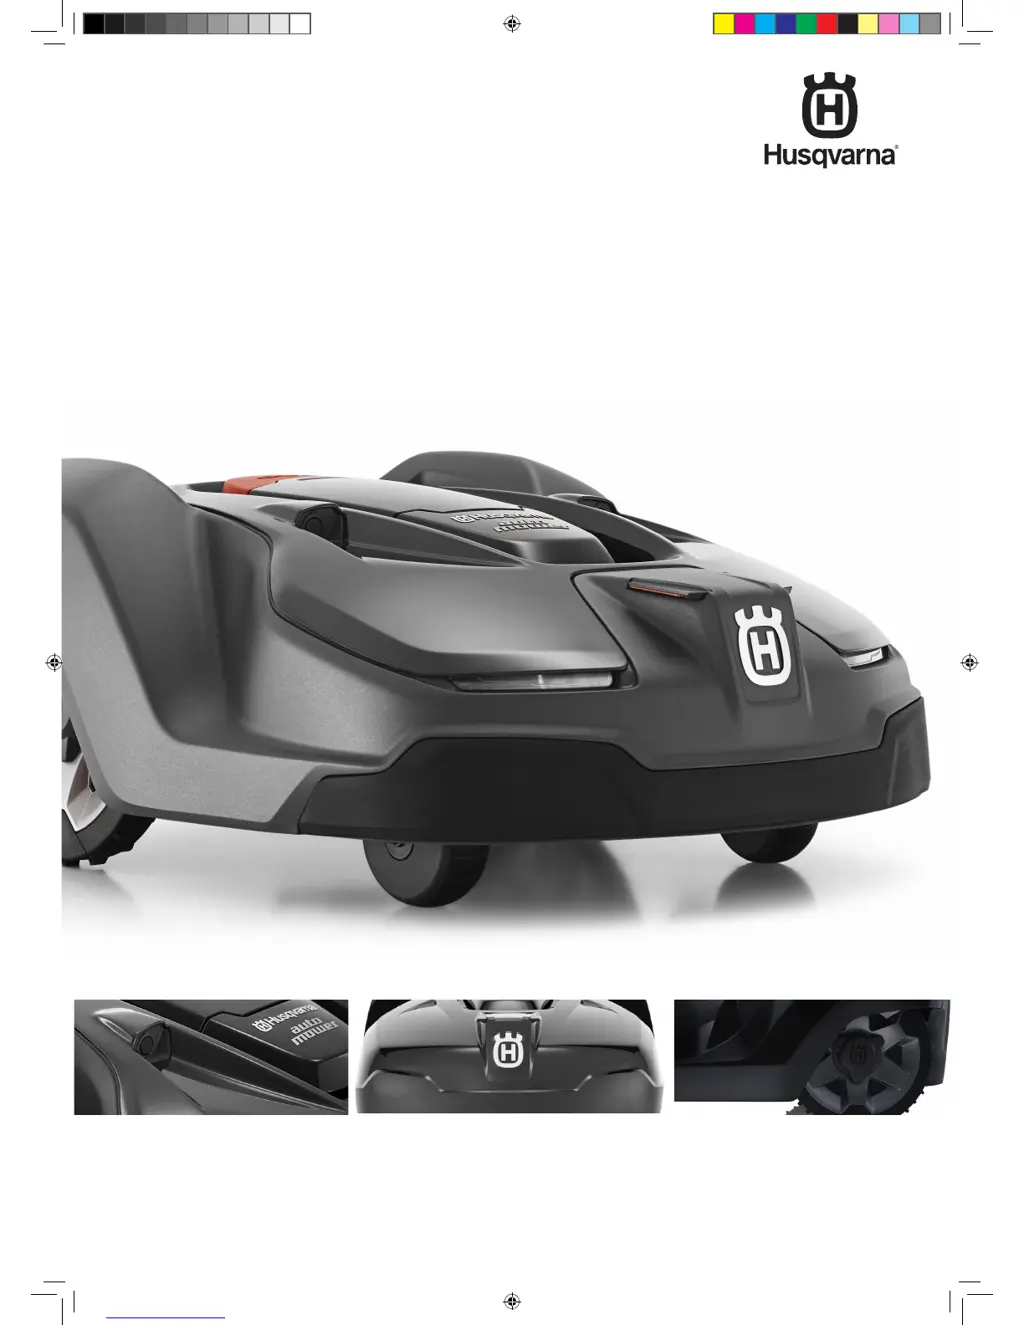
      If your Husqvarna Lawn and Garden Equipment turns around and stays in a small area for several minutes, this is completely normal for Automower® 430X and 450X models with GPS navigation and contributes to an even cutting result. No action is needed.
  • C
    Caitlyn StoneAug 25, 2025
    Why does my Husqvarna 420 have a low battery?
    • G
      Gabriel MercadoAug 26, 2025
      If your Husqvarna Lawn and Garden Equipment is showing a low battery, several factors could be at play. First, ensure that the charging station and guide wire are installed correctly. If the guide wire is broken or disconnected, find and fix the break. If the battery is old, consider contacting your local dealer to test or replace it. Finally, check the charging station's indicator lamp for a red flashing light, which could indicate a defective charging station antenna.
  • B
    Brian SchmittAug 27, 2025
    How to fix a blocked blade motor on Husqvarna 420?
    • S
      Scott KennedyAug 27, 2025
      If the blade motor of your Husqvarna Lawn and Garden Equipment is blocked, it's likely due to grass or another object wrapped around the blade disc. Check the blade disc and remove any obstructions. Also, if the blade disc is sitting in a pool of water, move the robotic lawnmower and try to prevent water from collecting in that area.
  • T
    Thomas HernandezAug 27, 2025
    What to do if Husqvarna Lawn and Garden Equipment gets trapped?
    • A
      Amber Hamilton MDAug 27, 2025
      If your Husqvarna Lawn and Garden Equipment is trapped, it means the robotic lawnmower has likely gotten caught on something. Free the mower and address the reason it became trapped. Also, check for obstacles that might be hindering its movement in that location.
  • M
    Melissa ChandlerNov 22, 2025
    Why does my Husqvarna 420 Lawn and Garden Equipment say 'No loop signal'?
    • K
      Katherine PierceNov 22, 2025
      If your Husqvarna Lawn and Garden Equipment displays 'No loop signal', several factors could be the cause. First, check the wall socket connection and ensure that an earth-fault breaker hasn't tripped. Inspect the low voltage cable for damage and ensure it's properly connected to both the charging station and the power supply. Verify that the boundary wire connector is correctly fitted to the charging station. If the boundary wire is broken, locate the break and replace the damaged section using a new search wire and an original coupler. If ECO mode is on and the mower tried to start outside the charging station, park it in the station, press START, and close the hatch. Ensure the boundary wire is laid correctly around any islands, and if there's a connection failure between the mower and ...
  • H
    Heidi JenkinsSep 14, 2025
    How to fix temporary battery problem on Husqvarna Lawn and Garden Equipment?
    • J
      Jeffrey Spencer Jr.Sep 14, 2025
      If your Husqvarna Lawn and Garden Equipment indicates a temporary battery problem, restart the mower. Disconnect and reconnect the battery.
  • M
    munozchristinaSep 12, 2025
    What does 'Impact sensor problem' mean on Husqvarna 420?
    • W
      William HorneSep 12, 2025
      If your Husqvarna Lawn and Garden Equipment is showing an impact sensor problem (front/rear), make sure the body can move freely around the chassis.
  • A
    Alexander HowardSep 13, 2025
    What to do if Husqvarna 420 displays 'Alarm! Mower shut down'?
    • D
      David WarrenSep 13, 2025
      If your Husqvarna Lawn and Garden Equipment displays 'Alarm! Mower shut down', the alarm has been activated as the mower is shut down. Adapt the security level of the mower in the Security menu.
  • W
    William Reid Jr.Sep 5, 2025
    What happens if I enter the wrong PIN code on my Husqvarna Lawn and Garden Equipment?
    • Y
      Yvonne OlsenSep 5, 2025
      If you've entered the wrong PIN code on your Husqvarna Lawn and Garden Equipment, enter the correct PIN code. Note that after five incorrect attempts, the keypad will be blocked for five minutes. If you forget the PIN code, contact your local dealer.
  • T
    Timothy WoodSep 3, 2025
    Why does Husqvarna Lawn and Garden Equipment have difficulty docking with the charging station?
    • T
      Timothy MataSep 3, 2025
      If your Husqvarna Lawn and Garden Equipment is having trouble docking with the charging station, it could be due to a couple of reasons. First, make sure the charging station is placed on a completely level surface. Also, check that the boundary wire is correctly laid by the charging station according to the installation instructions.

Summary

1 Introduction and Security

1.1 Introduction

Overview of manual, importance of understanding use.

1.2 Symbols on the Product

Explains symbols found on the robotic lawnmower.

1.3 Symbols in the Operators Manual

Details symbols used within the operator's manual.

1.4 Safety Instructions

Outlines critical safety guidelines for operating the lawnmower.

2 Presentation

2 Presentation

Overview of the robotic lawnmower's components and installation planning.

2.1 Whats What?

Identifies and labels all parts of the robotic lawnmower models.

2.2 Package Contents

Lists all items included in the Automower® package.

2.3 Function

Details the capacity and performance of the robotic lawnmower.

3 Installation

3 Installation

Guides on installing the robotic lawnmower and planning the layout.

3.1 Preparations

Steps to prepare the working area before installation.

3.2 Installation of Charging Station

Instructions for ideal placement and installation of the charging station.

3.3 Charging the Battery

Instructions on how to charge the robotic lawnmower battery.

3.4 Installation of Boundary Wire

Instructions for laying and installing the boundary wire.

3.5 Connecting the Boundary Wire

Step-by-step guide to connect the boundary wire to the charging station.

3.6 Installation of Guide Wire

Instructions for laying and connecting guide wires.

3.7 Checking the Installation

How to check the loop signal using the charging station indicator lamp.

3.8 First Start-up and Calibration

Guide for initial setup, PIN code entry, and calibration.

3.9 Test Docking with the Charging Station

How to test if the mower docks correctly with the charging station.

4 Usage

4 Usage

Introduction to using the robotic lawnmower.

4.1 Charging a Discharged Battery

Steps to charge the battery of a new or stored lawnmower.

4.2 Using the Timer

How to use the timer to optimize mowing schedules.

4.3 Start

Instructions on how to start the robotic lawnmower.

4.4 Stop

How to stop the robotic lawnmower.

4.5 Switching Off

Procedure for turning off the robotic lawnmower.

4.6 Adjusting Cutting Height

How to adjust the cutting height of the lawnmower.

5 Control Panel

5 Control Panel

Overview of the control panel display and keypad functions.

5.1 Operating Mode Start

Explains different operating modes like Main area and Secondary area.

5.2 Operation Mode Parking

Options for parking the robotic lawnmower.

5.3 Main Switch

How to use the main switch to start and stop the mower.

5.4 The Charging Stations PARK Button

Using the PARK button on the charging station to recall the mower.

6 Menu Functions

6 Menu Functions

Overview of the main menu options and navigation.

6.1 Main Menu

Lists the main menu options available on the control panel.

6.2 Menu Structure

Summarizes the menu selections and their functions.

6.3 Timer

How to set mowing times and optimize operation.

6.4 Cutting Height

How to adjust the cutting height.

6.5 Security

Settings for security levels, PIN code, and alarm.

6.6 Messages

How to read fault and information messages.

6.7 Weather Timer

Automatically adjusts mowing times based on grass growth.

6.8 Installation

Overview of steering the mower and finding the charging station.

6.9 Settings

General settings for the robotic lawnmower.

6.10 Accessories

Settings and information for mower accessories.

7 Yard Examples

7 Yard Examples

Examples of yards with proposed installation and settings.

Proposed Installation and Settings

Examples for specific yard types and their recommended setups.

8 Maintenance

8 Maintenance

Procedures for regular cleaning and maintenance.

8.1 Winter Storage

Instructions for storing the mower and charging station for winter.

8.2 Winter Service

Recommends dealer service before winter storage for optimal condition.

8.3 After Winter Storage

Checks to perform after winter storage before using the mower.

8.4 Cleaning

Guidelines for cleaning the robotic lawnmower.

8.5 Transport and Moving

Safety precautions for transporting the robotic lawnmower.

8.6 In Case of Thunderstorms

Precautions to take during thunderstorms to protect components.

8.7 Blades

Instructions for replacing blades and safety warnings.

8.8 Battery

Information on battery maintenance and lifespan.

9 Trouble Shooting

9 Trouble Shooting

Guide to diagnose and resolve malfunctions.

9.1 Fault Messages

Lists common fault messages, their causes, and actions.

9.2 Info Messages

Lists informative messages, their causes, and actions.

9.3 Indicator Lamp in Charging Station

Interpreting the charging station indicator lamp signals.

9.4 Symptom

Troubleshooting common symptoms encountered with the mower.

9.5 Finding Breaks in the Loop Wire

Procedure to locate and repair breaks in the boundary wire.

10 Technical Data

10 Technical Data

Specifications and technical data for all models.

11 Warranty Terms

11 Warranty Terms

Details the warranty period and conditions for the product.

12 Environmental Info

12 Environmental Info

Information on product disposal and environmental considerations.

12.1 Removal of Battery for Recycling

Steps to safely remove the battery for recycling.

13 EU Declaration of Conformity

13 EU Declaration of Conformity

Manufacturer's declaration of compliance with EU directives.

Husqvarna 420 Specifications

General IconGeneral
BrandHusqvarna
Model420
CategoryLawn and Garden Equipment
LanguageEnglish

Related product manuals