0.7
SAFETY HAZARD LABELS
The safety hazard labels attached to your machine represent important safety information to help you avoid
personal injury or death.
All supervisors, operators, and maintenance personnel must locate and understand the safety information
associated with each hazard label prior to operating or servicing the machine.
The safety hazard labels shown below are located at various positions on the machine to indicate possible safety
hazards. The location and re-order part number of all the safety labels associated with this particular model of
bandsaw are indicated at the end of this section of the manual. It is important to replace any safety hazard label
that becomes damaged or illegible.
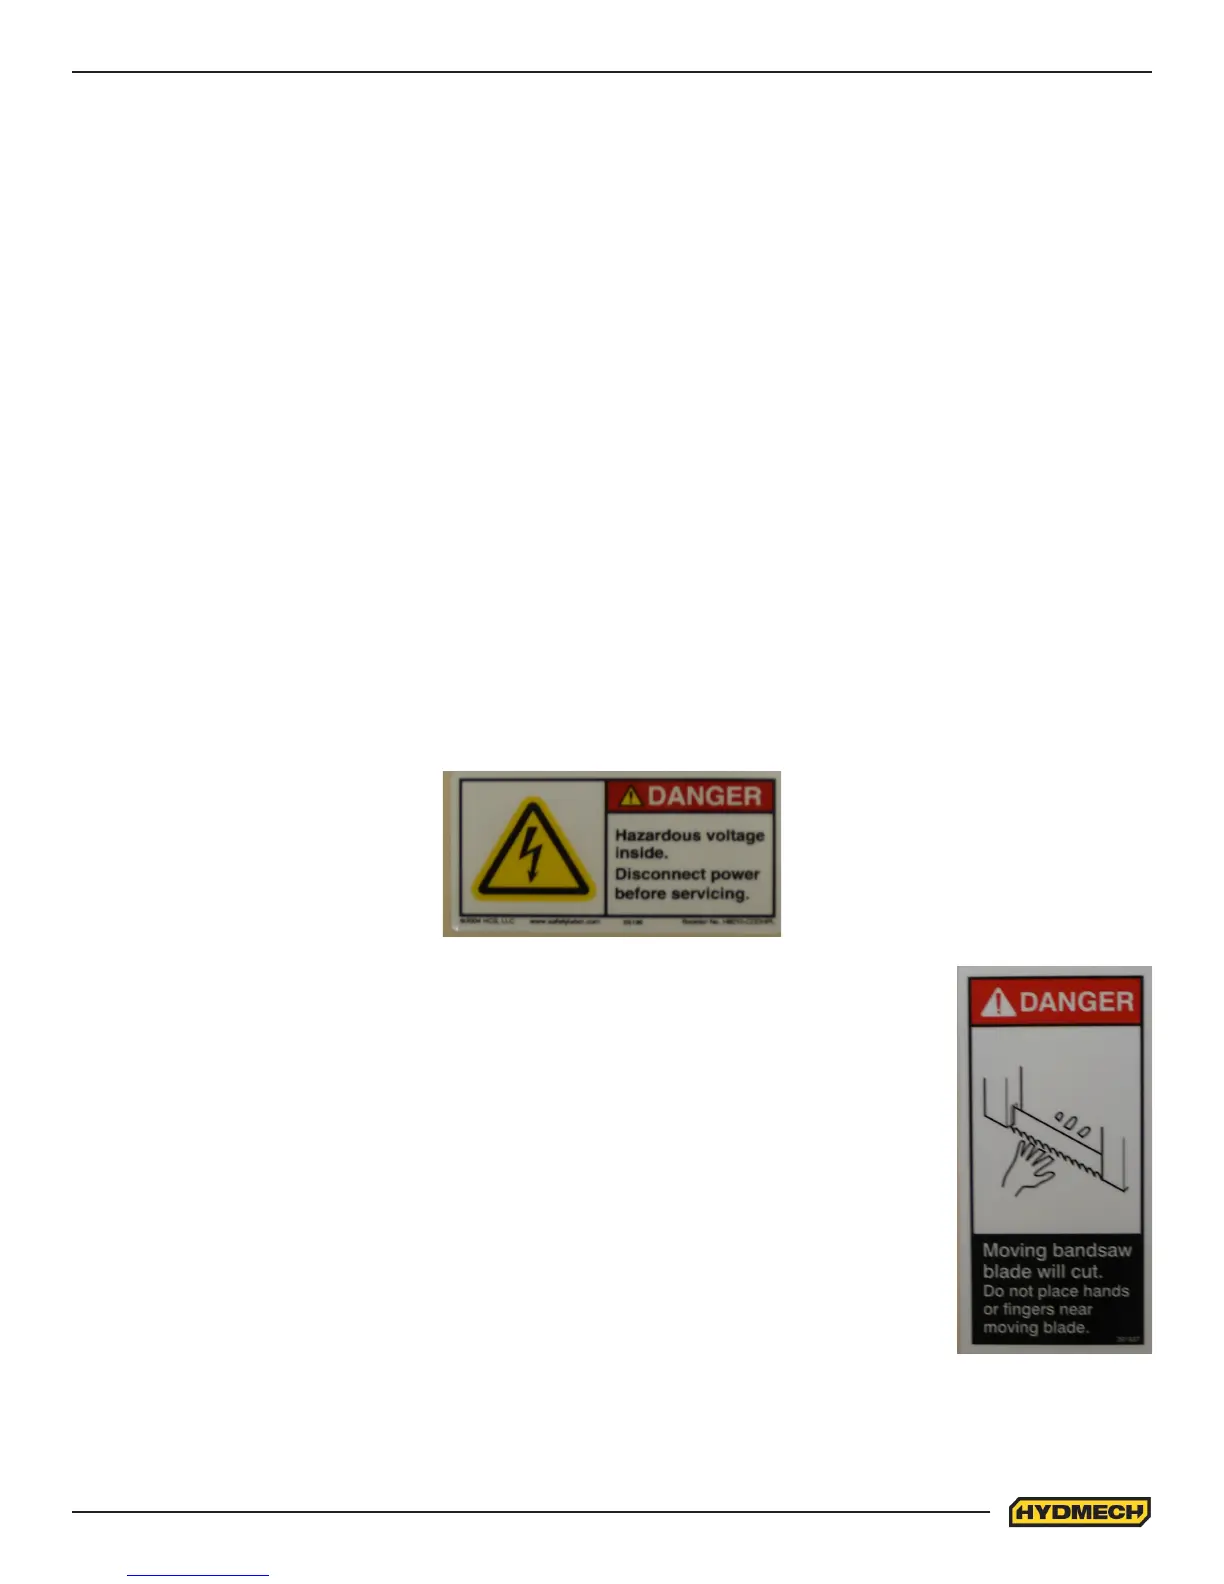
HAZARDOUS VOLTAGE INSIDE
Contact with high voltage may cause death or serious injury. Never perform maintenance on, or near, electrical
components until the machine’s electrical power source has been disconnected. Lock-out power in accordance
with your company’s lock-out procedures before any such maintenance. The “Stop” or “Emergency Stop” push
button does not disconnect the machine’s power supply. Hazardous voltage is still present in the machines
electrical circuits.
The machine’s Electrical Disconnect Switch does disconnect voltage from the machine’s circuits; however
hazardous voltage is still present inside the main electrical cabinet, on the infeed (line) side of the main fuses.
Therefore keep hands and tools away from the infeed side of the control panel main fuses. If these fuses need
to be replaced, use a fuse puller.
Allow three minutes after locking-out power before opening any electrical enclosures. Your machine may be
equipped with a variable frequency drive that stores high voltage within its capacitors. Three minutes will allow
sufcient time for this voltage to safely discharge.
Never spray coolant directly at electrical components or cabinets.
MOVING BANDSAW BLADE WILL CUT
Do NOT operate with guard removed.
Do NOT place hands or ngers near moving bandsaw blade.
For blade changing, always follow the proper Blade Changing Procedure, as given in
Section 3 of this manual.

 Loading...