44
ADJUSTABLE FLOW CONTROL
Your Hydropool swim spa is equipped with 1 DIVERTER valve to
control and adjust water flow to suit individual user preference.
The pump 1 (P1) DIVERTER valve provides variable water flow
adjustment between the lower centre swim jet (providing added
buoyancy and variable swim resistance), and the hydrotherapy
jets on the bucket seats, or a combinaon of both.
AIR CONTROLS
WATER
FLOW
PUMP 2
WATER FLOW
PUMP 1
WATER FLOW
PUMP 3
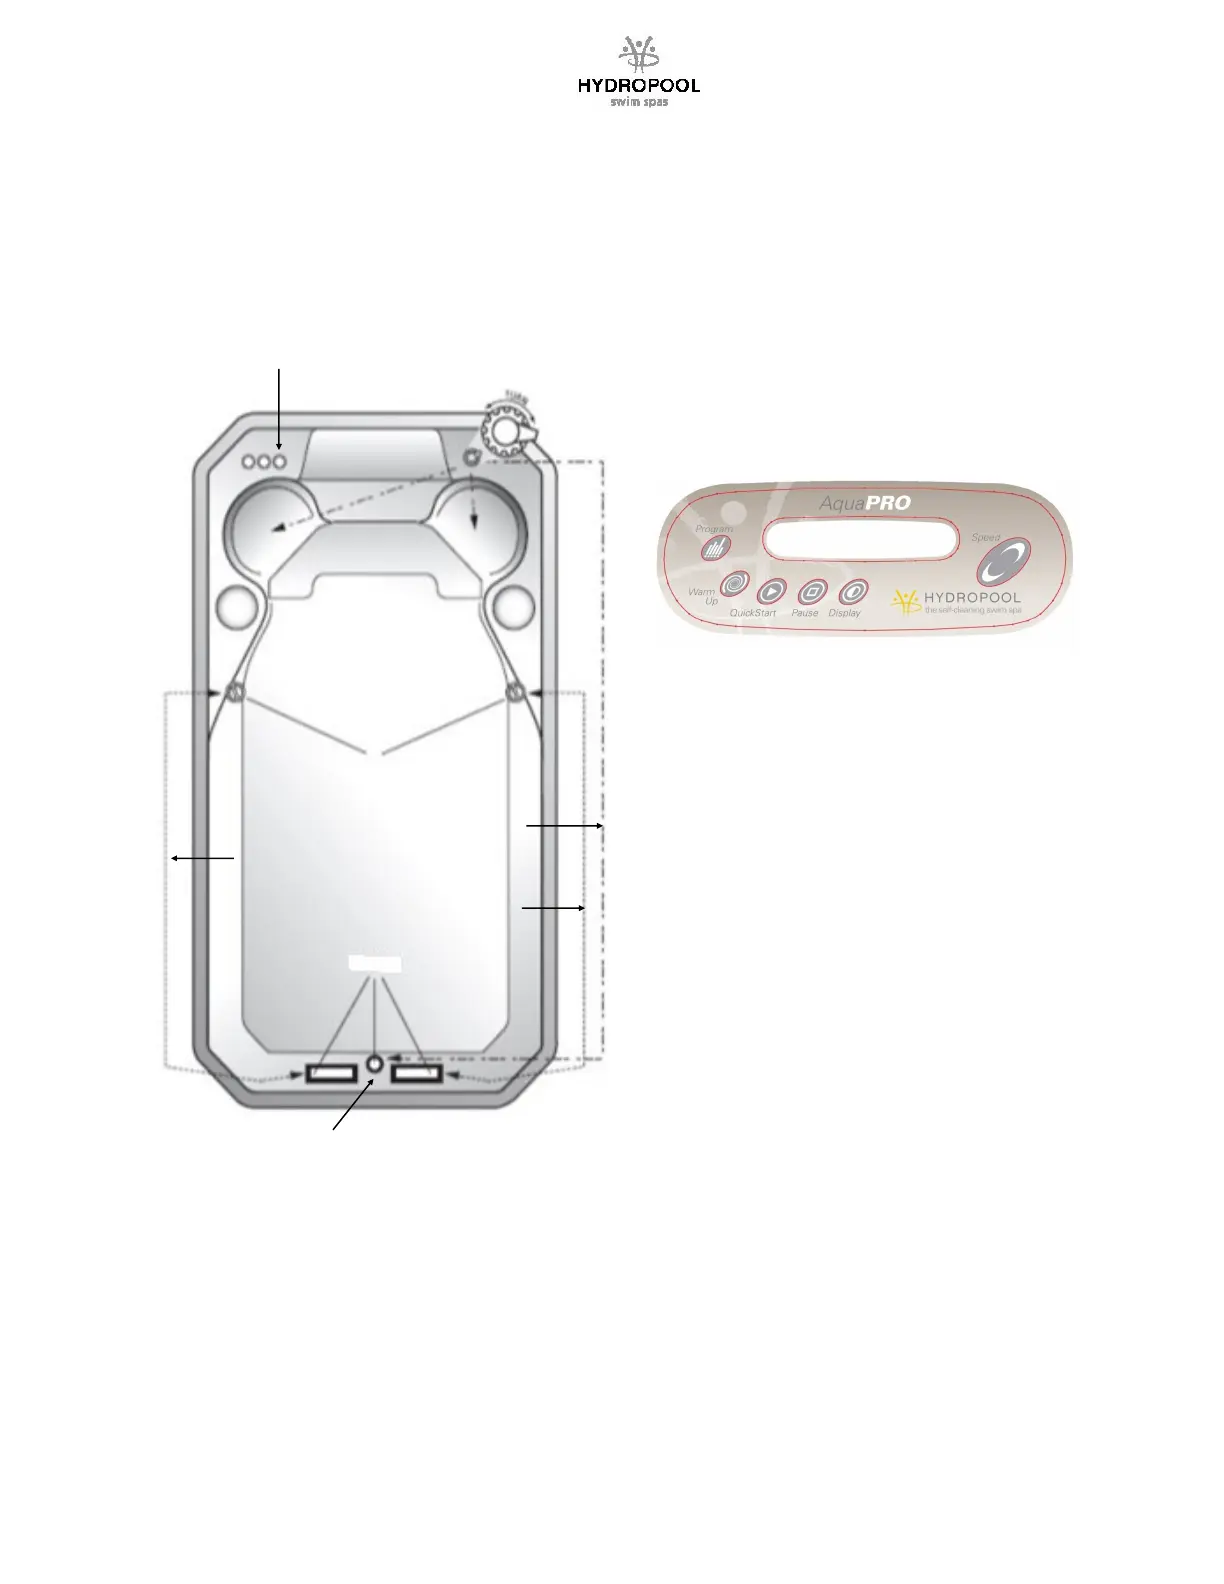
AQUAPRO AX CURRENT CONTROL (Aquatrainers only)
This system allows for the swimmer to vary the flow of
water and adjust the swim intensity of the jets. Allows
quick adjustment to level of fitness the swimmer is
accustomed to from Novice to Triathlete. This opon has
a keypad near the swim end so that they can easily
adjust their swim without having to go back to the main
keypad area and eliminates the need for manual
diverters.
NOTE: You should always start from a full on or full off
posion to ensure you have consistent water flow.
Failure to do so may unbalance the system requiring it
to be recalibrated.
THIGH JETS
SWIM JETS
BUOYANCY
JET
AQUAPRO SELF-CALIBRATION PROCEDURE
1. Aer you manually set up the cam posions, you
must set up the programming ensuring that the
communicaon cables coming out of the DJS-5 black
box are directed to the main and auxiliary packs
respecvely.
2. Press the PROGRAM key for 30 seconds or unl the
display shows “F50H” or “F60H”.
3. If the swim spa is for North American use select
“F60H” by using the up and down arrows on the
keypad. If the swim spa is for European use select
“F50H”.
4. Press the PROGRAM key again and the display will
show “SET1”. Press the PROGRAM key again and
the controller will go through a learning mode to
ensure that the cams have been set up properly.
5. If the cams have not been set up properly you will
get an “ERR” code and possibly a service wrench on
the side display.
6. In that case one of the actuators is defecve and
needs to be calibrated or replaced.
Contact your local retailer for service.