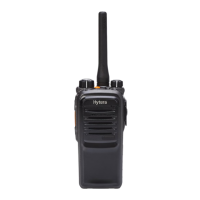
4
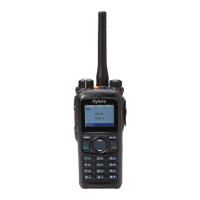
1
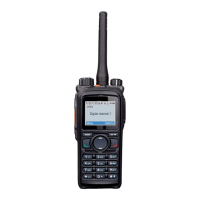
2
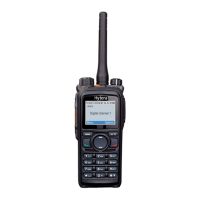
3
3
2
Before Use
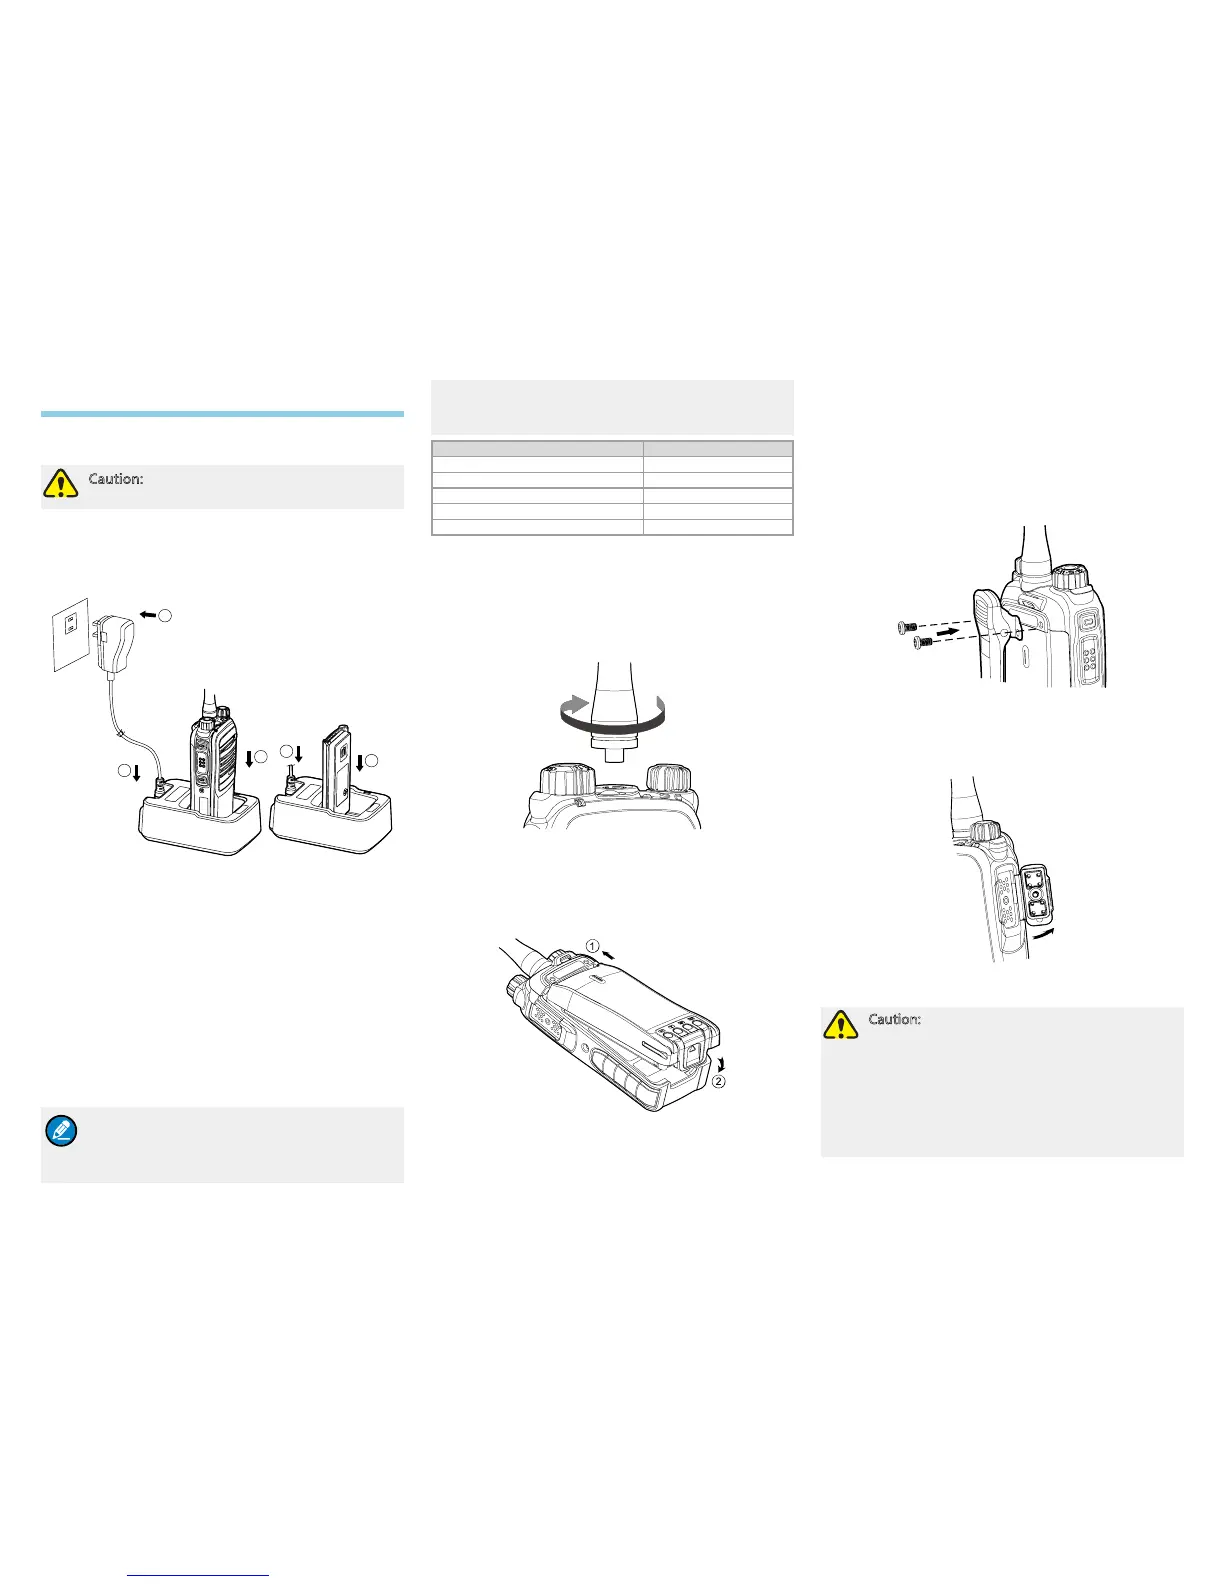
Charge the Battery
Caution: Make sure the radio is powered off
during charging.
Use only the charger and battery specified by Hytera.
Charger LED can indicate the charging process. See
the table below. The following gure shows the steps for
charging.
1. Connect the power adapter to AC socket. See arrow
①
.
2. Plug the other end of the power adapter into the rear
jack of the charger. See arrow
②
.
3. Place the radio with the battery attached, or the bat-
tery alone, into the charger. See arrow
③
.
During charging, the LED on the charger will indicate the
charging status. The charging status begins when the
charger LED glows red. When charging is complete, the
charger LED glows green.
See the following table for details.
Note:
●
To achieve optimal battery performance,
please charge the battery for 5 hours
before initial use.
●
Be sure to read the Safety Information
Booklet to get necessary battery safety
information.
LED Indication Charging Status
The LED ashes red slowly. Standby (no load)
The LED glows red. Charging
The LED glows orange. 90% charged
The LED glows green. Fully charged
The LED ashes red rapidly. Charging failure
Assembling Accessories
Assembling the Antenna
Turn the antenna clockwise to fasten it. To remove the
antenna, rotate it counter-clockwise.
Assembling the Battery
1. Attach the battery as
①
shows in the following gure.
2. Slightly press the bottom of the battery until a click is
heard. See
②
in the following gure.
To remove the battery, turn off the radio rst. Then slide
the battery latch upwards (as
②
shows) to unlock the
battery.
Assembling the Belt Clip
1. Remove the screws on the back of the radio, as
shown in the following gure.
2. Align the screw holes in the belt clip and on the
radio’s back, and then tighten the screws.
To remove the belt clip, loosen the screws.
Attaching Audio/Programming Cable
1. Open the accessory jack cover as the arrow below
shows.
Align the accessory connector with the accessory jack.
Caution:
●
When aligning, make sure not to scrape
the silica gel surrounding the accessory
jack screw hole, in order to ensure the
waterproof performance of the radio.
●
Be sure to align the screw on the accessory
connector to the screw hole in the jack
before fastening the screw.
 Loading...