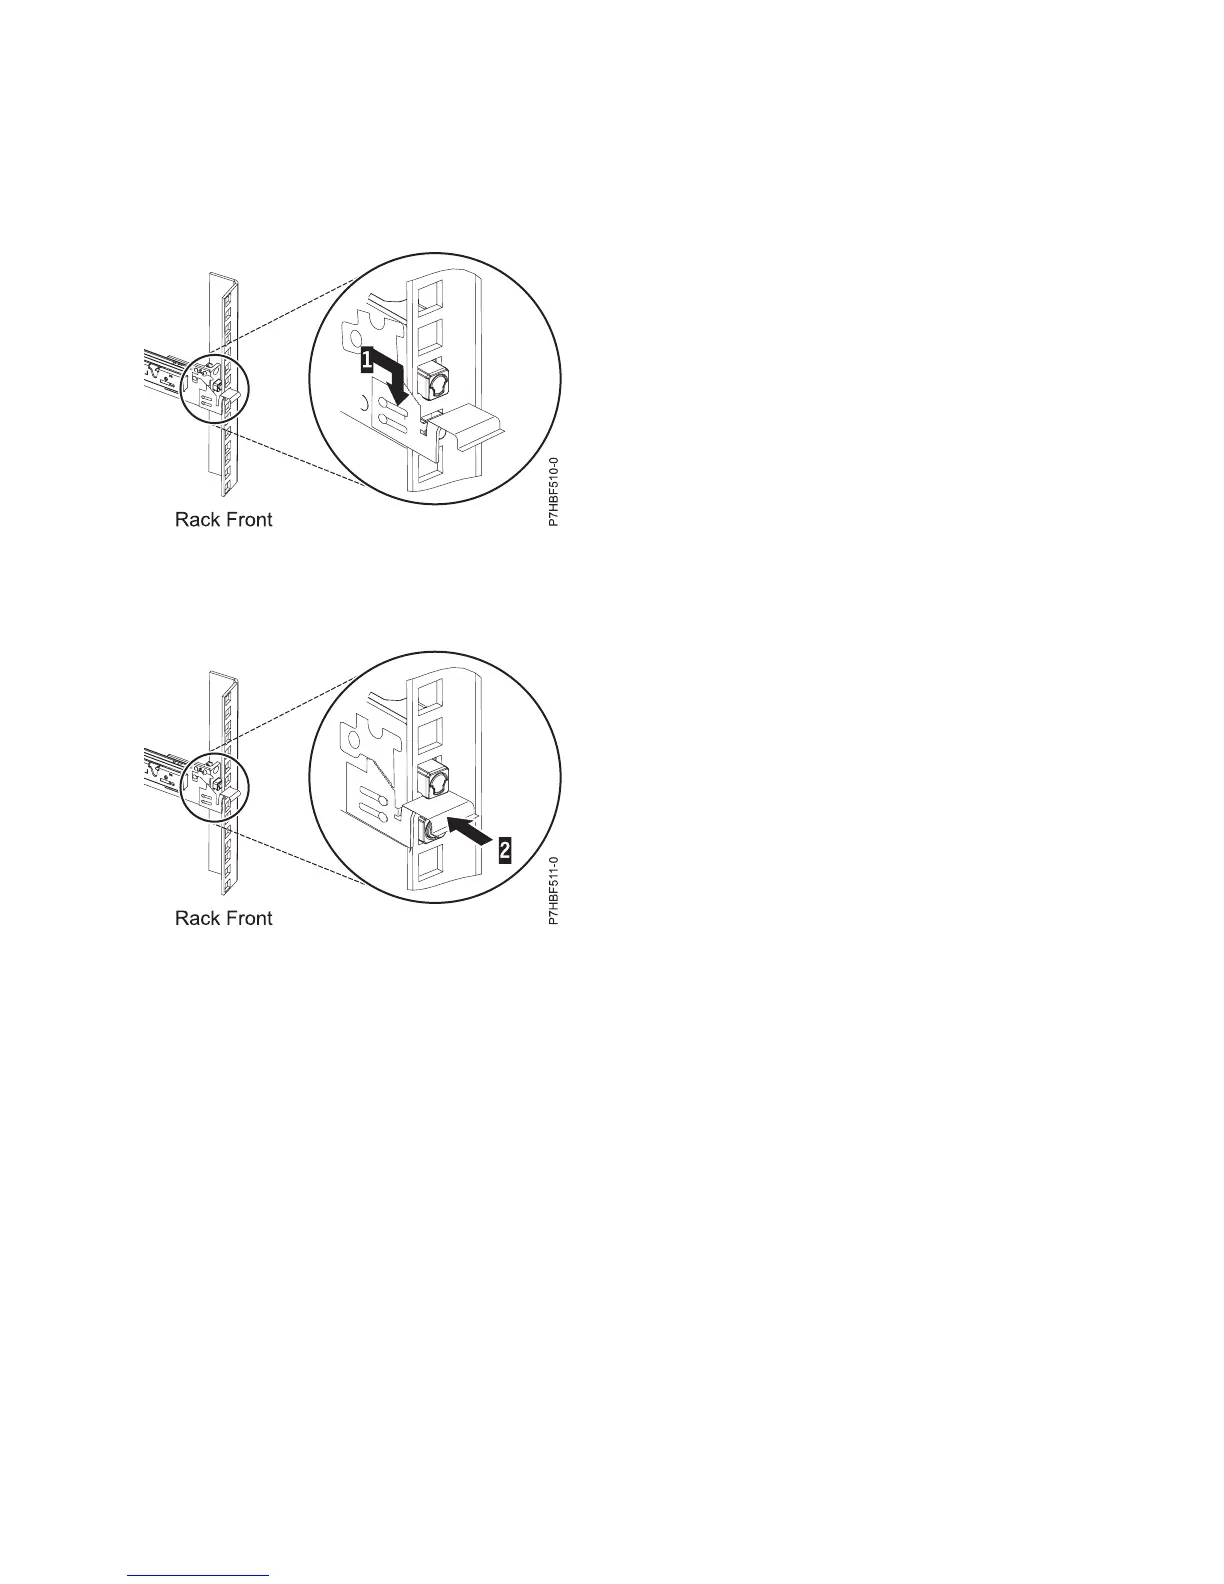
4. Push the front latch (2) in Figure 6 in all the way. Make sure that the latch is fully seated.
Note: If you need to reposition the rail, release the front latch and push the rail toward the back of
the rack.
5. Repeat the previous four steps to install the other rail into the rack.
6. If present, reinstall the screw you removed from the rear of each rail into the center rail hole (3) in
Figure 4 on page 14. This secures the rail to the rack.
Note: If the rear shipping cover on the system is present, remove it now.
7. Pull the slide rails forward (1) in Figure 7 on page 16 until they click, twice, into place. Carefully lift
the server and tilt it into position over the slide rails so that the rear nail heads (2) on the server line
up with the rear slots (3) on the slide rails. Slide the server down until the rear nail heads slip into
the two rear slots, and then slowly lower the front of the server (4) until the other nail heads slip
into the other slots on the slide rails. Make sure that the front latch (5) slides over the nail heads.
Note: Three people are required to lift the server onto the rails.
Figure 5. Rack front rail with pins seated
Figure 6. Rack front rail with latch seated
Installing the server into a rack 15
 Loading...