Completing the installation
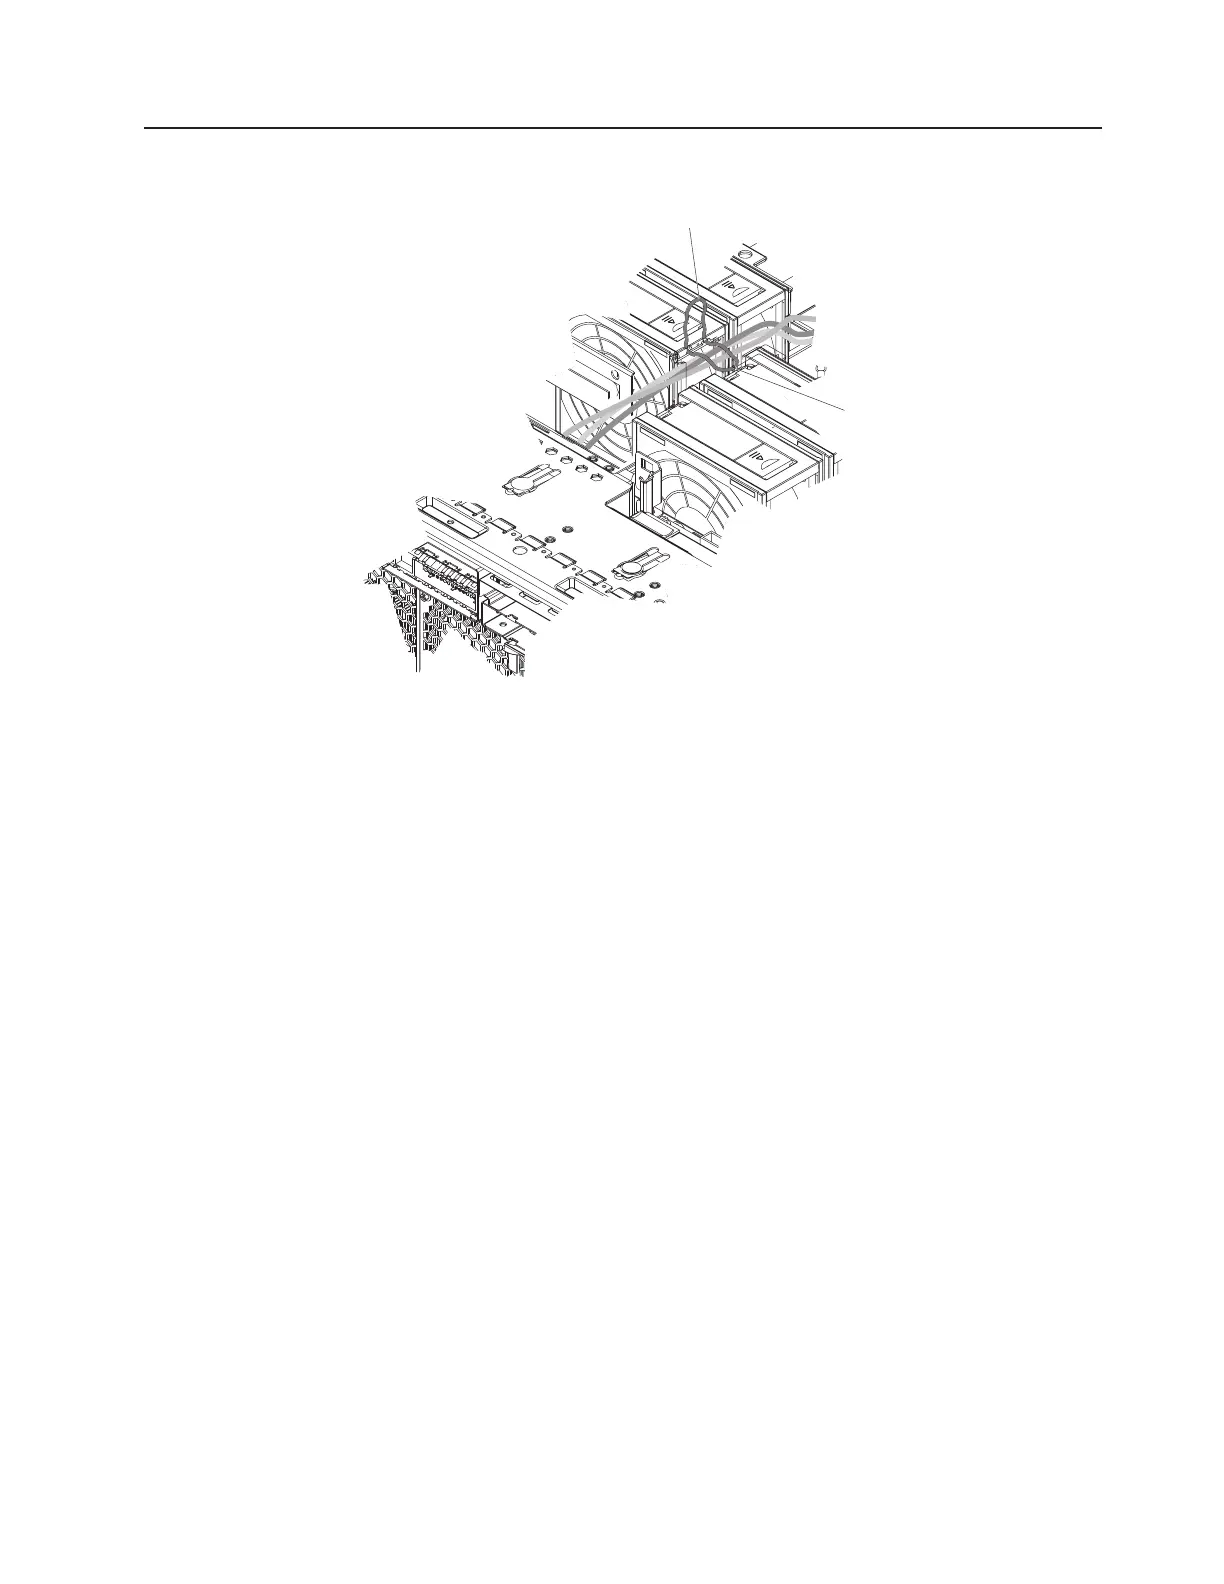
Wire cable clip
(open)
Wire cable clip
(closed)
Complete the following steps to complete the installation:
1. Make sure all internal cables are properly routed and are held in place by the
wire cable clip in the center of the server.
2. Install the top cover.
3. Install the server in a rack. See the Rack Installation Instructions that come with
the server for complete rack installation and removal instructions.
4. Connect the cables and power cords. See “Connecting the cables” for more
information.
Connecting the cables
You must turn off the server (see “Turning off the server” on page 28) before
connecting any cables to or disconnecting any cables from the server.
See the documentation that comes with optional devices for additional cabling
instructions. It might be easier for you to route cables before you install certain
options.
Cable identifiers are printed on the cables that come with the server and options.
Use these identifiers to connect the cables to the correct connectors.
For details about the location and function of the input and output connectors, see
Chapter 3, “Server controls, connectors, LEDs, and power,” on page 25.
The following illustrations show the locations of the input and output connectors on
the server. Detailed cabling instructions are in the Rack Installation Instructions that
come with the server.
Chapter 2. Installing options 23