s. 30 / 40
Reset maintenance interval 1 counter
Resets maintenance interval 1 counter
Reset maintenance interval 2 counter
Resets maintenance interval 2 counter
Reset maintenance interval 3 counter
Resets maintenance interval 3 counter
Once the required command has been selected, press □ to execute it. The device will prompt for a
confirmation. Pressing □ again, the command will be executed.
To cancel the command execution press ◄.
To quit command menu press ◄.
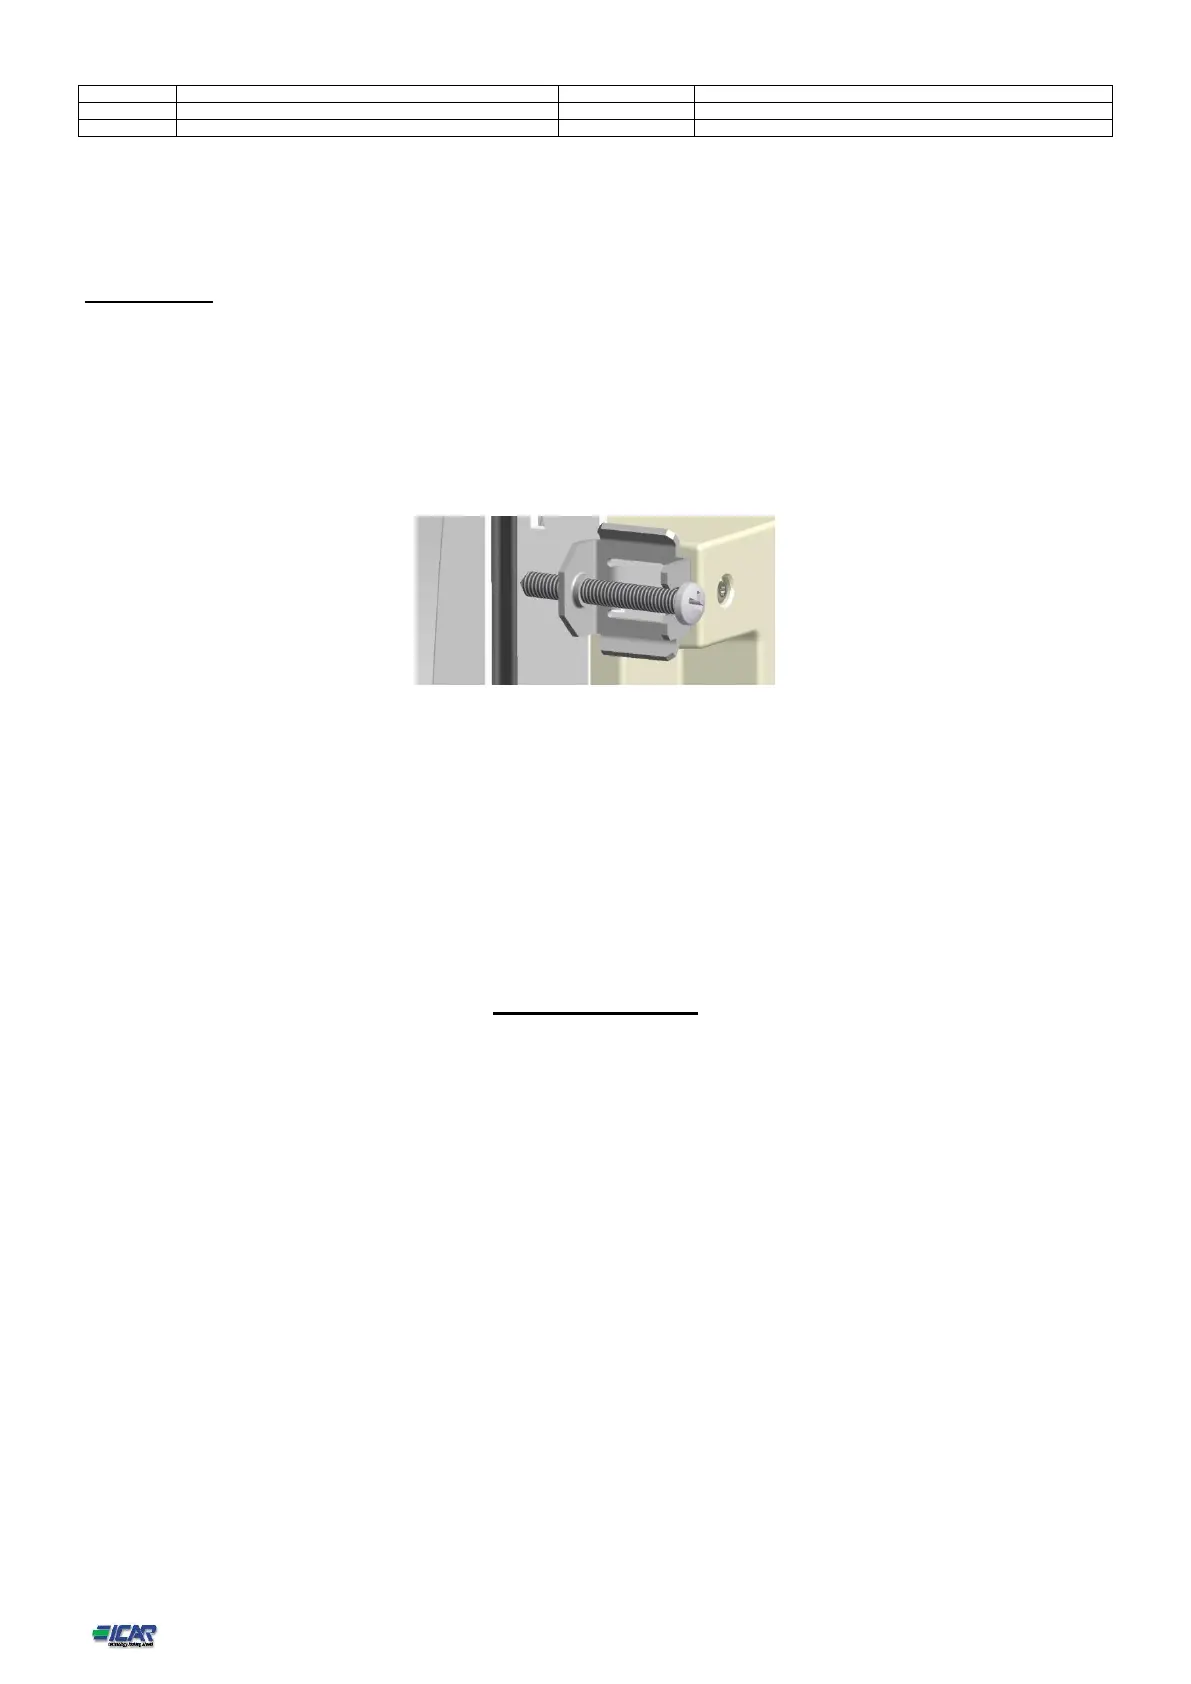
28. Installation
8BGA is designed for flush-mount installation. With proper mounting, it guarantees IP54 front
protection.
Insert the device into the panel hole, making sure that the gasket is properly positioned between the
panel and the device front frame.
From inside the panel, for each four of the fixing clips, position the clip in its square hole on the housing
side,then move it backwards in order to position the hook.
Repeat the same operation for the four clips.
Tighten the fixing screw with a maximum torque of 0,5Nm.
In case it is necessary to dismount the system, repeat the steps in opposite order.
For the electrical connection see the wiring diagrams in the dedicated chapter and the requirements reported in the technical
characteristics table.
Wiring diagrams
Standard Three-phase wiring
 Loading...