EasyManuals Logo

Icom IC-705 Paper Tray Installation

Icom IC-705
5 pages
To Next Page IconTo Next Page
To Previous Page IconTo Previous Page
Page #4 background imageLoading...
Page #4 background image
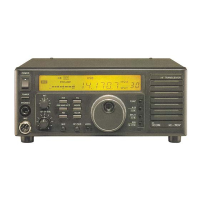
6. Attach the brackets holding the tray to the frame, using the screws you put aside in step 3. Line
the brackets up flush with the front of the frame, and tighten securely. Then you can fully
tighten the socket head screws holding the tray to the brackets.
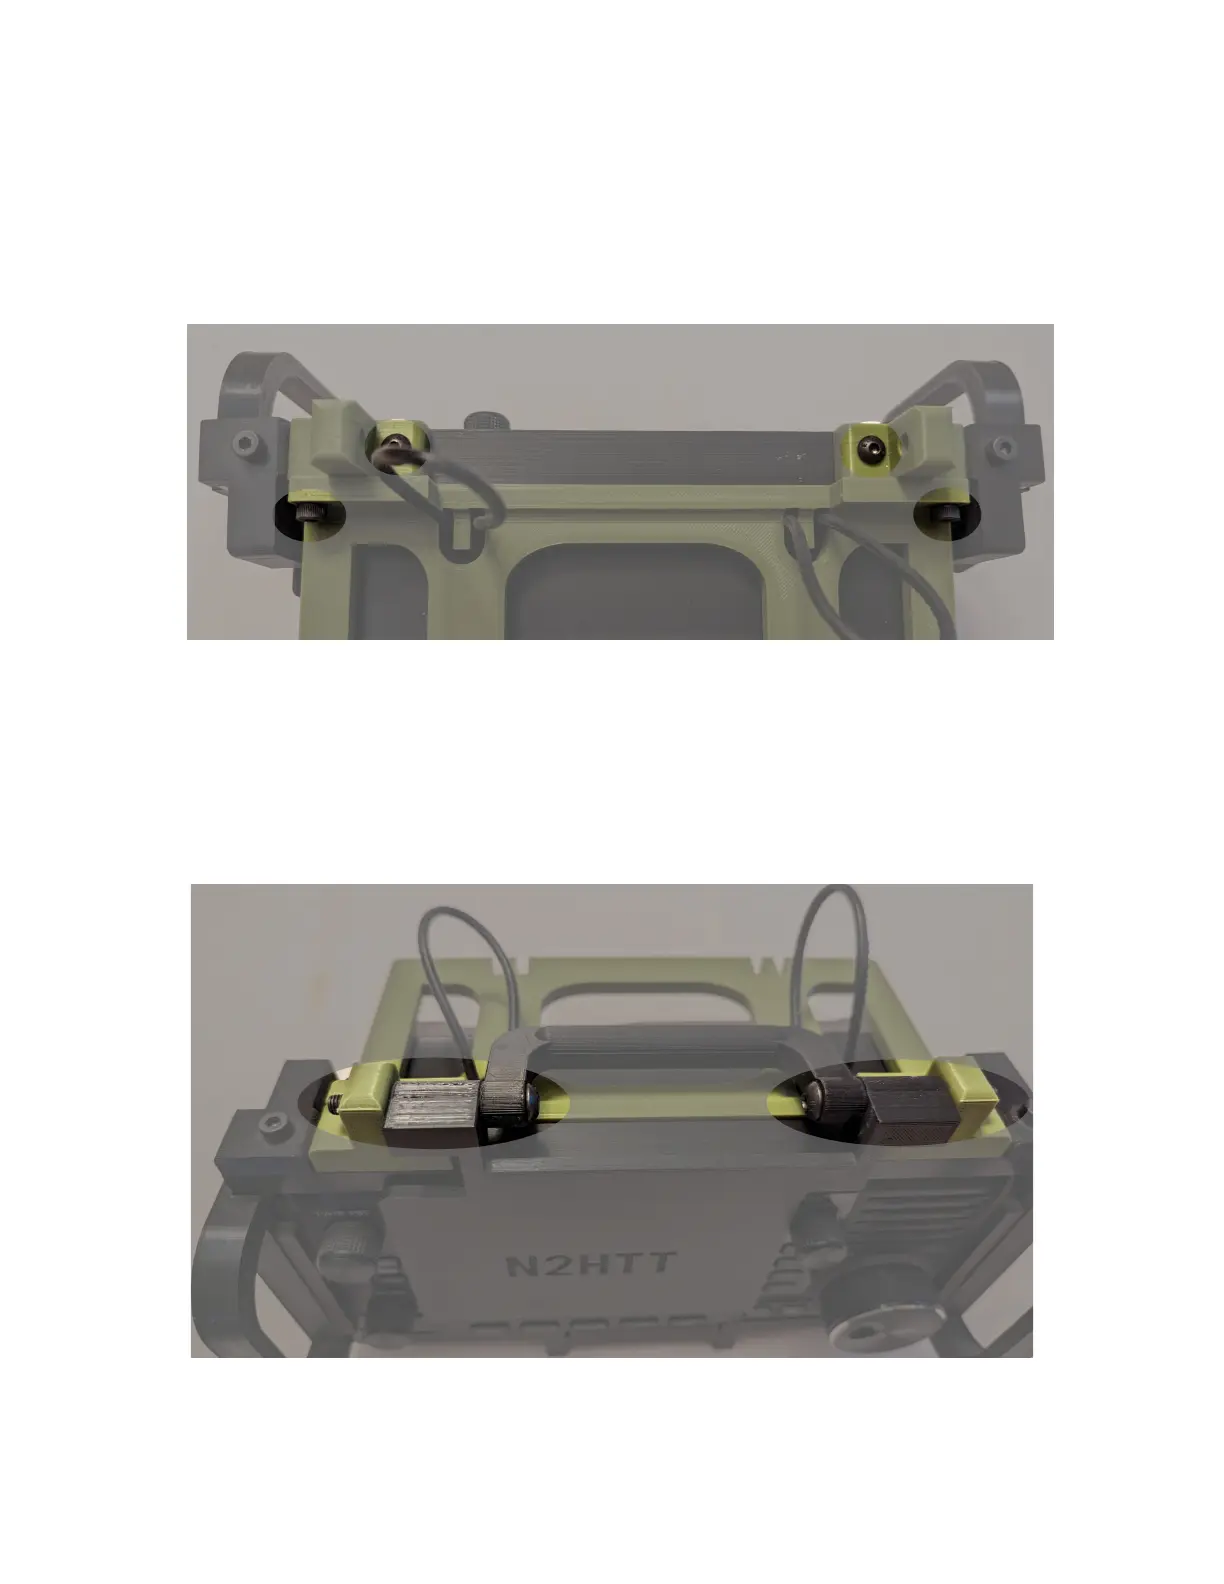
7. Now you can replace the handle and frame assembly, threading the bolts through the holes in
the new brackets. This can be a bit easier if you sight through the bracket holes from the sides,
to get the bolts started. Once the bolts are through, replace the nylon nuts you put aside in step
1, and adjust the tension of the handle and screen cover to your preference.

Other manuals for Icom IC-705

Questions and Answers:

Question and Answer IconNeed help?

Do you have a question about the Icom IC-705 and is the answer not in the manual?

Icom IC-705 Specifications

General IconGeneral
BluetoothYes
WLANYes
SD Card SlotYes
Antenna ConnectorBNC
Frequency Range0.030–199.999 MHz
ModesSSB, CW, AM, FM
Receiver TypeSuperheterodyne
GPSBuilt-in
BatteryLithium-ion
WeightApprox. 1.1 kg
TypePortable
Power Supply13.8 V DC
Waterproof StandardIP54
Operating Temperature Range-10°C to +60°C
Display4.3 inch color TFT touch screen LCD

Related product manuals