6
iMap
TM
Software for Mac OS X
Getting Started
Connecting your iKeyboard controller
1. Connect the ikeyboard to your Mac/PC via the USB port.
Choose a USB port on your Mac/PC and insert the wide (at) end of the USB cable. Connect
the cable’s small jack end to the iKeyboard. Your Mac/PC should automatically “see” the new
hardware and notify you that it is ready to use.
2. Mode select & assign the MIDI messages to iKeyboard with iMap software.
Select Mackie Control or HUI mode from the pull down menu for pre-mapped MIDI mapping.
Select User Defined mode for self MIDI assignment. Refer to page.9 for “Assign the MIDI
messages with “iMap
TM
” software.
Tip: Make sure you have selected the correct DAW mode in the pull down menu
3. Setup your DAW
Activate the ICON iKeyboard controller in your DAW or MIDI software using “MIDI Setup” or
“MIDI Devices”.
For Logic
TM
, Cubase
TM
and Nuendo
TM
, choose Mackie Control at the “Device List”.
Note:
Every application does this a little different, so refer to your software user manual for the
settings.
Please follow the procedures below step-by-step to launch your iMap
TM
software to Mac OS X
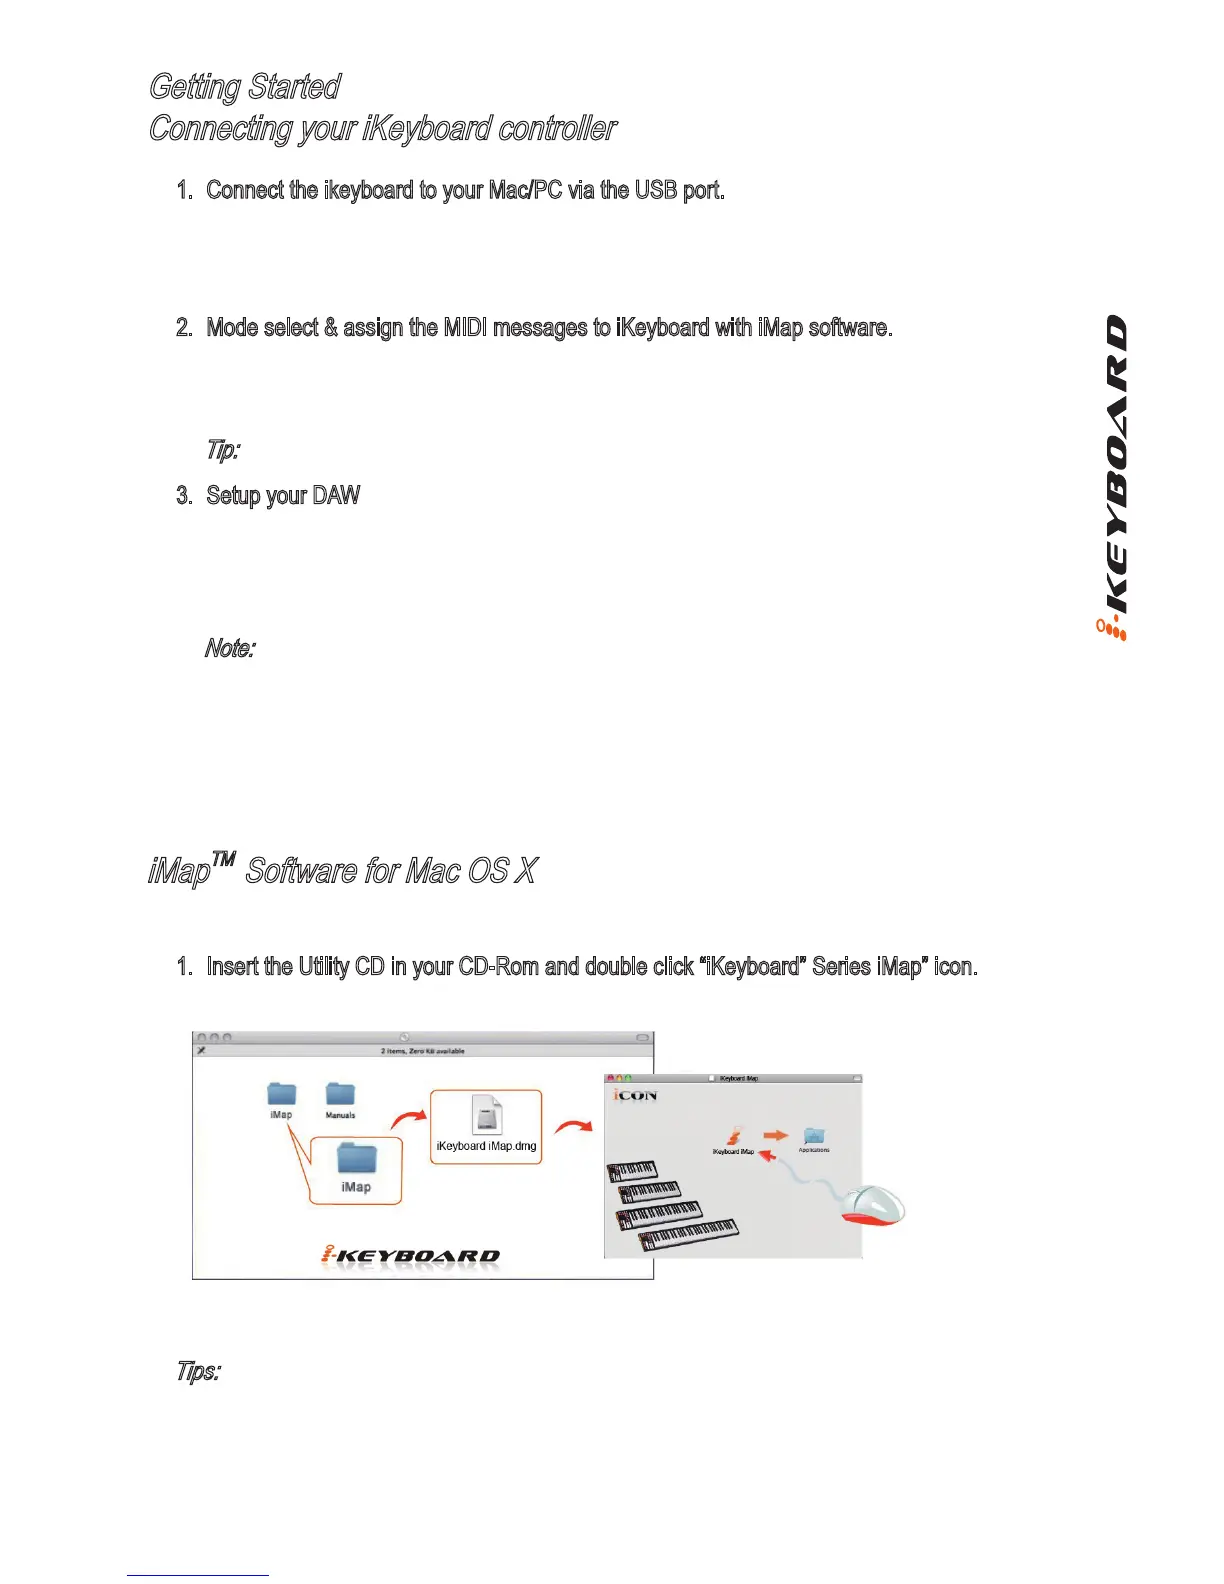
1. Insert the Utility CD in your CD-Rom and double click “iKeyboard” Series iMap” icon.
Tips:
By “drag and drop” the “iKeyboard” icon into the “Applications” folder, you could create a
“iMap” shortcut on your Mac’s desktop.
Diagram 1