ALLROAD
1
2
3
4
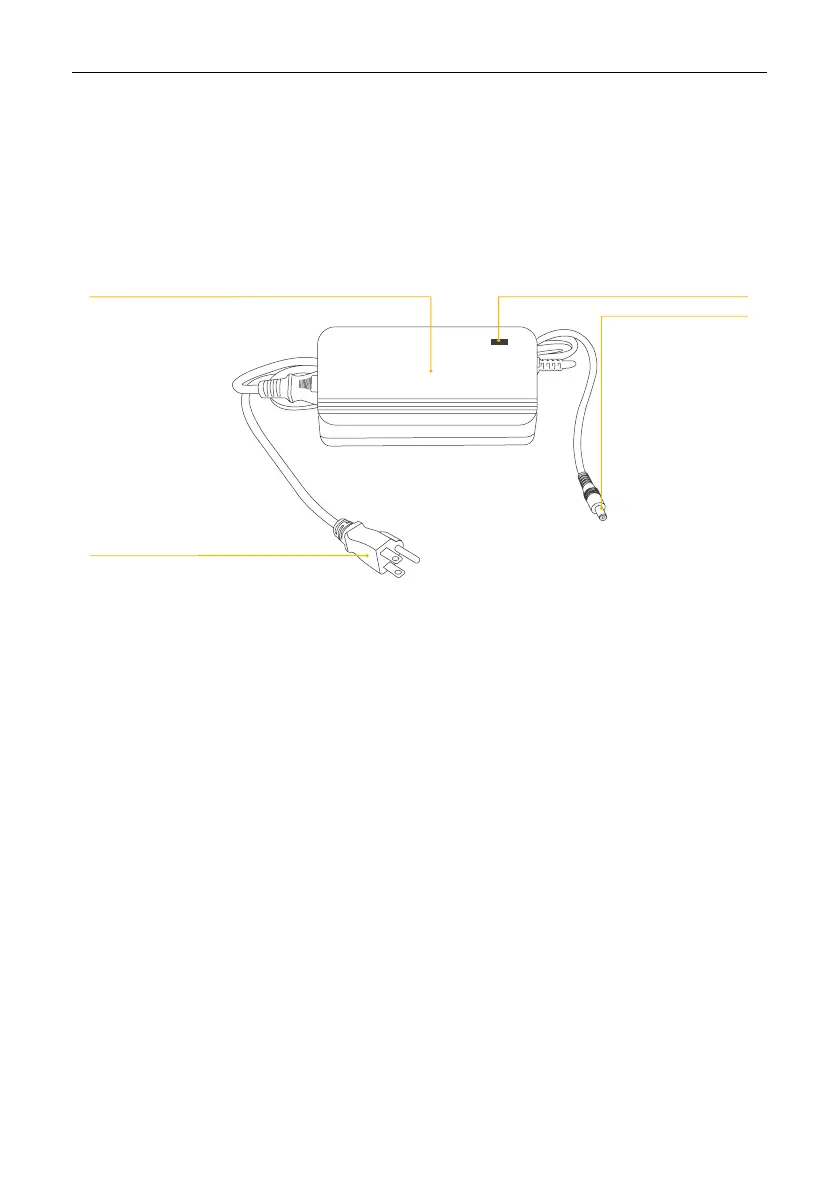
Charger case
Power plug
Charge gauge
Battery charging plug
Charger:
It is necessary to carefully check whether the nominal input voltage of the battery charger is consistent
with the mains voltage. The battery can be charged directly on the bike or removed from the bike and
taken inside and in other appropriate places for recharging. It should be loaded indoors in cool areas.
Always connect the charger’s output plug to the charging socket rst, then connect the charger’s input
plug to AC power and the red light will turn on. This procedure cannot be done in reverse.
When the red charge indicator of the battery charger is on, it means that the battery is charging; if the
green light is on, it means that the battery has been fully charged. The charging time is approximately 3-8
hours (the specic charging time should depend on the residual electrical quantity of the battery). The
maximum continuous charging time must not exceed 12 hours.
1
2
3
4