9
VF1
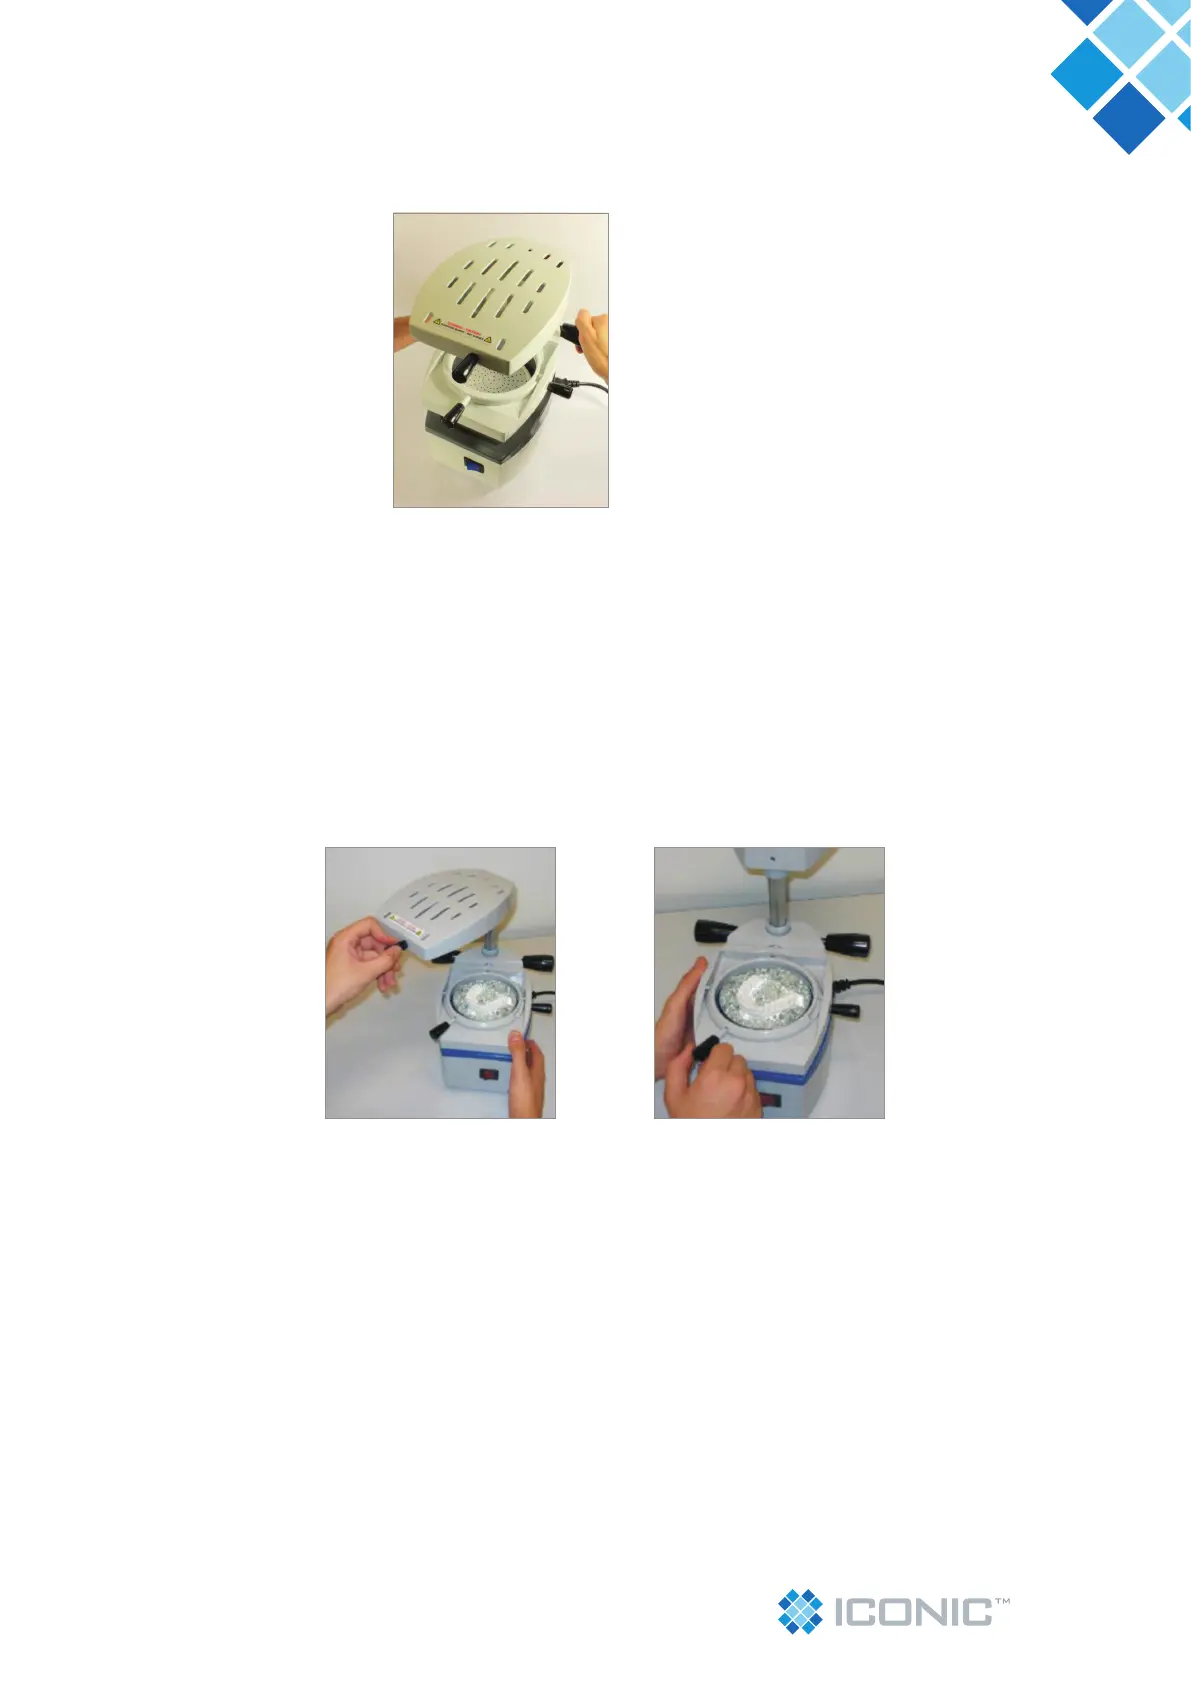
5.1.9 - Upon reaching the ideal plastic forming point, turn the vacuum activation handle right side (03), half turn counter-
clockwise direction to release the blank xation unit (04), lower the whole of the xation unit set of the blanks with both
hands (one at each handle), causing the xation unit frame of the blank to close to the vacuum chamber (photo 16).
5.1.10 - Turn the heating unit 90º minimum clockwise direction by the heating unit handle (01) right after the vacuum
activation, to avoid accidents and likely blisters on the plate (photo 17). Leave the vacuum system (motor) actuating
until you are sure the conformation process by the vacuum is completed (10 to 20 seconds depending on the plate
thickness).
Care: Do not leave the motor on for more than one (1) minute when moulding the blank is on the vacuum chamber to
avoid overheating, since the motor is air cooled.
5.1.11 - Turn off the General Switch (08) and leave the model cooling down for about 60 seconds.
5.1.12 - Loosen the plate Lock turning the handle (9) to the right counter-clockwise direction, remove the smaller
ring (12) and then the model.
Attention:
To remove the model and nish the blank, cut off the excess of material with a pair of scissors, or a tricutter, depending
on the stiffness and thickness of the blank.
For stiffer blanks or above 1.0mm thick, we strongly recommend the use of the Cup Model Holder when vacuum
forming, as previously mentioned. The nal nish of the edges can be made with polypropylene non woven polishing
disks.
5.2 – Plastic forming process using the rotary system.
To make use of the rotary plastic forming system that allows the heating on both faces of the blank, follow the
instructions below, guiding by the number of the main components of the machine in Figure 02 of this manual.
The machine leaves the factory with the blank xation unit locked by the lock screw of the rotary (10), to avoid
accidental rotation when the plastic forming process is conventional (heating only one face). To use the rotary system
it is necessary to loosen the lock screw (10) by using a 4mm Allen key supplied with the product (it is not necessary to
remove the screw, only loosen it) (photo 19).
Photo 16
Photo 18Photo 17