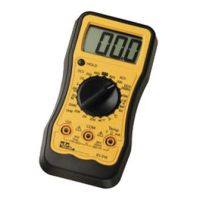
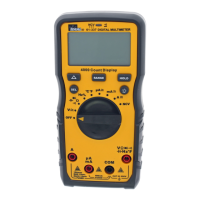
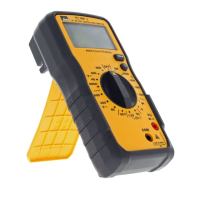
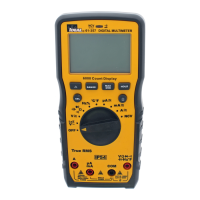
Page 4
CALIBRATION
Calibration Preparation
1. Turn on the Calibrator, allow calibrator to warm up. Temperature Stabilization
should be reached after 30 minutes.
2. Disconnect the test leads and turn the range switch to “OFF”.
3. Remove the screw holding the bottom case cover, just above the battery cover.
4. The case bottom is secured to the case top by two internal snaps (at the LCD end).
lift up on the battery end until the case un-snaps.
5. Using a calibrated meter ensure the battery measures a minimum of 7.5V DC.
If the battery measures under 7.5V DC, replace the battery.
Calibration Procedure
It is recommended that all IDEAL meters undergo the following calibration procedure on
an annual basis.
Volts DC Calibration
1. Set the function / range to 2V DC
2. Connect the calibrator to the VΩ and COM inputs on the meter.
3. Output 1.900V DC.
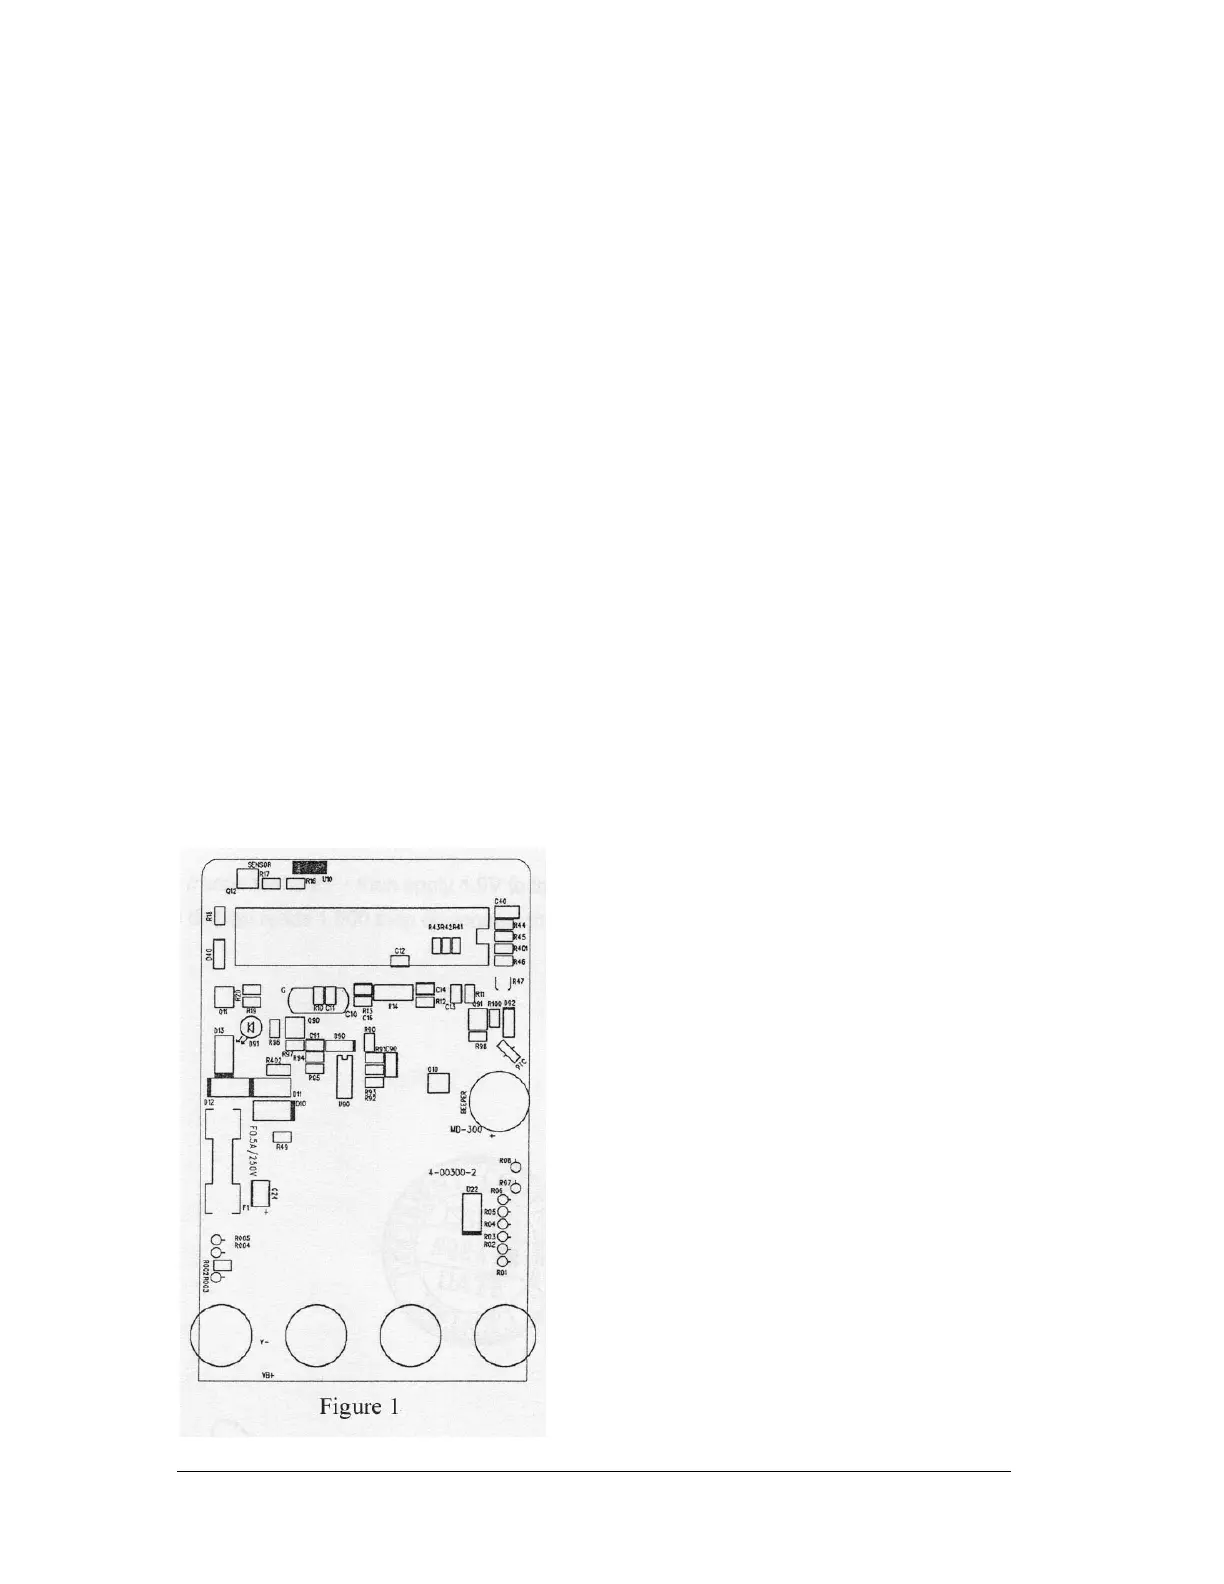
Adjust R47 unit the display reads 1.900V
Note: This is the only adjustment required for the 61-603. Calibration is complete.
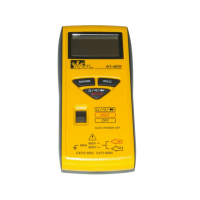
61-603 main printed circuit board (refer to Figure 1)
Form number TM61603 Rev 3 February 2002
 Loading...