47
12
.
.
.
.
.
.
.
.
.
.
.
.
.
.
.
.
.
.
.
.
.
.
.
.
.
.
.
.
.
.
.
.
.
.
.
.
.
.
.
.
.
.
.
. .
.
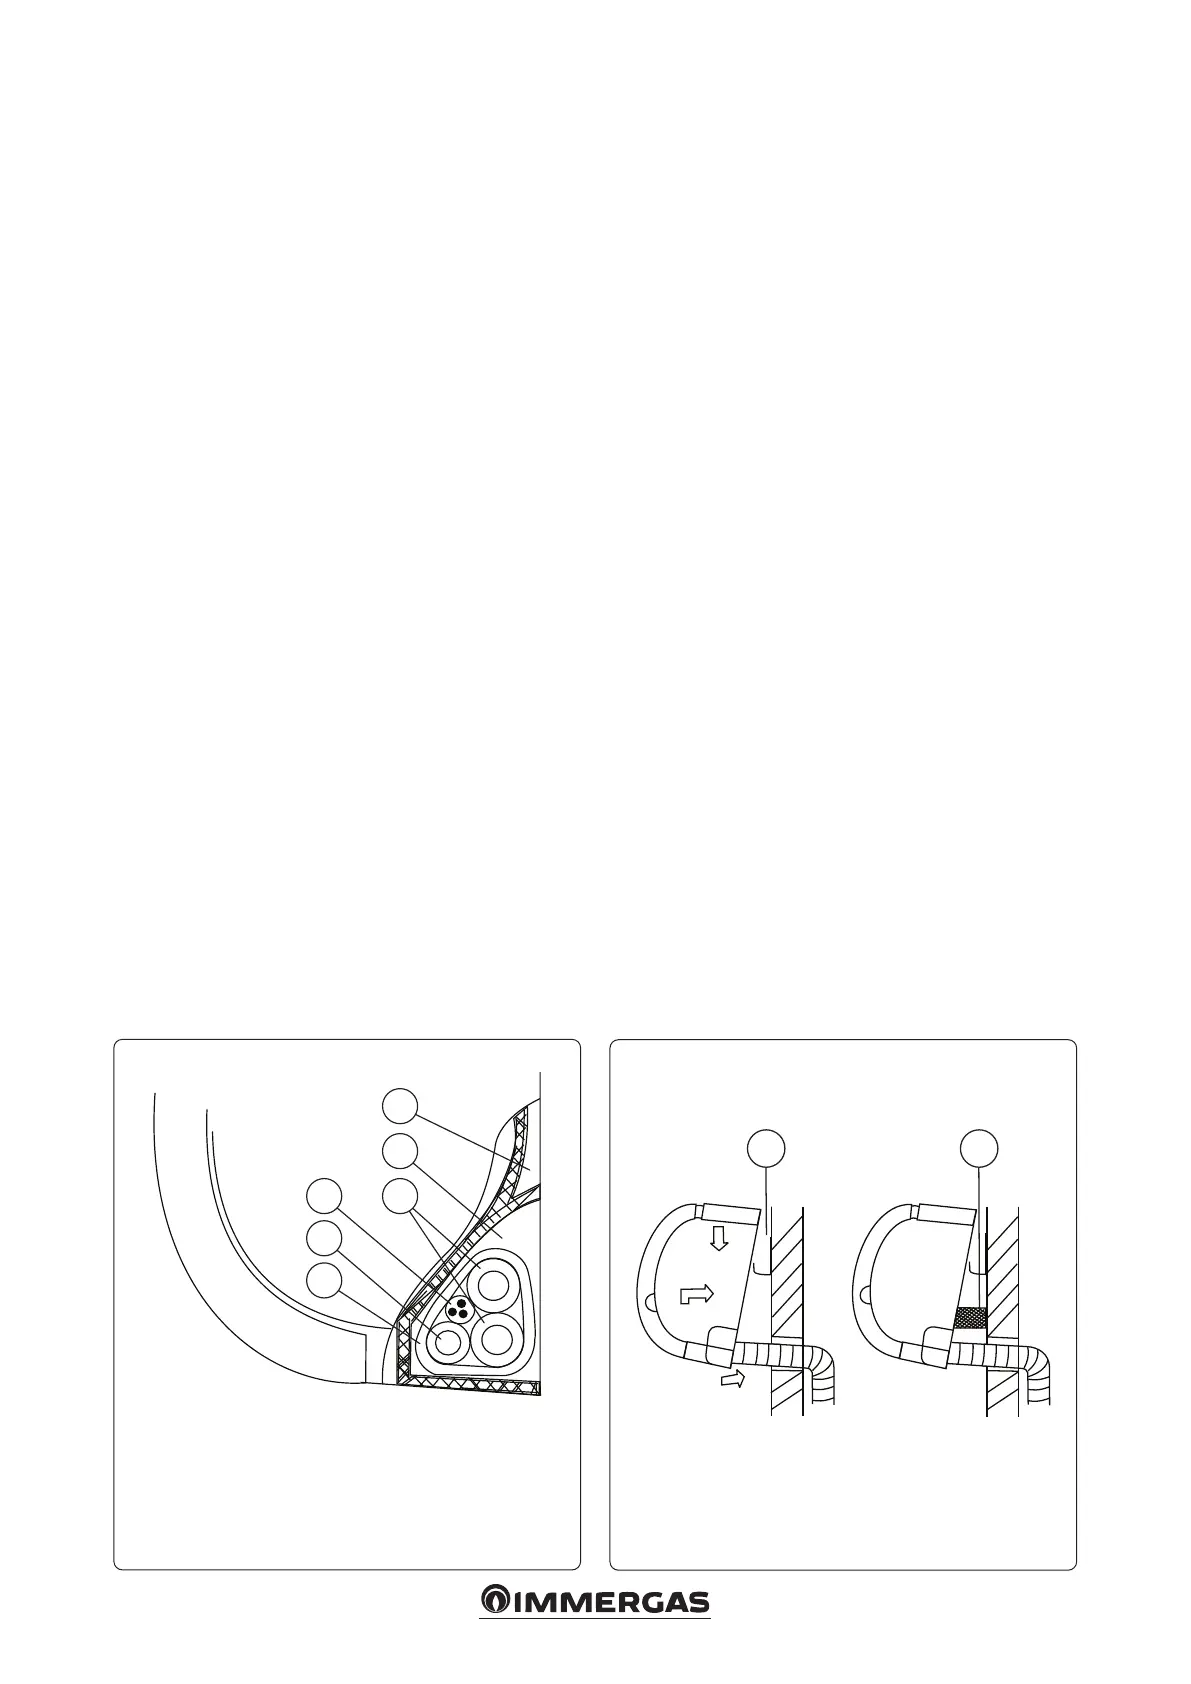
6
5
4 3
2
1
13
1 2
• Connecting the pipes and binding them (Fig. 12)
Wrap the connection cable, the drain pipe and wires secu-
rely and evenly with tape, as shown below.
- e condensed water generated at the back of the indoor
unit is collected in a special tank and conveyed outside
the room. Do not put anything else in the tank.
INSTALLING THE INDOOR UNIT (Fig. 13)
- Push the pipe through the hole in the wall.
- Place the indoor unit, on the mounting panel hook, move
the indoor unit sideways and make sure it is safely attached.
- e pipes can quickly and easily be connected by liing the
indoor unit with cushioning material placed between the
unit and wall. Remove when the pipes have been connected.
- Push the bottom of the indoor unit upwards along the wall,
then move the unit sideways and downwards to ensure it
safely attached.
Indoor unit
Key:
1 - Collection tank
2 - Space for pipes
3 - Connection pipe
4 - Connection pipe
5 - Drain pipe
6 - Wrapping tape
Key:
1 - Coupling plate
2 - Cushioning material