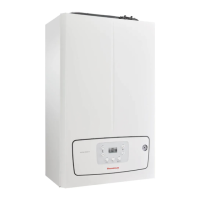
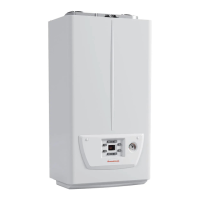
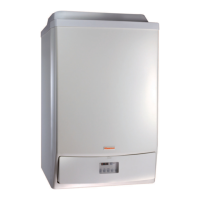
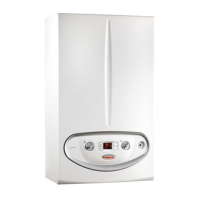
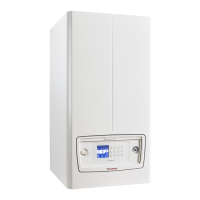
VICTRIX PRO V2 EU
37
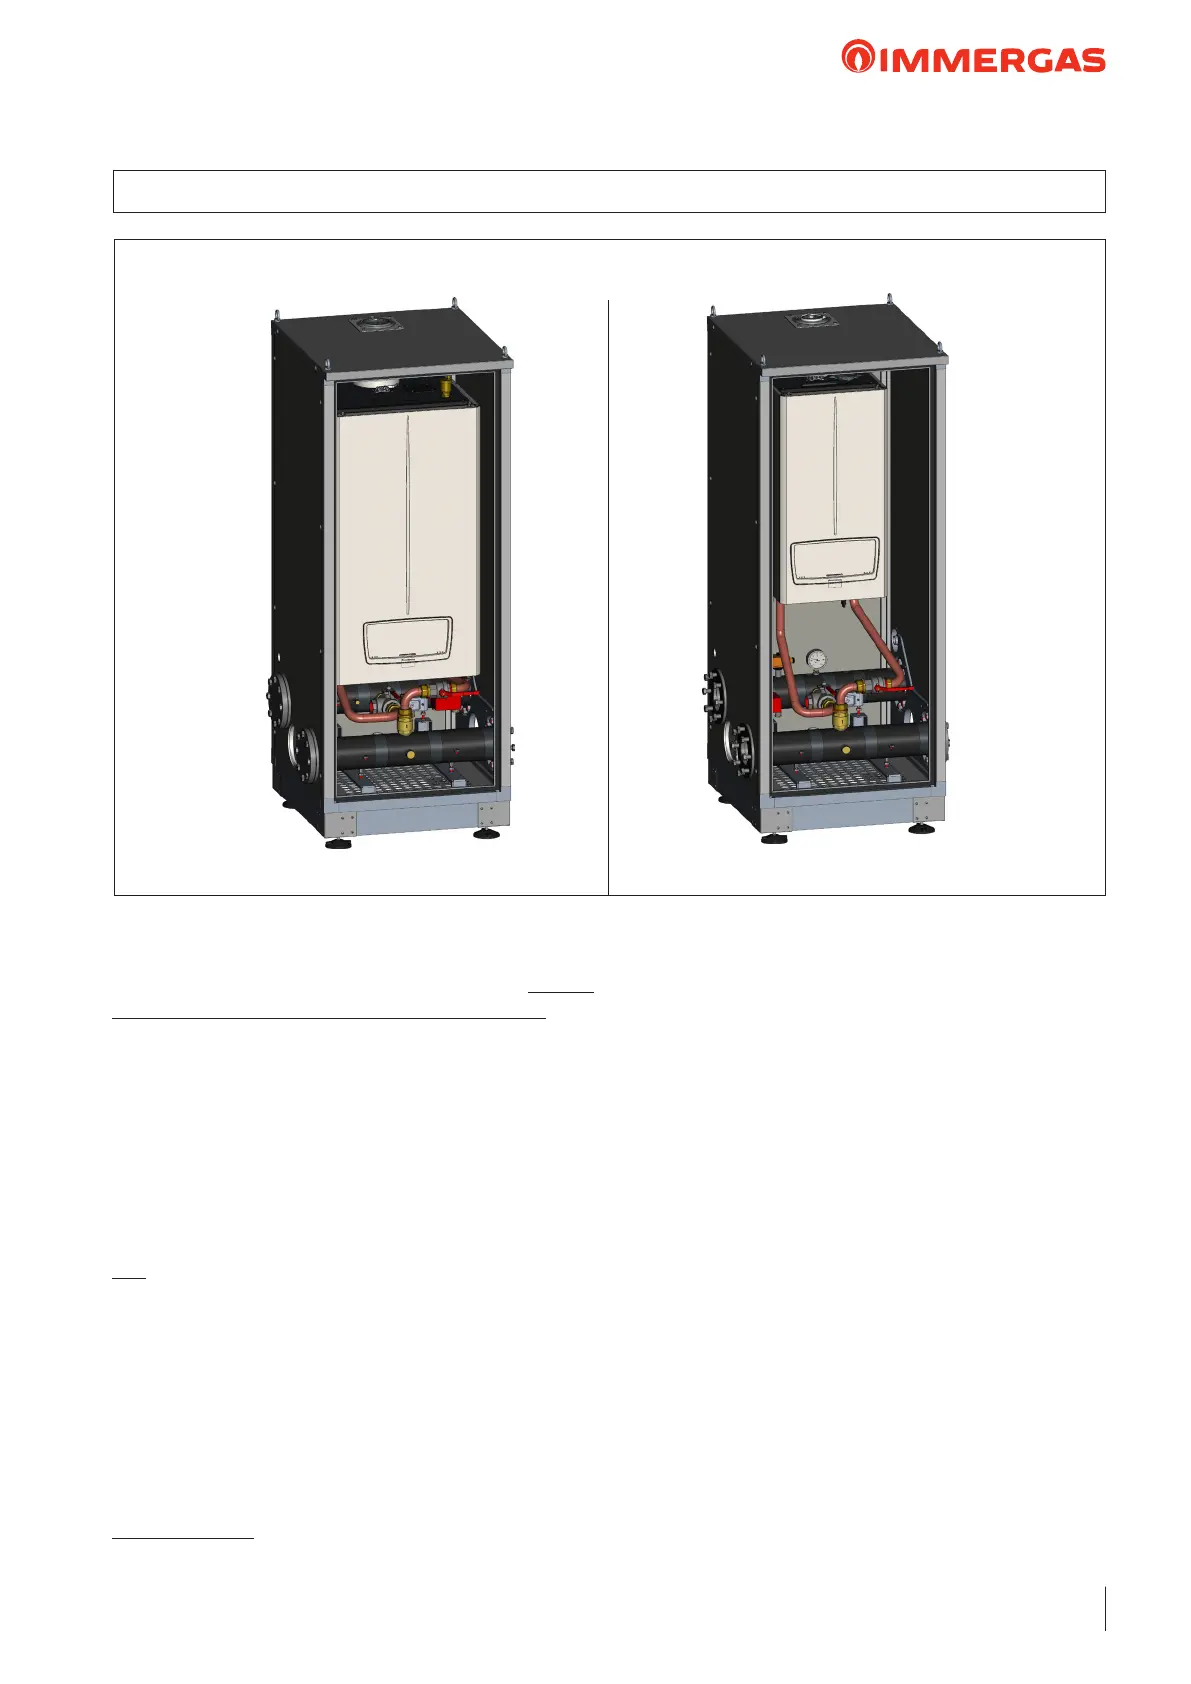
Main features.
e outdoor cabinet kit is supplied for installation and can
contain a generator of the VICTRIX PRO V2 range, with the
sole exclusion of model VICTRIX PRO V2 180 EU. aer
adjusting the boiler supports depending on the model (see
dimensions and gure on next page).
Constructed with extruded aluminium load-bearing structure,
it includes 4 adjustable support feet to ensure stable installa-
tion; it can be handled by forkli truck or transpallet to be
positioned below the cabinet frame.
Alternatively, you can move the cabinet by means of 4 eyebolts
in the upper part.
e cabinet has a door that can be opened to 180° inclusive of
lock and it can be installed outdoors.
IT IS also equipped with side holes for connection to the
system and a top hole for connection of the ue exhaust pipe.
ere is a grid opening at the base for the intake of combus-
tion air.
Inside of the cabinet, each generator is installed with its own
hydraulic manifold kit for cabinet, including INAIL safety
devices (code: 3.033681).
By purchasing several cabinets, you may develop congura-
tions in cascade, with the possibility of making even mixed
set congurations.
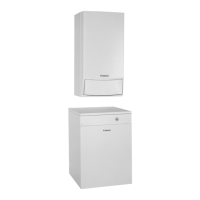
14 OUTDOOR VICTRIX PRO V2 EU CABINET KIT CODE: 3.033680
is is a solution suitable for many applications:
- heating control unit on the roof of the building;
- heating control unit outside the building;
- expansion of existing systems;
- adaptation of non-standardised control units, thanks to the
possibility of outdoor application.
Installation.
Level the cabinet by loosening the nuts (pos. 3, Fig. below) and
rotating the support feet (pos. 4, Fig. below). Once perfectly
level, tighten the nuts loosened previously.
Open the door of the cabinet, loosen the screws (pos. 2, Fig.
below) and, depending on the boiler model to be installed,
move the boiler supports (pos. 1, Fig. below) as shown in gure.
Once adjusted, tighten the screws that were loosened.
N.B.: e cabinet comes with Ø 80 and Ø 100 clamps to be
used according to the ue installed (Ø 80 for VICTRIX PRO
V2 35-55-60-68-80 EU models and Ø 100 for VICTRIX PRO
V2 100-120-150 EU models).