System Connections
_____________________________________________________________________________________
MicroScribe G2 can connect via the USB or serial port of the host computer.
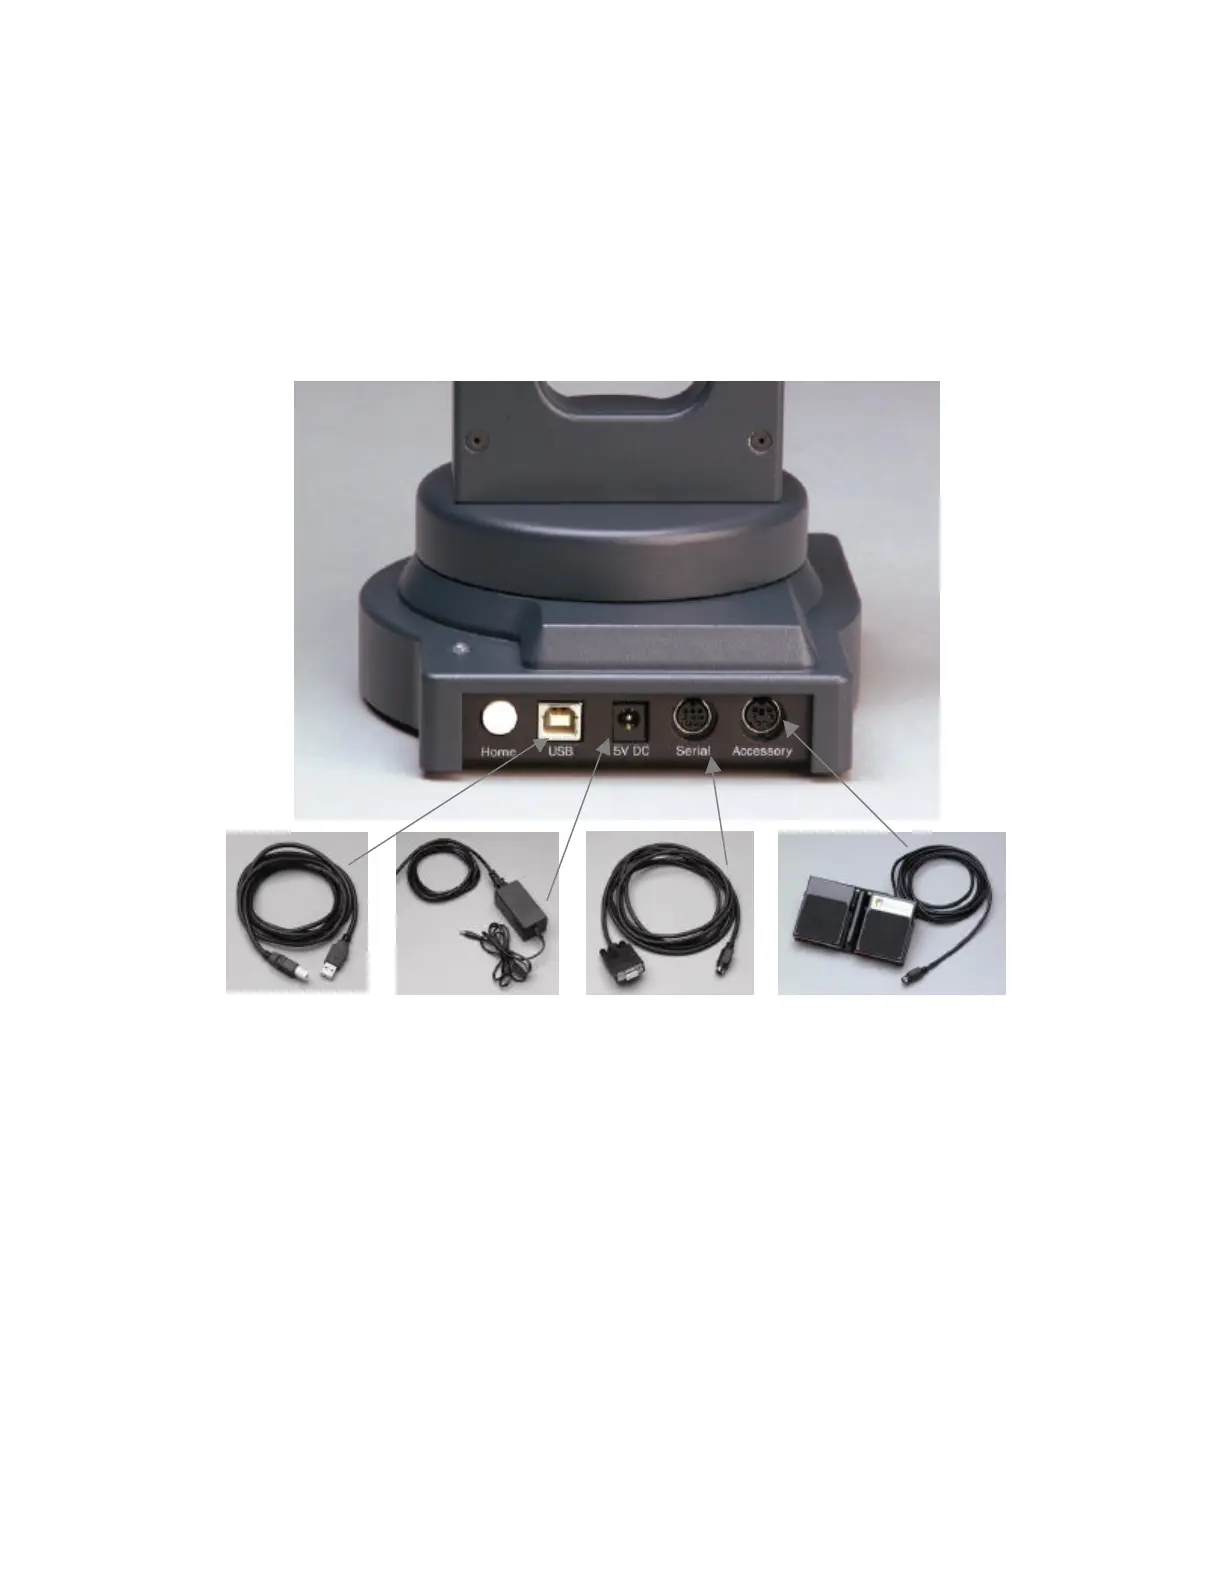
Figure 7 – MicroScribe Rear Panel Connections.
From left to right: Home button, USB port, power, serial I/O, and accessory input.
USB cable
Power supply may
vary depending on
country on use.
Serial cable
Input accessory may be a
foot pedal or a hand switch
(not shown).
To connect in USB mode:
1. Plug the end of the foot pedal or hand switch cable into the MicroScribe’s “Accessory” port.
2. By default the MicroScribe will draw power from the host computer via the USB cable, in which
case there is no need to plug in the separate power supply. Alternatively, power can be drawn
from the power supply. To do so insert the correct end of the power cable into the MicroScribe
port labeled “5V DC”. Plug the other end into a power outlet. Never use a power supply other than
the one provided with your MicroScribe, even if the voltage rating appears to be correct.
3. Plug the appropriate end of the USB cable into the MicroScribe port labeled “USB”. The other end
should go in a free USB port on your machine.
4. Place the MicroScribe in the home position. Press the “Home” button on the back of the
MicroScribe.