5
16
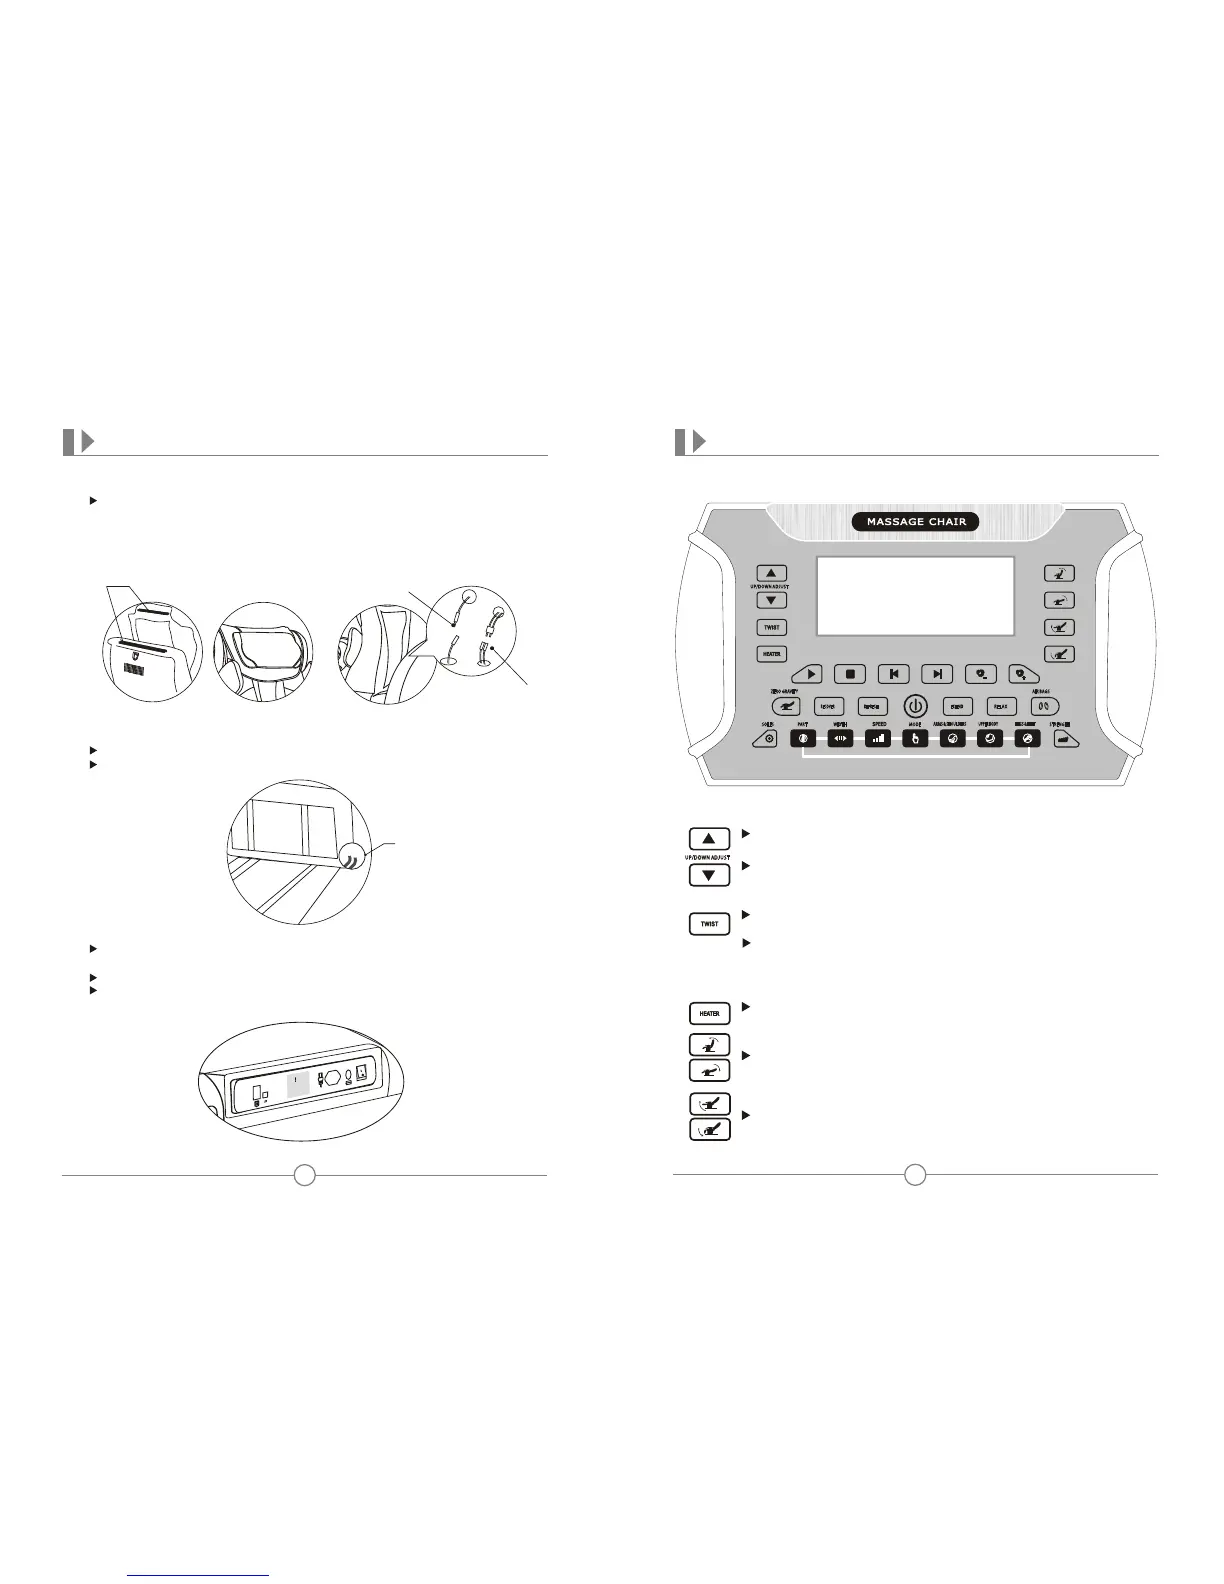
PREPARATION BEFORE USING
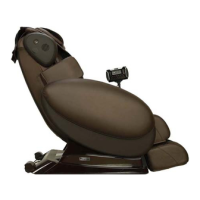
Step 6 Installation of back cushion and buering cushion
Zipper
Plug of the heater
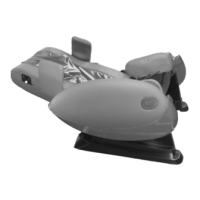
Step 7 Installation of seat cushion
Place the seat cushion on the seat shelf, and x the air tube .
Connect cloth on the seat cushion with the linking tape.
Step 8 Other accessories
Connect the controller,wire to respective jack on the power
supply box.
Place the controller in the tray.
Connect the power and switch on the chair, use the controller to
return the back rest to normal position.
Air tube
NAME AND FUNCTION OF EACH COMPONENT
Instruction on each component of main controller
Function description on buttons
Press this key to turn on/o heating function on back and
waist.
Keep pressing this key to adjust backrest and legrest to a
desirable position.
Keep pressing this key to adjust legrest to a desirable position.
When the massage program is in POINT mode, keep Up or
Down button pressed to pinpoint massage position.
When the body sensing is on and the indicating light for
shoulder adjustment is on, press Up and Down button to
pinpoint shoulder position.
Press this button to turn on or o the waist twist massage, and
the relevant icon will brighten or go out.
When waist twist massage is under working, press this key to
choose proper intensity within 1-3 degree. Under max intensity
degree, press this key to stop this function.
(Notice: When the icon is ashing, it is the fault prompt.)
Air tube connector
Fix the buering cushion and back cushion on the backrest with
zipper, and install the heater accessory on the back cushion, connect
the connector of pillow and waist' s air tube as the illustration shows.
Connect the lower part of the cushion with seat cushion by linking
tape.
STRENGTHMODEWIDTHPAR T
ZERO GRAVITY AIR BAGS
UPPER BODY
ARMS & SHOULDERS
SOLES
LEGS & FEET
RECOVER
EXTEND
REFRESH
RELAX
UP/DOWN ADJUST
UP/DOWN ADJUST