Copyright ©2018, Infoblox, Inc.All right reserved.
1.
appliance.
The adjustable rail kit is designed for tight vertical spaces on the interior of a four-post rack, allowing for appliance installation in restricted rack
spaces, including 1U of available rack space.
The adjustable rail kit includes the following items for installation:
Eight (8) Flat-head beveled 8/32" screws that attach rail pieces to the appliance chassis
Eight (8) Phillips-head 10/32" screws for affixing the rack rails to the four-post rack
The technician must provide four attachable cage nuts for adapting the square mounting holes on the rear posts of the four-post rack to accept
the 10/32" screws.
To install the adjustable rail kit, do the following:
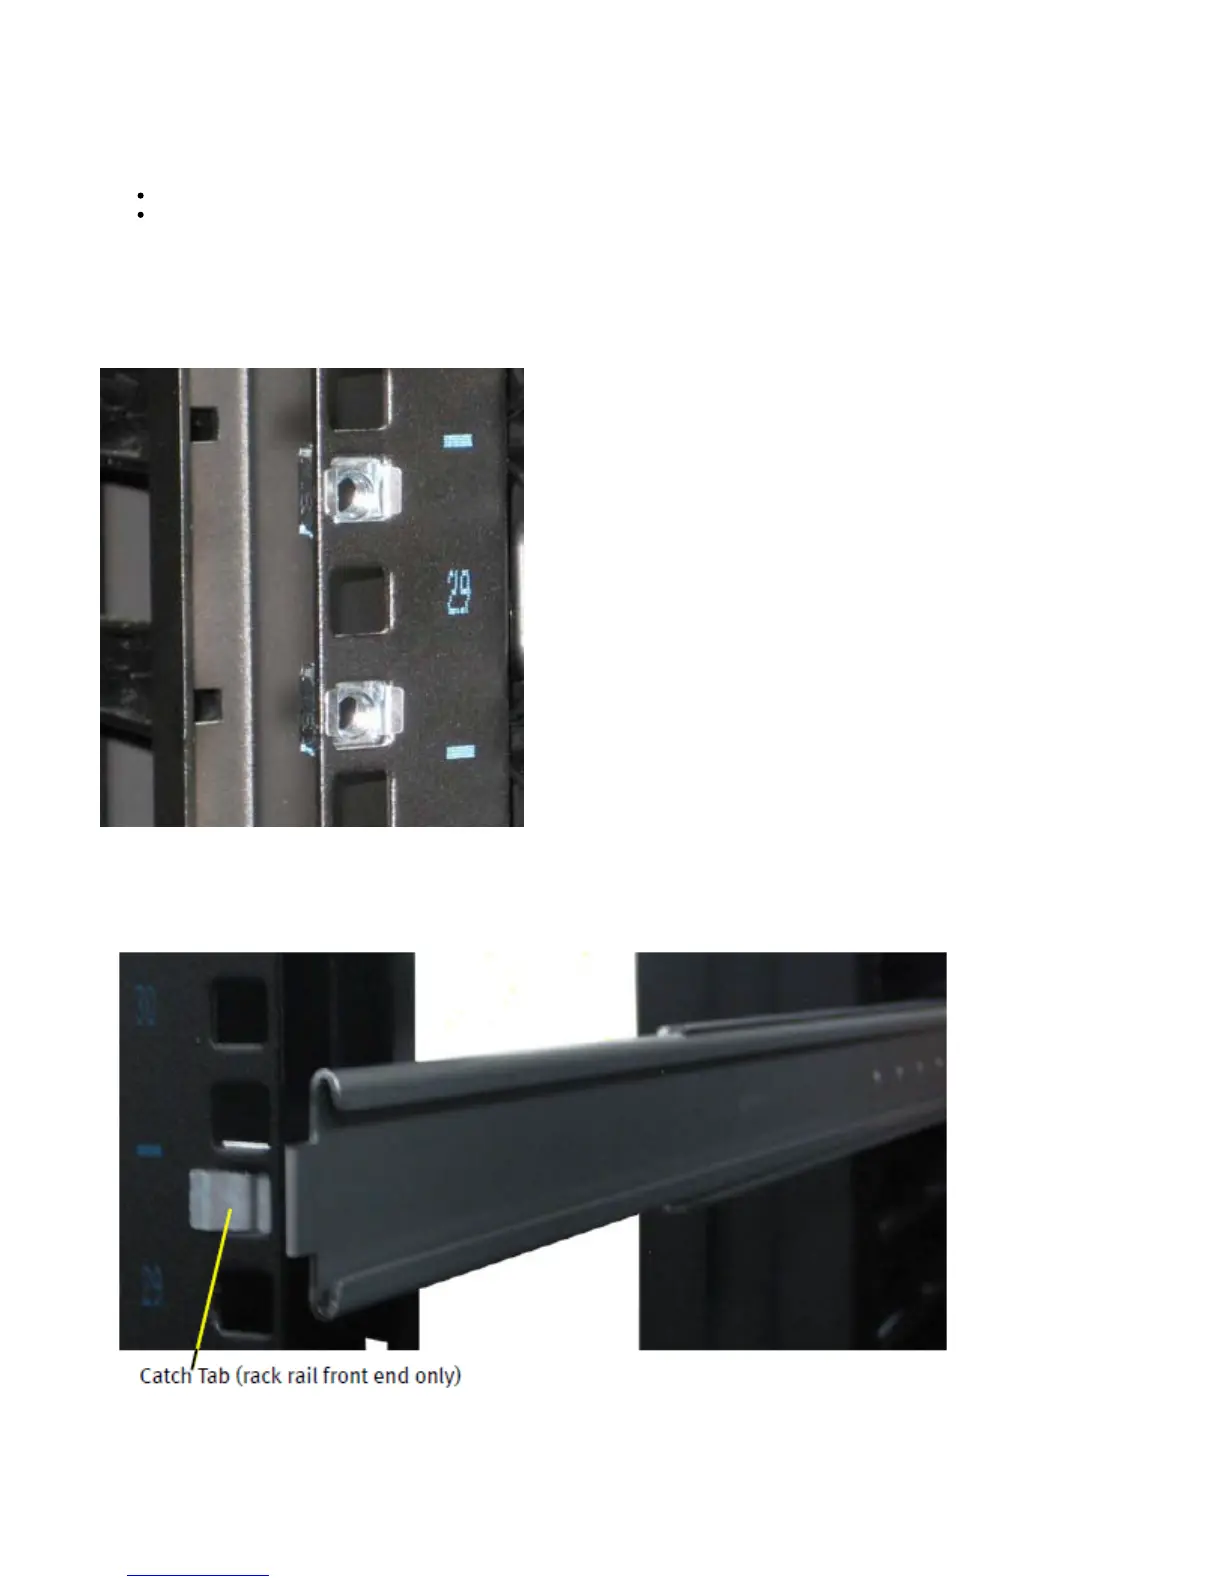
Install the cage nuts in the rear rack posts in the desired location, as indicated in :Figure 9
Figure 9 Install cage nuts on the rear posts of the designated rack space
2. Fasten the catch tab of the rack rail on the front of the rack space designated for the appliance. Each rack rail (2) in the adjustable rail kit
provides a metal catch tab on the front end of the rack rail. This catch tab fastens to a square mounting hole as shown in .Figure 10
Figure 10 Catch tab fastens on front posts of designated space
3. Extend the rack rail assembly backwards, align the mounting holes on the chassis slide rails with the required cage nuts, and fasten the
back end of the rack rail to the two cage nuts on the rear post of the designated space. As noted, the rack rail assembly has an extension
range from the minimum of 600mm to a maximum of 900mm.
 Loading...