13/24
13
Password
By default, this column is blank. You can click Enter Password to change it. The steps for setting the password of the
device (required when creating a private network) are as follows:
STEP 1: Click the device name to select the device in the lower panel.
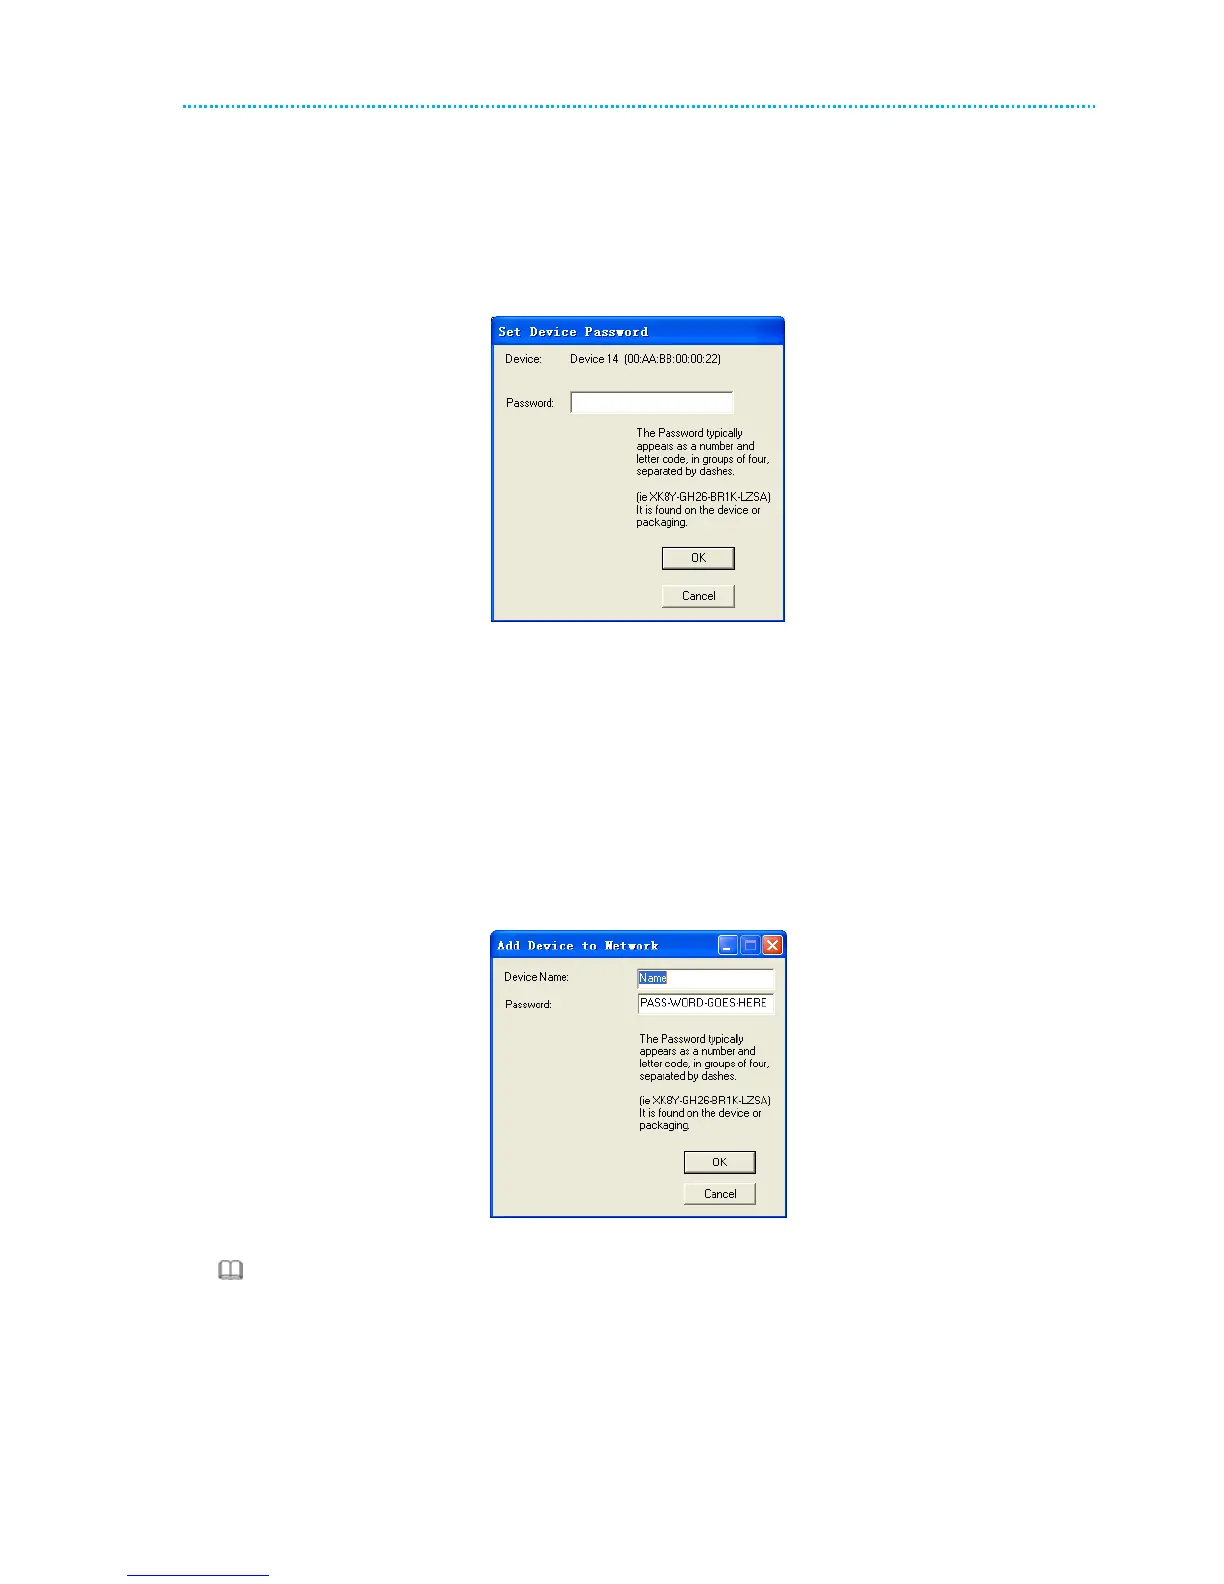
STEP 2: Click Enter Password. A dialog box appears, showing the device name and password. Figure 11.
Figure 11 Setting the device password
STEP 3: Click OK to verify the password. The password field accepts the device password in any case formats,
with or without dash.
A confirmation box appears if the password is entered correctly. If a device is not found, a message appears, providing
suggestions to solve the common problems. This process might take a few seconds to get completed.
Add
This button is used to add a remote device to the existing network by entering the device password of the device. A
dialog box appears. Figure 12. You can enter a device name and the password.
If the device is found and the password is entered correctly, a confirmation box appears. If a device is not found, a
message appears, providing suggestions to solve the common problems.
Figure 12 Adding the remote device
Note:
The device must be in the powerline (plugged in), so that you can confirm the password and add the device to the
network. If the device is not located, a warning message appears.
Scan
This button is used to perform an immediate search for HomePlugAV devices connected to the powerline network. By
default, the utility automatically scans every a few seconds and updates the displayed information.