3
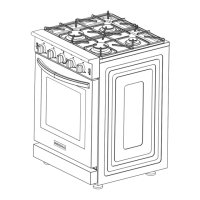
4-Burner Electric Range
www.insigniaproducts.com
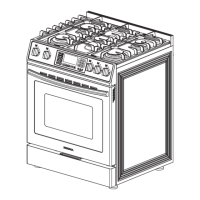
Installing your range
Step 1: Removing packaging materials
Failure to remove packaging materials could result in damage to the appliance. Remove all packing parts from oven,
racks, heating elements, and drawer. Also, remove protective film and labels on the outer door, cooktop, and control
panel.
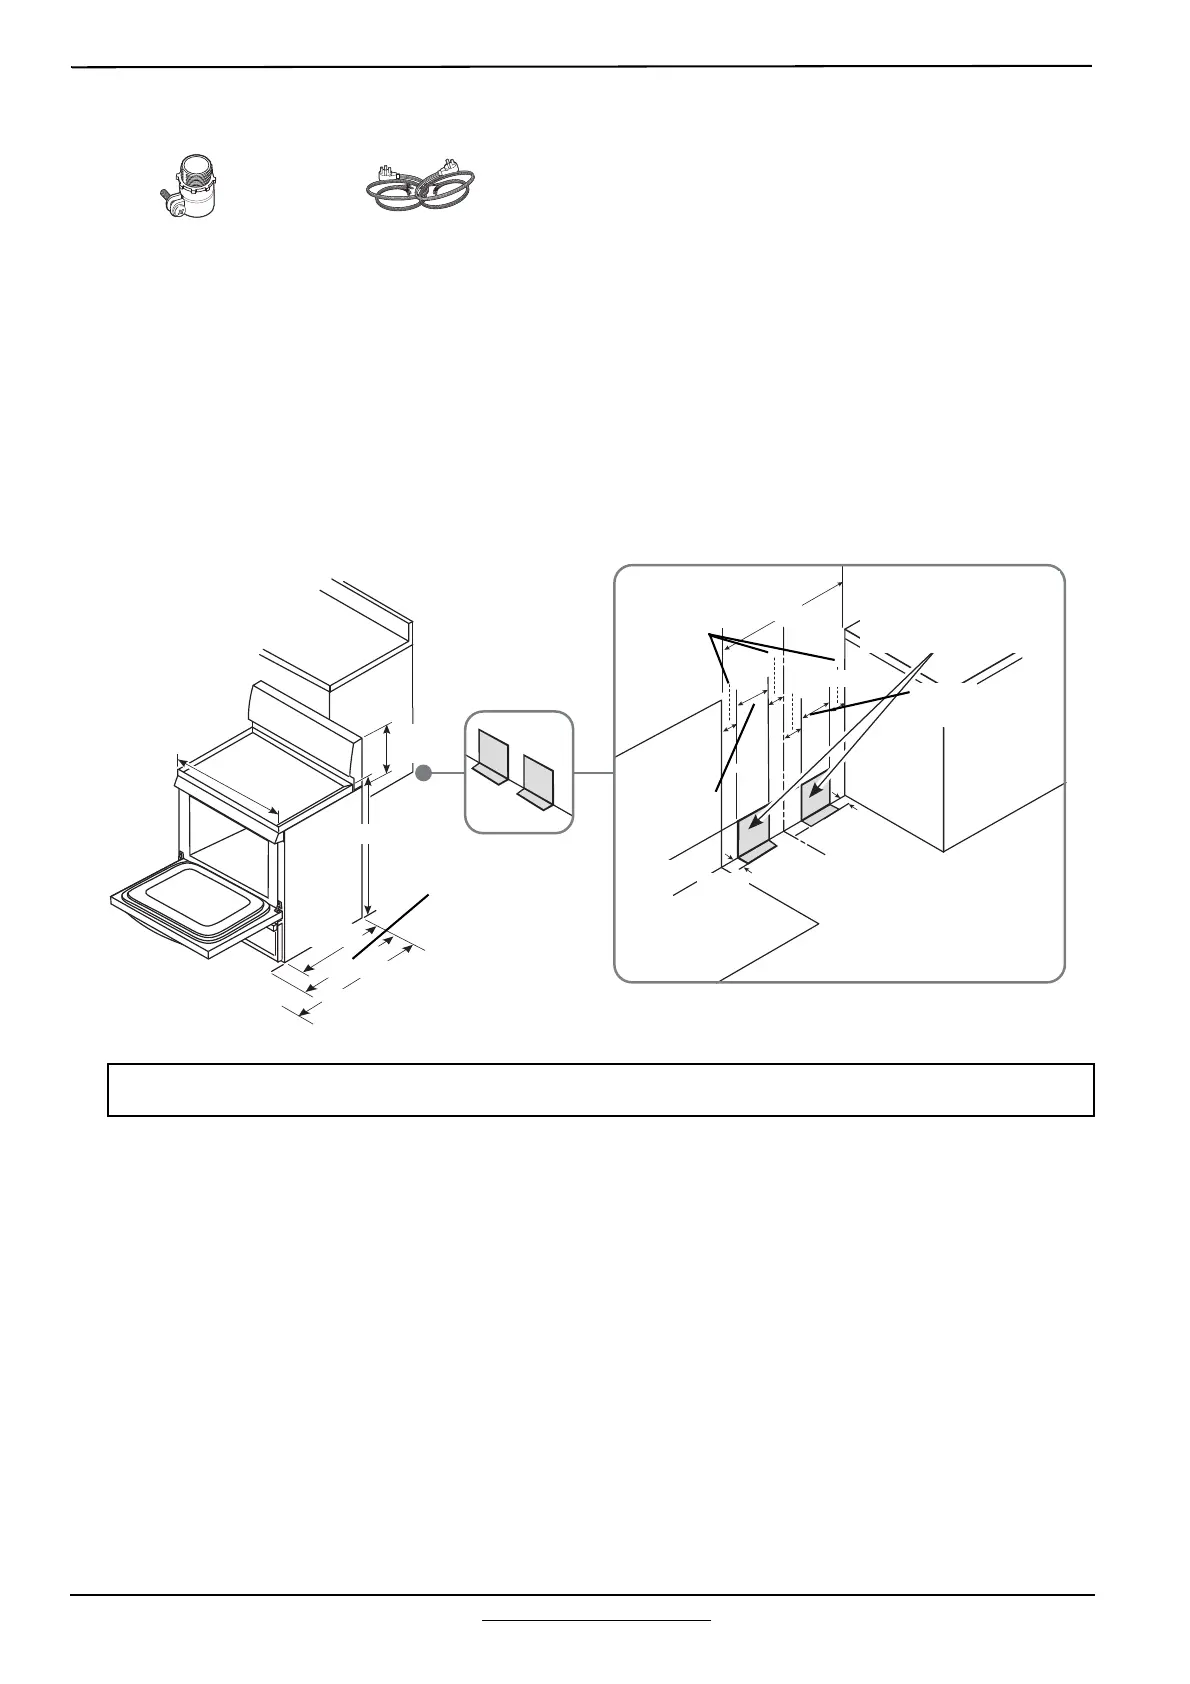
Step 2: Preparing the opening (for indoor use only)
See the following illustrations for all rough-in and spacing dimensions. Your range may be placed with 0 in. clearance
(flush) to the back wall and side walls of the cabinet.
Note: Use a four foot power cord to prevent interference with the storage drawer. Power cords four and a half to six
feet long may have to be dressed to allow for proper drawer closing.
Materials you may need
Squeeze Connector (For
Conduit Installations Only)
(UL Listed 40 AMP) 4-Wire Cord 4
ft. long OR 3-Wire Cord 4 ft.long
8 1/2 in.
(21.6 cm)
30 in.
(76.2 cm)
36.25 in.
(92 cm)
30 in.
(76.2 cm)
26.25 in.
(66.7 cm)
w/o handle
46 3/4 in.
(118.7 cm)
The recommended acceptable
electrical outlet area. Orient the
outlet box so that the length is
parallel to the floor.
Centerline of range
Wall
The outlet box can be
installed on either
side of the centerline
7 1/2 in.
(19 cm)
9 in.
(22.9 cm)
3 in. (7.6 cm)
2 1/4 in.
(5.7 cm)
29 in. (73.6 cm)
with handle
2 1/4 in.
(5.7 cm)
8 in.
(20.3 cm)
4 in. (10 cm)
Tools you will need:
• Drill with 1/8 in. Bit
• Safety Glasses
• Adjustable Wrench
• Level
• Tin Snips
•Tape Measure
•Pliers
• 1/4 in. Nut Driver
 Loading...