10
loose. It works by weight and simply rests on top of the
exhaust pipe. It can also be removed for washing if
necessary by pulling it straight out.
In operaon of the cooker for any funcons except "Keep
-Warm", "Sauté" or "Slow Cook", align the pointed end of
the steam release handle poinng to "Sealing", indicang
that the pressure cooker is in the sealed posion.
The "Sauté" funcon must be used without the lid. The
"Slow Cook" and “Keep-Warm” can operate with or
without the lid, or using an oponal glass lid available at
www.InstantPot.com.
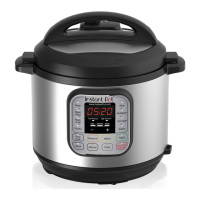
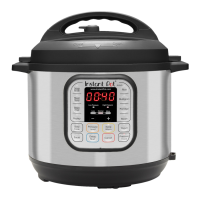
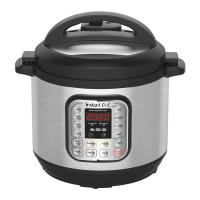
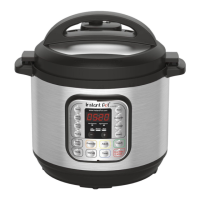
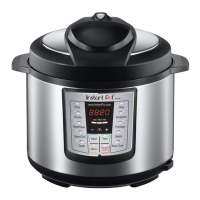
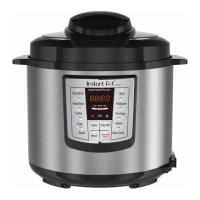
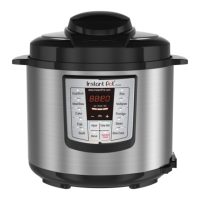
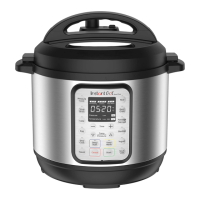
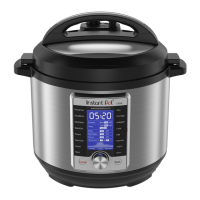
The control panel of your Instant Pot consists of an LED display, 2 pressure indicators, 3 mode
indicators, 4 operaon keys and 14 funcon keys. Each funcon key has a funcon indicator light.
Operaon keys do not have indicator lights.
Your Instant Pot has 3 states which are shown on the LED display and funcon indicators.
 Loading...