instantappliances.com | 9
Get started
Initial test run
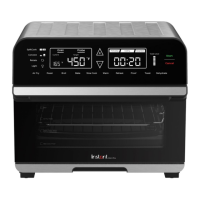
Do you have to do the test run? No — but getting to know the ins and outs of your Omni
Plus prepares you for success in the kitchen! Take a few minutes to get to know how this
little beauty works.
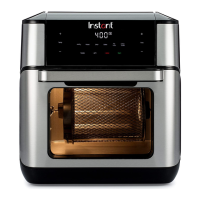
Stage 1: Setting up for cooking
01 Open the oven door.
Slide the cooking pan onto the
bottom rack position, and into the
cooking chamber.
Close the door.
02 Plug the power cord into a 120 V
power source.
The oven is in standby mode and the
display shows OFF.
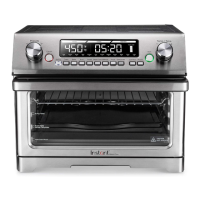
03 Push the dial to wake the oven. Touch
the temperature field. Air Fry and the
temperature eld will ash.
The temperature eld shows 400°F.
Don’t change the temperature during
the test run.
04 Touch the time field to select the
cooking time.
05 Turn the dial to adjust the time to
20 minutes (00:20).
06 Touch Start to begin.
The display shows On while the oven
preheats.
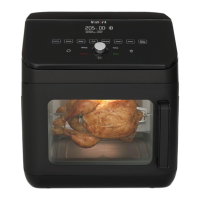
Stage 2: “Cooking” (…but not really, this
is just a test!)
01 When the oven reaches the perfect
temperature, it beeps and begins the
cooking countdown.
Don’t cook food during the test run.
02 Partway through cooking, the display
shows turn Food.
Wait 10 seconds for the program to
resume automatically, or, open and
close the oven door to pause and
resume the program manually.
When the oven door is open, the
display shows OPEN.
03 The oven counts down the last minute
of the cooking time in seconds and
beeps when nished. The oven will
enter the Keep Warm state and once
the program nishes, the display
shows End.
04 Open and close the oven door to
return to standby mode and start
cooking for real!
If you forget this last step, the toaster
oven will beep to remind you about it.
CAUTION
Metal, glass surfaces and accessories will be hot during and after cooking. To
avoid burn injury, do not touch the appliance, or attempt to insert or remove
accessories without proper hand protection.
Omni-Plus-18L_US_EN-GSG_2021-05-07.indd 9Omni-Plus-18L_US_EN-GSG_2021-05-07.indd 9 5/8/21 12:39 PM5/8/21 12:39 PM
 Loading...