4-3
Power Supply Compatibility
Product Support: www.instron.com
1. Remove the screws from both front and rear covers and remove the covers from the load
frame.
2. Place a spirit level on the center of the base beam.
3. Loosen the lock nut on each leveling foot.
4. Using an 18mm socket wrench, alternately adjust the height of each leveling foot while
you monitor the spirit level reading.
5. Rotate the spirit level 90° to verify that the load frame is level side to side and front to
back.
6. When the machine is level, tighten the lock nut on each leveling foot.
7. Replace the front and rear covers.
Power Supply Compatibility
The load frame voltage is factory set, according to the voltage that was specified at the time
of purchase. Look at the label next to where the power cable connects to the machine to see
the current voltage setting.
The voltage settings are inside the machine and can only be changed by a qualified Instron
Service Engineer. Contact Instron Professional Services for assistance if you need to change
the voltage setting.
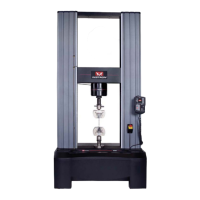
5982, 5984 and 5985 Load Frames
Verify the following before proceeding with installation:
• The machine’s voltage is compatible with the main power supply to your facility.
• The machine’s power cable can reach the electrical power supply with some slack in the
cable. The power cable is 3 metres (9.8 ft) long.
• The plug is compatible with the electrical power outlet.
Hazard - Do not remove covers to any component of your system, unless it is
specified in a procedure.
There are dangerous voltages and rotating machinery inside the machine that may cause
bodily injury or damage to equipment.