2. Getting Started
Setup and Quick Start
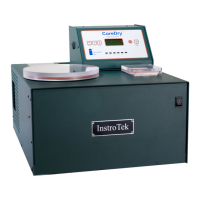
1. Remove from shipping box: Remove foam protection from
box and remove CoreDry unit, covers and accessories. Place
CoreDry close to 120V outlet on a flat bench surface. Leave
at least 6” of space on both sides of the CoreDry for air
circulation. DO NOT PLACE NEXT TO ANY HEAT GERNERATING
DEVICES.
2. Pump oil: In continental United States, the pump oil bottle
sent with the unit inside the drying chamber is for a future oil
change after approx. 80 hours of use. IMPORTANT – For
international units, use the oil to fill the vacuum pump, before
the first use. Please refer to maintenance section of this
manual for filling and replacing the vacuum pump oil.
3. Lids and Flow Plate: Remove the Sample Chamber lid, which
is located next to the CoreDry unit inside the box. The Flow
Plate/Mesh holder is in the bottom of the large tank along
with extra tank filters, the Cold Trap lid, a bottle of oil, and
the CoreDry CD. Remove all packing material from the large
tank. Place the wire mesh sample support in the bottom of
the large sample tank on top of the flow plate. Place the lids
on the large and small tanks.
4. Turn on CoreDry: Plug the unit in a wall outlet and flip on the
on/off switch to the ON position. The display will indicate the
software version once turned on. Next it will pressurize the
system. Then the display will prompt for the user to dry the
cold trap. After the Cold Trap is dry the CoreDry will cool the
Cold Trap. Once all the initial steps have been completed
the system is ready to for use.
Note: Always plug the CoreDry directly into the wall socket. Do
not use extension cords or power strips.