13
Charging the Intel Powerpack Batteries
During charging, the current battery state and the progress of the charging are indicated by the LEDs. When the charging process
is nished and the full capacity of the battery is reached, all ve LEDs will keep ashing simultaneously as long as the battery
remains connected to the AC adapter. When charging is nished, just unplug the battery and the AC adapter.
Payloads
Deep camera integration allows the changing of settings from the Intel Cockpit Controller while the UAV is airborne. Cameras
are integrated to remain within their camera mount when the camera is exchanged. Tools are not required to exchange camera
mount. The Intel Falcon 8+ UAS automatically identies the attached camera, and the menus on the Intel Cockpit Controller are
changed accordingly.
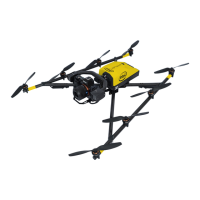
To charge the Intel® Powerpack Battery, connect the supplied
charging cable to the Intel® Powerpack Battery and to the
supplied AC adapter. Connect the AC adapter to a wall
socket. Charging will begin immediately.
Figure 23
To install the payload:
1. Feed the camera mount’s carbon rod (without thumbscrew, no.
(4) in Figure 25) into the hole on the front side of the central
unit (1). Make sure it is inserted straight, not at an angle.
2. Ax the payload adapter (Figure 25 below). Take care that
the connector plug of the adapter (no. (2) in Figure 25 below)
ts to the counterpart plug at the front of the UAV (2).
3. Make sure that the ball, of the ball link connector of the roll
servo, is fastened into the respective slot in the adapter (no.
(1) in Figure 25 below) when you ax the camera mount
onto the UAV.
4. Press the releasing clip of the payload adapter (see no. (3) in
Figure 25 below) into the respective counterpart opening (3).
5. Install the thumbscrew nut (no. (4) in Figure 25 below) on the
back side of the central unit (nger tight).
1
2
3
Figure 24
Installing the Payload
1
3
2
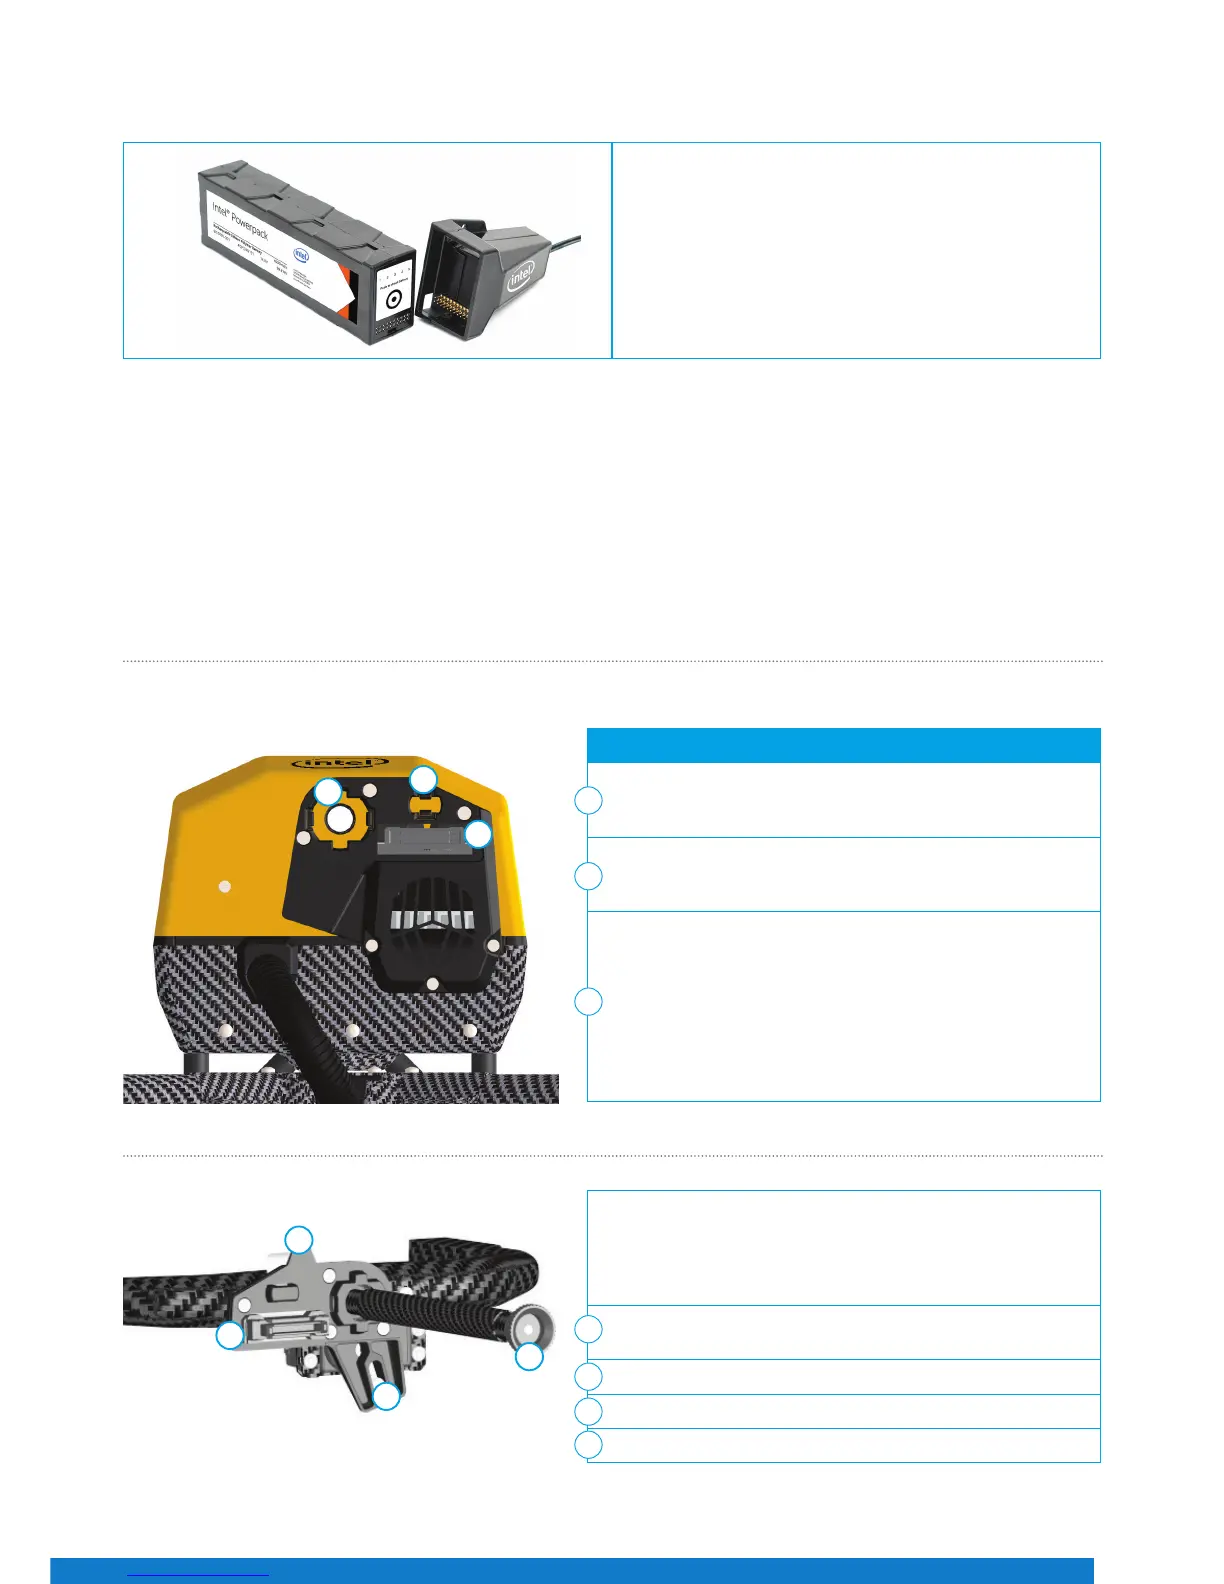
The payload adapter is the connection between the camera
mount, and the central unit of the UAV. It is mounted on the
rod of the camera mount, and connected to it by a cable. The
adapter is not xed on the rod, but can be moved within the
length of the cable.
Adapter slot (for the roll servo with ball link connector
inserted)
Connector plug
Releasing clip
Knurled securing nut for the camera mount
Figure 25
1
2
3
4
3
2
1
4