PROFESSIONAL AUDIO MIXER
19
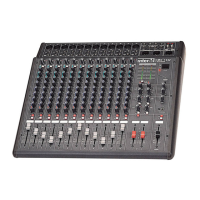
MX-1646D
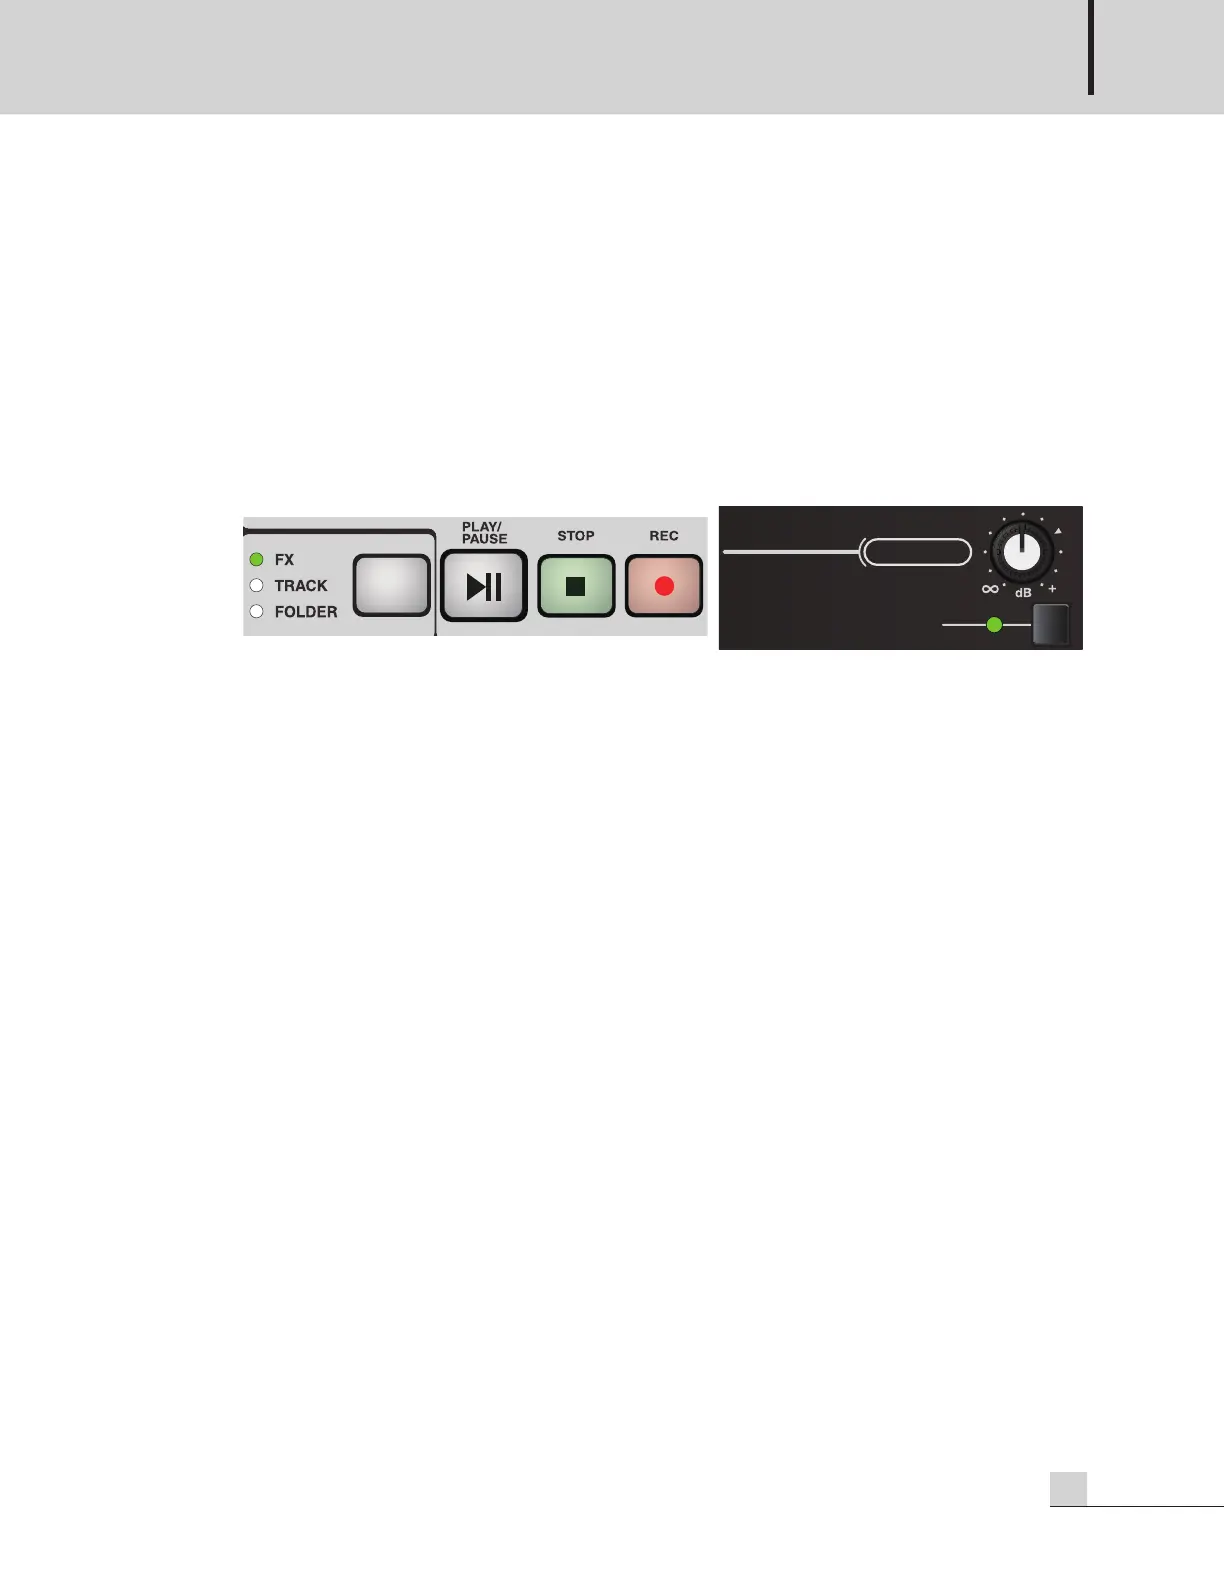
① Press the MODE button to change into the FOLDER mode.
② You can check the current folder number on the LED number indicator.
③ The folder number is displayed up to 99. If there are more than 99 folders, then the number is
continuously displayed as 99.
④ Turn the encoder switch clockwise to move to the next folder.
⑤ Turn the encoder switch counter-clockwise to move to the previous folder.
⑥ If you move a folder during play, pause or stop, then it moves to the track 1 in the moved folder and
stops.
9. RECORD Mode: How to Control Record
① Press the REC button in PLAY mode to change into RECORD mode.
② Use the RECORD VOLUME to control the recording level. When the volume is in 0dB (▼ Mark), the
recording level is the same with the Mix output level.
③ Press the PLAY / PAUSE button to start recording.
④ If there are many files in memory, then it takes time to enter into the recording ready status and complete
all the preparation process before starting to record.
⑤ Press the STOP button during recording to stop recording and save the recording file.
⑥ The recording is saved in WAV format (16-bit PCM, 44.1kHz, Stereo).
⑦ The recorded file is saved as RECORD1.wav in the RECORD folder of the selected memory. (If the
RECORD folder does not exist, it will be created automatically.) If the same file name exists, the last digit
is incremented (RECORD1, RECORD2…) and saved.
⑧ Press the REC button in RECORD mode to change into PLAY mode.
⑨ For the LED indication according to each status, refer to [Table 4: BUTTON LED Indication by Status].