P/N 144553999-3 • REV C • ISS 01MAR19 13 / 16
Scatola conforme a (con ingressi
cavo sigillato)
Certificazione e conformità
MESSO SUL MERCATO DA:
UTC Fire & Security Americas Corporation, Inc.
3211 Progress Drive, Lincolnton, NC, 28092, USA
AUTORIZZATO RAPPRESENTANTE UE:
UTC Fire & Security B.V.
Kelvinstraat 7, 6003 DH Weert, Netherlands
Avvertenze sul
prodotto e
dichiarazioni di
non responsabilità
QUESTI PRODOTTI SONO DESTINATI ALLA
VENDITA A, E DEVONO ESSERE MONTATI DA,
UN ESPERTO QUALIFICATO. UTC FIRE &
SECURITY NON PUÒ GARANTIRE CHE LE
PERSONE O GLI ENTI CHE ACQUISTANO I
SUOI PRODOTTI, COMPRESI I “RIVENDITORI
AUTORIZZATI”, DISPONGANO DELLA
FORMAZIONE O ESPERIENZA ADEGUATE
PER ESEGUIRE LA CORRETTA
INSTALLAZIONE DI PRODOTTI PER LA
SICUREZZA E PER LA PROTEZIONE
ANTINCENDIO.
Per ulteriori informazioni sulle esclusioni di
garanzia e sulla sicurezza dei prodotti, consultare
il sito
https://firesecurityproducts.com/policy/product-
warning/ oppure eseguire la scansione del codice
QR.
Omologato IMQ II° Livello (per la conformità alle
norme CEI 79-2 necesssario l'utilizzo del kit
antirimozione ST400)
UTC Fire & Security dichiara che questo
dispositivo è conforme ai requisiti applicabili e alle
disposizioni della Direttiva 2014/30/UE e/o
2014/35/UE. Per ulteriori informazioni, vedere
www.utcfireandsecurity.com o
www.interlogix.com.
2012/19/EU (Direttiva WEEE): I prodotti
contrassegnati con questo simbolo, non possono
essere smaltiti nei comuni contenitori per lo
smaltimento rifiuti, nell’ Unione Europea. Per il
loro corretto smaltimento, potete restituirli al
vostro fornitore locale a seguito dell’acquisto di un
prodotto nuovo equivalente, oppure rivolgervi e
consegnarli presso i centri di raccolta preposti.
Per maggiori informazioni vedere:
www.utcfssecurityproducts.eu/recycle/
Contatto per informazioni
www.utcfireandsecurity.com, www.interlogix.com
NL: Installatie instructies
Plaatsen van de detector
Zie fig. 4.
Installeer de detector zo dat de waarschijnlijke
bewegingsrichting van een indringer dwars op de
detectievelden verloopt. Deze richting wordt het beste
gedetecteerd door PIR-detectoren.
Vermijd mogelijke bronnen van vals alarm, zoals:
• Direct zonlicht op de detector
• Warmtebronnen binnen het detectiebereik
(verwarmingstoestellen, radiatoren enz.)
• Sterke luchtstromen op de detector (ventilatoren,
airconditioning enz.)
• Grote dieren (honden, katten) binnen het detectiebereik
• Het kijkveld van de detector afschermen met grote
objecten, zoals meubels
UTC Fire & Security adviseert om regelmatig een Looptest van
de detector uit te voeren en het resultaat op het controlepaneel
te verifiëren.
Installatie-instructies
1. Verwijder de afdekplaat (item 1) zoals aangegeven in
figure 1 (items A en B). Een lichte druk (item C) uitoefenen
op de afdekplaat, tijdens het afschuiven (item D) of
draaiing (item E).
2. Open de detector (items 2 en 3).
3. Naargelang de configuratie één (of beide)
kabelopening(en) (item 4) uitbreken.
4. De detector dient op een hoogte tussen 1,8 en 3,0 m
gemonteerd te worden.
5. Kies de montage-gaten voor hoekmontage (item 8) of
wandmontage (item 9).
6. Gebruik de basis als sjabloon om aan te duiden waar de
schroefgaten op de wand komen.
7. Bevestig de basis aan de wand.
8. Strip de kabel(s) ongeveer 5 cm, steek hem door de
kabelinvoer (item 4) en zet hem vast in de
trekontlastingsklem (item 7).
9. Sluit detector aan zoals aangegeven (fig. 5).
Eenvoudigere montage door het uitnemen van de
klemmenstrook (item 11).
Optionele reserve connector: item 6.
Montagegat voor montagebeugel (SB01) (item 10).
10. Plaats de deksel (item 2) in de basis (item 3), monteer de
schroef (item 5) en plaats afdekplaat (item 1).
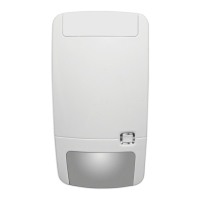
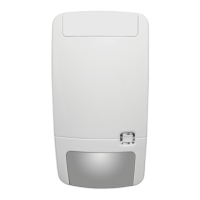
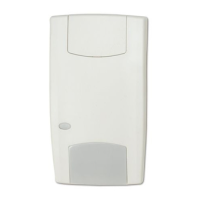
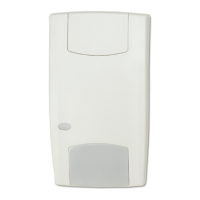
Detectie gebied
Het detectie gebied is aangegeven in figuur 9 (EV100 en
EV100PI) en figuur 10 (EV105).
Opmerking: Item 1 geeft de algemene informatie van het
detectie veld, item 2 is het detectie gebied bij EN 50131
compatibele installaties.